A steaming bowl of ramen, rich broth swirling around perfectly chewy noodles. What’s not to love? But before you get lost in that dreamy bowl, let’s not forget the companions. Ramen pairs beautifully with toppings like green onions, soft-boiled eggs, and fresh vegetables.
You can even go nuts with meat, whether it's succulent pork or tender chicken. The possibilities are endless, and each enhancement can transform your experience.
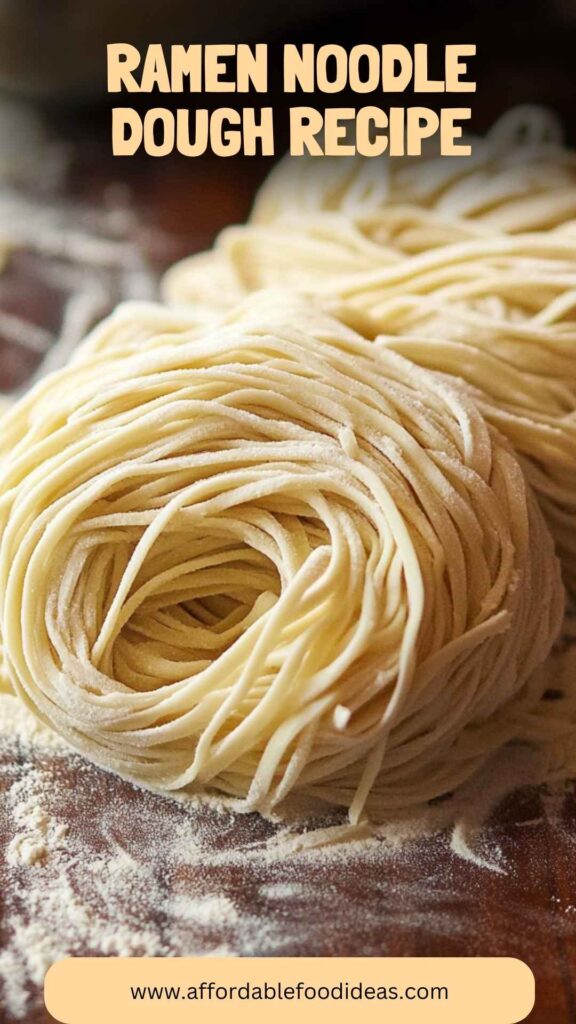
What is Ramen Noodle Dough?
Ramen noodle dough is a simple yet magical concoction. Using just a handful of ingredients, this dough transforms into those delightful noodles that make ramen so iconic.
Primarily made from high-protein bread flour, water, malt powder, baking soda, salt, and vital wheat gluten, ramen noodle dough undergoes a special process. The blend of these ingredients creates gluten strands, giving the noodles their signature chew.
In simpler terms, think of this dough as the backbone of any good ramen. Without it, you wouldn’t have the structure or texture that elevates your bowl of noodles. Each component plays its part in this culinary team!
What is the Flavor Profile of This Dish?
Ah, flavor! It’s what keeps us coming back for more. Ramen noodle dough boasts a mild, slightly buttery flavor, thanks to the high-protein flour. The malt powder adds a subtle sweetness, while the salt brings everything into balance.
When you pair these noodles with a savory broth, the taste becomes a melodious harmony of sensations in your mouth. Each bite provides both satisfaction and comfort.
Why You’ll Love This
- Customization: You can create your own perfect noodle texture by adjusting the water level or type of flour.
- Healthier Option: Homemade noodles allow you to control the ingredients, making it a healthier alternative to store-bought options.
- Experience: There's something inherently rewarding about making food from scratch. It connects you to your dish.
- Versatility: Used in soups, stir-fries, or cold salads, ramen noodles go wherever your culinary imagination takes you.
- Showstopper: Impress your friends and family with your culinary mastery when they see you slaving away over the dough.
Ingredients
- 396g King Arthur high-protein bread flour
- 160ml filtered water
- 6g oven-toasted baking soda
- 5g malt powder
- 4g Diamond Crystal kosher salt (use the same weight for table salt or other varieties)
- 4g pure vital wheat gluten
Step by Step Instructions
Step 1: Mixing the Dough
In a medium bowl, combine the high-protein bread flour, malt powder, baking soda, salt, and vital wheat gluten. This blend is crucial; each ingredient contributes to the overall structure and flavor of your noodles.
Gradually add the filtered water while stirring. You want the mixture to come together but not too wet. Think of the texture as slightly crumbly—like damp sand.
Step 2: Kneading
Once combined, transfer the dough onto a floured work surface. Knead the dough for about 8-10 minutes.
This is the workout your dough needs to develop the gluten. You want it smooth and elastic. A good test? Press your thumb into the dough. If it springs back, you're golden!
Step 3: Resting the Dough
Wrap the dough in plastic wrap and let it rest for at least 30 minutes. Resting allows the gluten to relax, making it easier to roll out later.
Use this time wisely—think about your flavors, aromas, and toppings while you wait.
Step 4: Rolling Out the Dough
After resting, unwrap the dough and divide it into smaller portions. Roll each piece out on a floured surface to your desired thickness. Too thick, and you’ll lose that delectable chew; too thin, and they’ll break apart in your broth. Aim for a thickness of about 1/8 inch.
Step 5: Cutting the Noodles
Using a sharp knife or a pasta cutter, slice the dough into your preferred noodle size. Whether you like thin or thick noodles, it’s all up to you! Be careful to keep the cuts even; uneven sizes can affect cooking time.
Step 6: Cooking the Noodles
Bring a large pot of water to a rolling boil. Add the freshly cut noodles and cook for about 2-4 minutes, depending on thickness.
Fresh noodles cook faster than dried, so keep an eye on them. You want them firm but tender.
Step 7: Cooling and Storing
Once cooked, drain your noodles and rinse them under cold water to halt the cooking process. If you’re not using them immediately, toss with a little bit of oil to prevent sticking. Remember, your delicious creation is just a step away from greatness.
Tips & Tricks
- Flour Selection: Higher protein flour helps achieve chewier noodles.
- Hydration Matters: Don’t be afraid to adjust water amounts slightly based on the humidity; it can affect your dough.
- Resting Time: Allow the dough to rest longer if time permits. A bit of patience goes a long way.
- Noodle Thickness: Experiment with thickness for different styles of ramen. Thicker noodles pair well with hearty broths.
- Drying and Storage: If you’re batch-making noodles, consider drying them on a flour-dusted surface for later use.
How Can You Store This Ramen Noodle Dough?
- Refrigeration: Wrap the dough tightly in plastic wrap and store it in an airtight container in the refrigerator. It can last up to 2-3 days.
- Freezing: Freeze individual portions of the rolled-out dough. Place parchment paper between layers to prevent sticking. When ready to use, thaw overnight in the fridge.
Conclusion
Making ramen noodle dough at home is not just about the end product; it's about the journey. So roll up your sleeves and unleash your inner ramen master! Embrace the art of ramen, and remember – every slurp brings you closer to noodle nirvana!
You'll also like the following recipes!