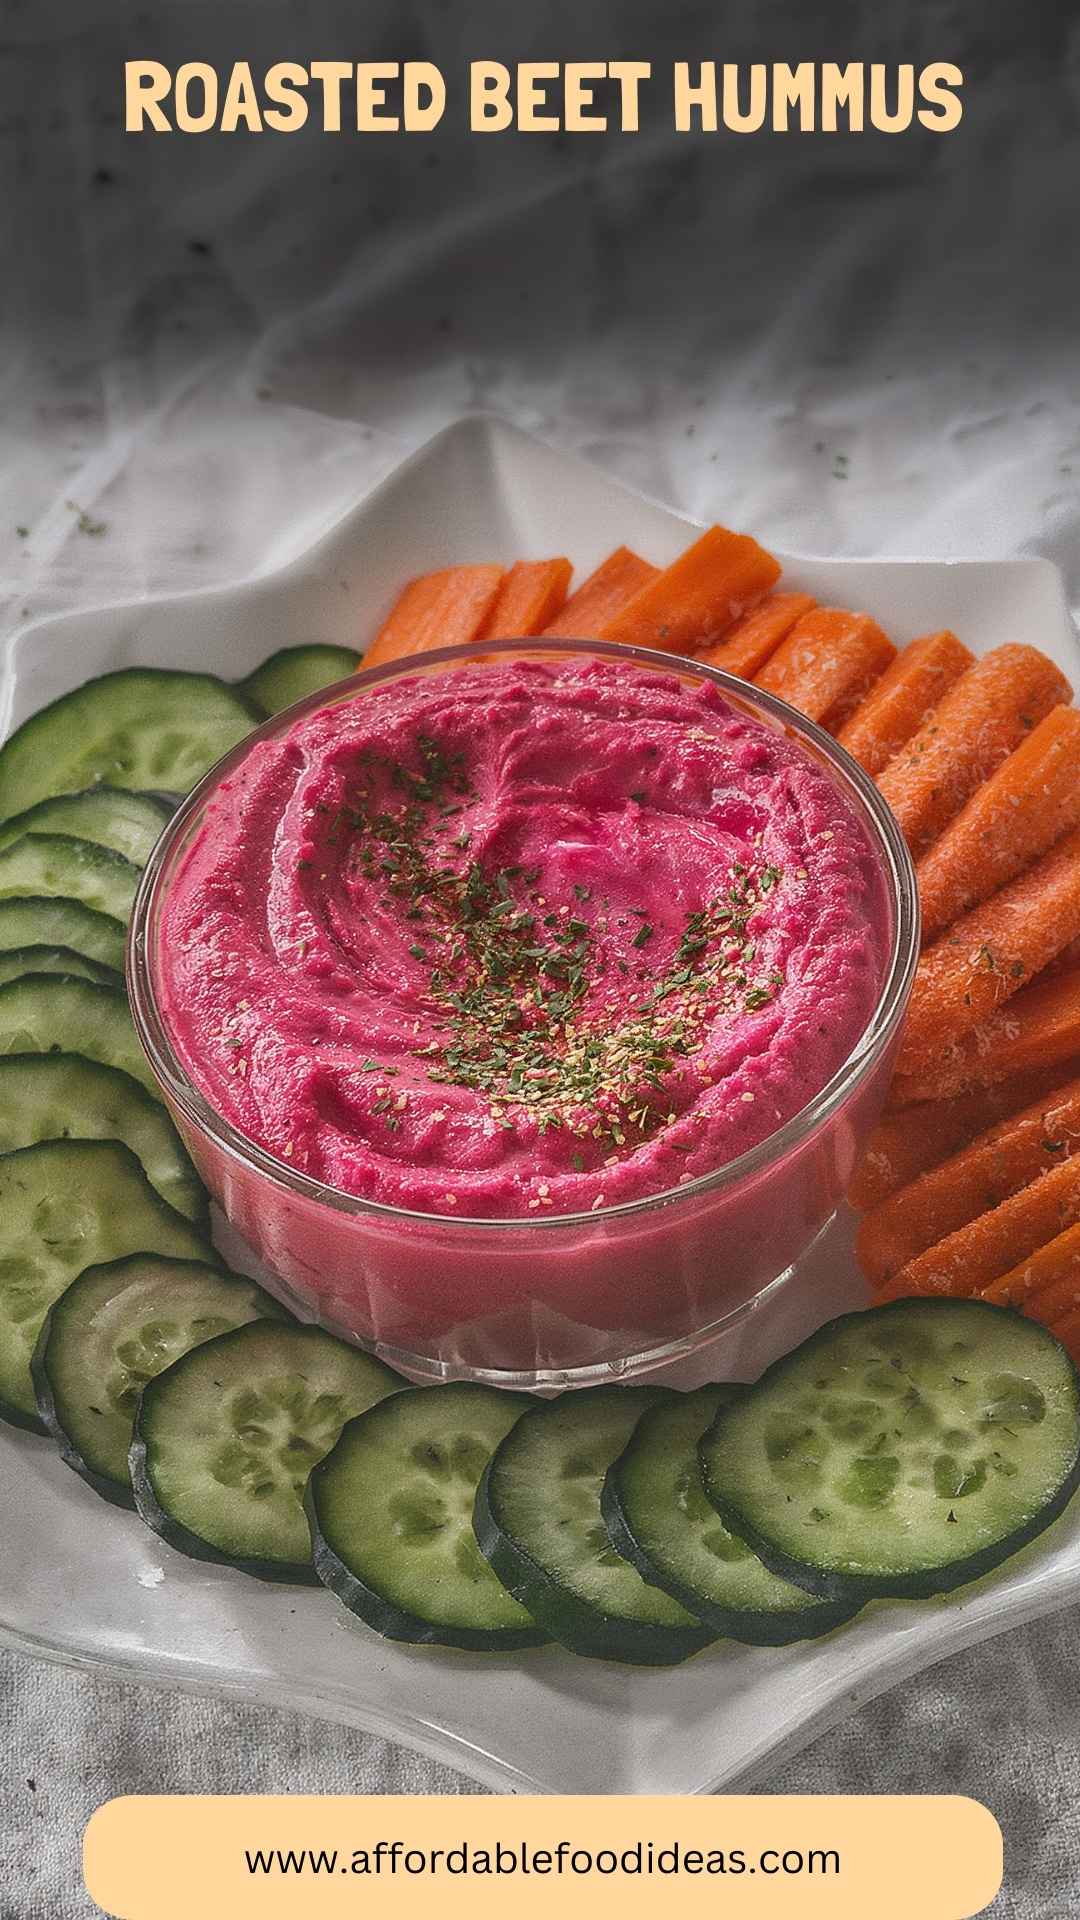
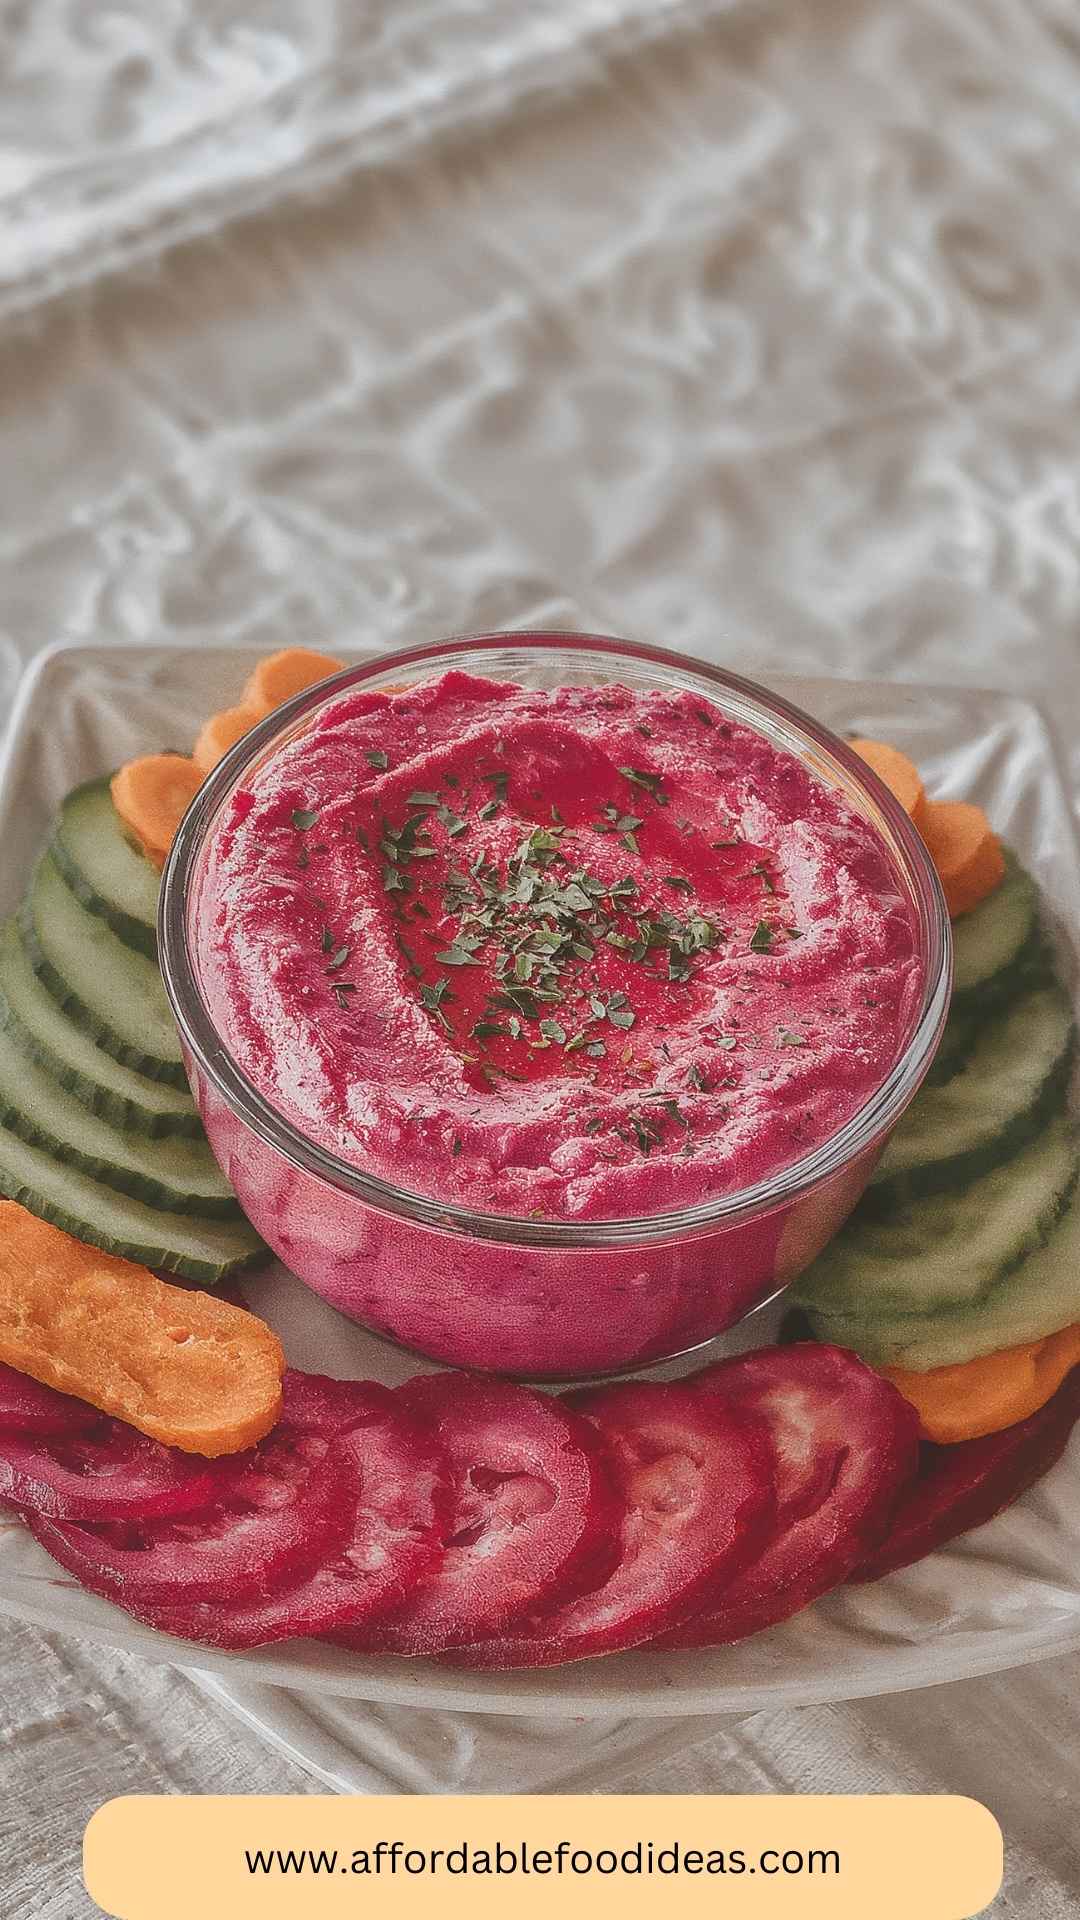
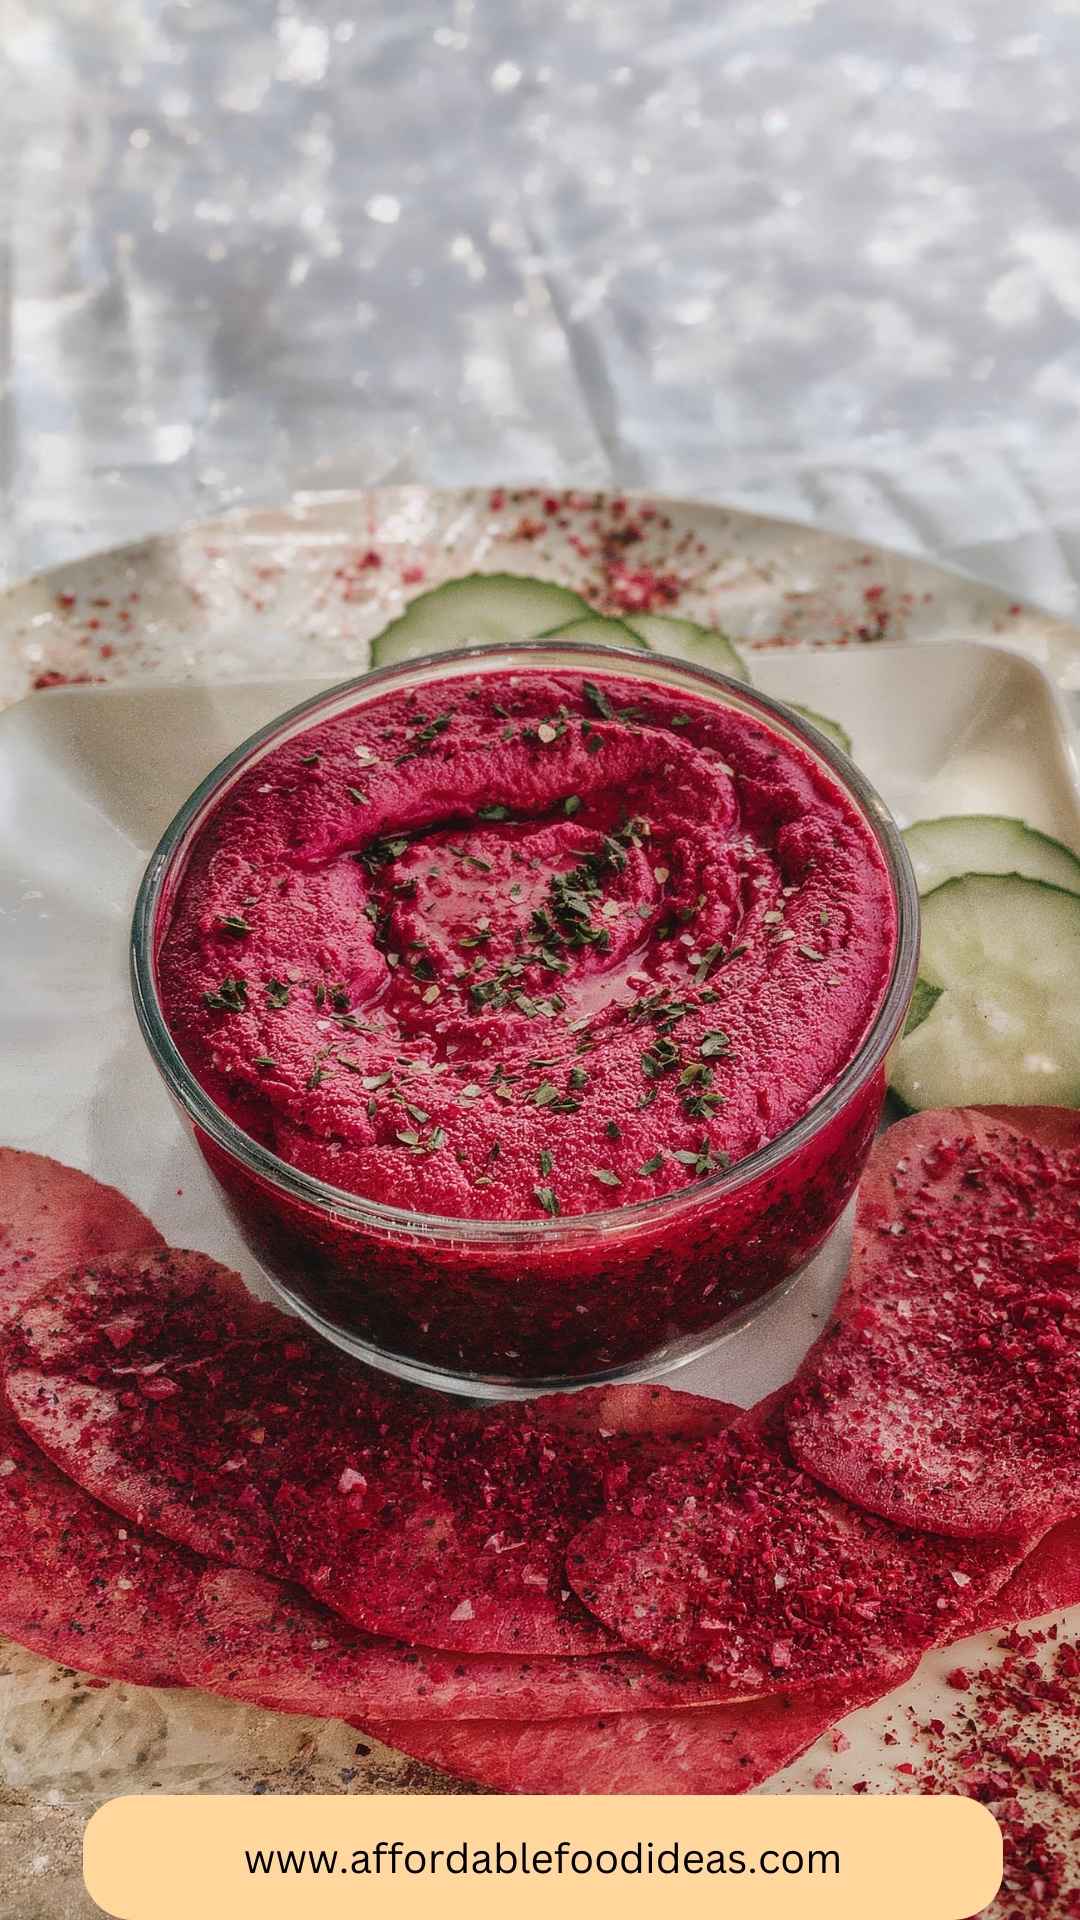
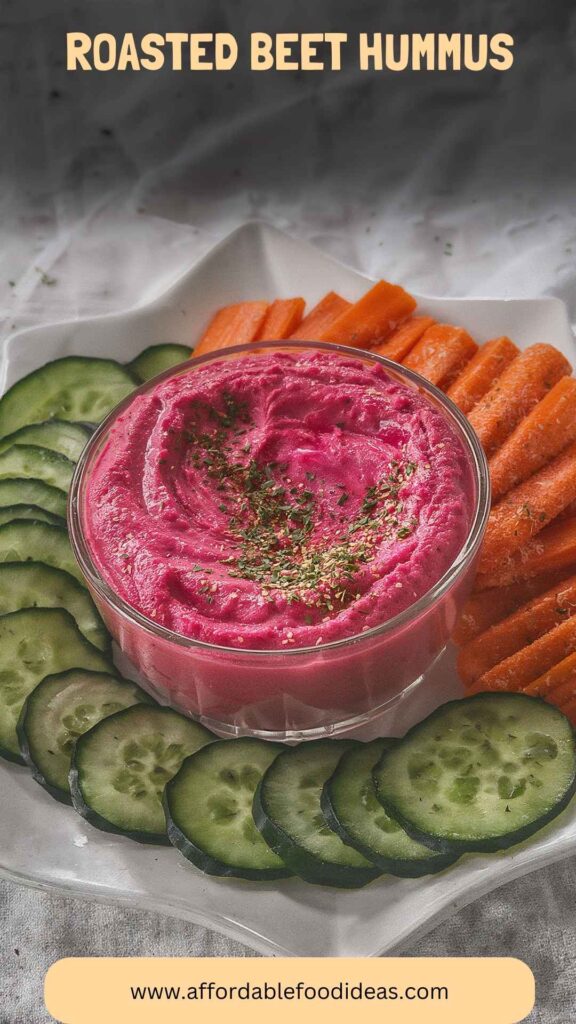
Before we dive into the vibrant world of roasted beet hummus, let’s talk about what you can serve it with. This dish is a superb companion to a variety of flavors and textures. It shines on a platter alongside crispy pita chips, crunchy veggies such as carrots and cucumber sticks, or even as a spread on sandwiches.
It’s also fantastic with grilled meats or as a colorful addition to a grain bowl. Whether you’re planning a cozy dinner or a lively gathering, roasted beet hummus will elevate your spread.
What is Roasted Beet Hummus?
Roasted beet hummus is essentially a twist on traditional hummus, utilizing roasted beets as the star ingredient. It maintains all the classic characteristics of hummus—creamy, flavorful, and utterly satisfying—while adding an appealing pop of color.
The beets not only enhance the flavor profile but also provide numerous health benefits, such as vitamins A and C, folate, and antioxidants.
Why This Recipe Works
Using roasted beets in hummus is a game-changer for several reasons. First, the roasting process enhances the natural sugars in the beets, resulting in a sweeter, more complex flavor. Second, the combination of rich tahini and earthy beets creates a creamy texture that sticks to chips and veggies without being overly heavy.
Lastly, the balance of acidity from the lemon and warmth from garlic elevates this dish, making it a versatile addition to any meal.
What You’ll Need to Make This Dish
Gathering the ingredients is the first step toward your hummus-making adventure. Here’s what you’ll need:
- 1 small roasted golden beet – Look for beets at your local market; they should be firm and vibrant.
- 1 can (15 oz) chickpeas – These provide the classic base for hummus.
- 2 heaping tablespoons creamy tahini – For that rich, nutty flavor.
- 2 large garlic cloves, minced – Because everything’s better with garlic, right?
- Juice of 1/2 large lemon – Freshly squeezed is best for an invigorating zest.
- Zest of 1 large lemon – This enhances the lemon flavor without adding extra liquid.
- 1/4 cup extra virgin olive oil – Enhances creaminess and adds healthy fats.
- A pinch of sea salt and freshly ground black pepper – Simple but essential for seasoning.
- 1/2 teaspoon smoked paprika – Adds a delicious smokiness.
- 1 teaspoon finely chopped fresh parsley – For garnish and freshness.
How to Make Roasted Beet Hummus
Starting your hummus doesn’t need to be complicated. Too often, people feel intimidated by the word “hummus.” Fear not! This journey is easy and fun. Just a few straightforward steps, and you’ll be blending your way to deliciousness.
Step 1: Roast the Beets
Start by preheating your oven to 400°F (200°C). If you haven’t cooked your beet yet, rinse it well, wrap it in aluminum foil, and place it on a baking sheet. Roast for approximately 45 minutes or until it’s tender. The piercing of the beet with a fork should meet little resistance—like a warm hug welcoming you in. Once done, let the beet cool before peeling off the skin.
Step 2: Prepare the Chickpeas
While the beet is roasting, rinse the canned chickpeas under cold water. This flushing helps remove excess sodium and creates a smoother texture for your hummus.
Step 3: Blend It All Together
In your food processor, combine the chickpeas, the cooled roasted beet, minced garlic, tahini, lemon juice, lemon zest, and a pinch of salt and pepper. Here’s where the magic starts. Pulse the mixture until everything is roughly combined.
Step 4: Add Olive Oil
Drizzle in the olive oil while the processor runs. This helps emulsify the ingredients into the luscious consistency you crave. If you want it creamier, feel free to adjust the amount of olive oil until it meets your desired creaminess.
Step 5: Season to Taste
Once everything is blended, taste your creation. Adjust salt and pepper as needed. If you think it needs more acidity, add a bit more lemon juice.
Step 6: Garnish
Transfer your roasted beet hummus to a serving bowl, then sprinkle with smoked paprika and fresh parsley for a pop of color. Trust me; your guest’s eyes will light up the moment they see it!
Tips
Here’s a handful of secrets I’ve picked up along the way that will help you make the best possible roasted beet hummus:
- Use Fresh Ingredients: Fresh garlic and lemon can really enhance the flavor in this hummus.
- Don’t Skip Roasting: Trust me—raw beets just won’t give you the sweetness you want.
- Experiment with Heat: A pinch of cayenne can give your hummus a spicy kick if you’re feeling bold.
- Texture Preference: If you like a chunkier hummus, keep some chickpeas aside to stir in after blending.
- Serve Cold: Make this dish ahead of time and store it in the fridge. The cold temperature intensifies the flavors.
How to Store Leftovers
If you manage to have any leftovers (not likely, though), store roasted beet hummus in an airtight container in the refrigerator. It can last for up to one week. For better preservation, you can add a thin layer of olive oil on top before sealing. This prevents oxidation and maintains that vibrant color.
Nutrition Information
A serving size of roasted beet hummus (about 2 tablespoons) provides beneficial nutrients. Here’s a rough estimate:
- Calories: 80
- Protein: 3g
- Fat: 5g
- Carbohydrates: 7g
- Fiber: 2g
This is packed with health benefits. The chickpeas provide protein and dietary fiber, while the beets deliver vitamins and antioxidants.
How Would I Recommend Serving Roasted Beet Hummus?
Here are four delicious serving suggestions to make your hummus truly shine:
- As a Dip with Veggies: Pair with an assortment of colorful veggies. Think carrot sticks, bell pepper slices, and cucumber rounds. Not only is it a feast for the eyes, but this combination is also a low-carb, low-calorie way to get your hummus fix.
- Spread on Toast: Swap butter or regular spreads for a more exciting option. Whole-grain bread topped with beet hummus, avocado slices, and a sprinkle of sesame seeds is a breakfast game-changer.
- Topped with Crumbled Feta: For a Mediterranean twist, serve the beet hummus topped with crumbled feta cheese and a drizzle of olive oil. This sprinkle of salty goodness complements the sweetness of beets beautifully.
- In a Grain Bowl: Create a luscious grain bowl with quinoa, roasted veggies, and protein of choice. Use beet hummus as the base sauce for a colorful, nutritious meal.
What Alternatives Can You Use for the Ingredients If Not Available?
Cooking should be flexible, right? If you find yourself missing an item, here are some great alternatives:
- Chickpeas: Cannellini beans can be used for a slightly creamier texture with a milder flavor. They work wonderfully!
- Tahini: Sunflower seed butter offers a nut-free option while keeping that creamy consistency, making it equally delicious.
- Olive Oil: Avocado oil can replace olive oil for a fruitier taste. Both oils provide healthy fats but will slightly alter the flavor profile.
- Garlic: If you’re not a fan of raw garlic, roasted garlic works beautifully. It mellows the flavor, adding sweetness rather than sharpness.
Conclusion
Roasted beet hummus isn’t just a dip—it’s a vibrant and flavorful addition to your culinary repertoire. It brings a delightful twist to the traditional hummus recipe while offering health benefits and versatility. Whether you’re hosting a crowd or enjoying a quiet night in, this hummus stands ready to impress. With straightforward steps, simple ingredients, and tons of flavor, you too can create this colorful dish. Give it a try, and I’m willing to bet it will become a beloved staple in your kitchen, just like it did in mine. So what are you waiting for? Let’s get roasting!
You’ll also like the following recipes!
Roasted Beet Hummus – Affordable Food Ideas
A few years back, I wandered into a little Mediterranean café and had my first taste of roasted beet hummus. The moment the earthy sweetness of beets met the creamy tahini, my taste buds were dancing. It was a simple moment but one that sparked a culinary journey. I decided right then and there that I needed to create my own version at home—a version that was easy, delicious, and healthy. This roasted beet hummus has become a staple in my kitchen, and trust me, it’s much more than just a pretty dip.
Roasting beets brings out their natural sweetness, and when blended with tahini, garlic, and a splash of lemon, the result is a creamy and vibrant dip. Let’s explore the wonders of this dish, why it works so well, and how you can whip up your batch.
Ingredients
Instructions
Step 1: Roast the Beets
-
Start by preheating your oven to 400°F (200°C). If you haven’t cooked your beet yet, rinse it well, wrap it in aluminum foil, and place it on a baking sheet. Roast for approximately 45 minutes or until it’s tender. The piercing of the beet with a fork should meet little resistance—like a warm hug welcoming you in. Once done, let the beet cool before peeling off the skin.
Step 2: Prepare the Chickpeas
-
While the beet is roasting, rinse the canned chickpeas under cold water. This flushing helps remove excess sodium and creates a smoother texture for your hummus.
Step 3: Blend It All Together
-
In your food processor, combine the chickpeas, the cooled roasted beet, minced garlic, tahini, lemon juice, lemon zest, and a pinch of salt and pepper. Here’s where the magic starts. Pulse the mixture until everything is roughly combined.
Step 4: Add Olive Oil
-
Drizzle in the olive oil while the processor runs. This helps emulsify the ingredients into the luscious consistency you crave. If you want it creamier, feel free to adjust the amount of olive oil until it meets your desired creaminess.
Step 5: Season to Taste
-
Once everything is blended, taste your creation. Adjust salt and pepper as needed. If you think it needs more acidity, add a bit more lemon juice.
Step 6: Garnish
-
Transfer your roasted beet hummus to a serving bowl, then sprinkle with smoked paprika and fresh parsley for a pop of color. Trust me; your guest's eyes will light up the moment they see it!
Nutrition Facts
Servings 6
- Amount Per Serving
- Calories 80kcal
- % Daily Value *
- Total Fat 5g8%
- Total Carbohydrate 7g3%
- Dietary Fiber 2g8%
- Protein 3g6%
* Percent Daily Values are based on a 2,000 calorie diet. Your daily value may be higher or lower depending on your calorie needs.
Note
- Use Fresh Ingredients: Fresh garlic and lemon can really enhance the flavor in this hummus.
- Don’t Skip Roasting: Trust me—raw beets just won't give you the sweetness you want.
- Experiment with Heat: A pinch of cayenne can give your hummus a spicy kick if you’re feeling bold.
- Texture Preference: If you like a chunkier hummus, keep some chickpeas aside to stir in after blending.
- Serve Cold: Make this dish ahead of time and store it in the fridge. The cold temperature intensifies the flavors.


