Before diving into the comforting world of hot cocoa, let’s chat about what delicious treats you might want to have alongside it. A warm slice of banana bread can be a delightful companion. The sweetness complements the rich cocoa perfectly. If you’re feeling playful, try a peppermint stick; it’s a classic combo that doubles as a stirrer and a flavor enhancer.
For a heartier option, grab some vegan cookies; chocolate chips or peanut butter will totally hit the spot. And let’s not forget about fruit! Berries or even slices of orange can provide a refreshing zing against the backdrop of creamy cocoa. Now, you’re set for a cozy treat session!

What is 5-Minute Vegan Hot Cocoa?
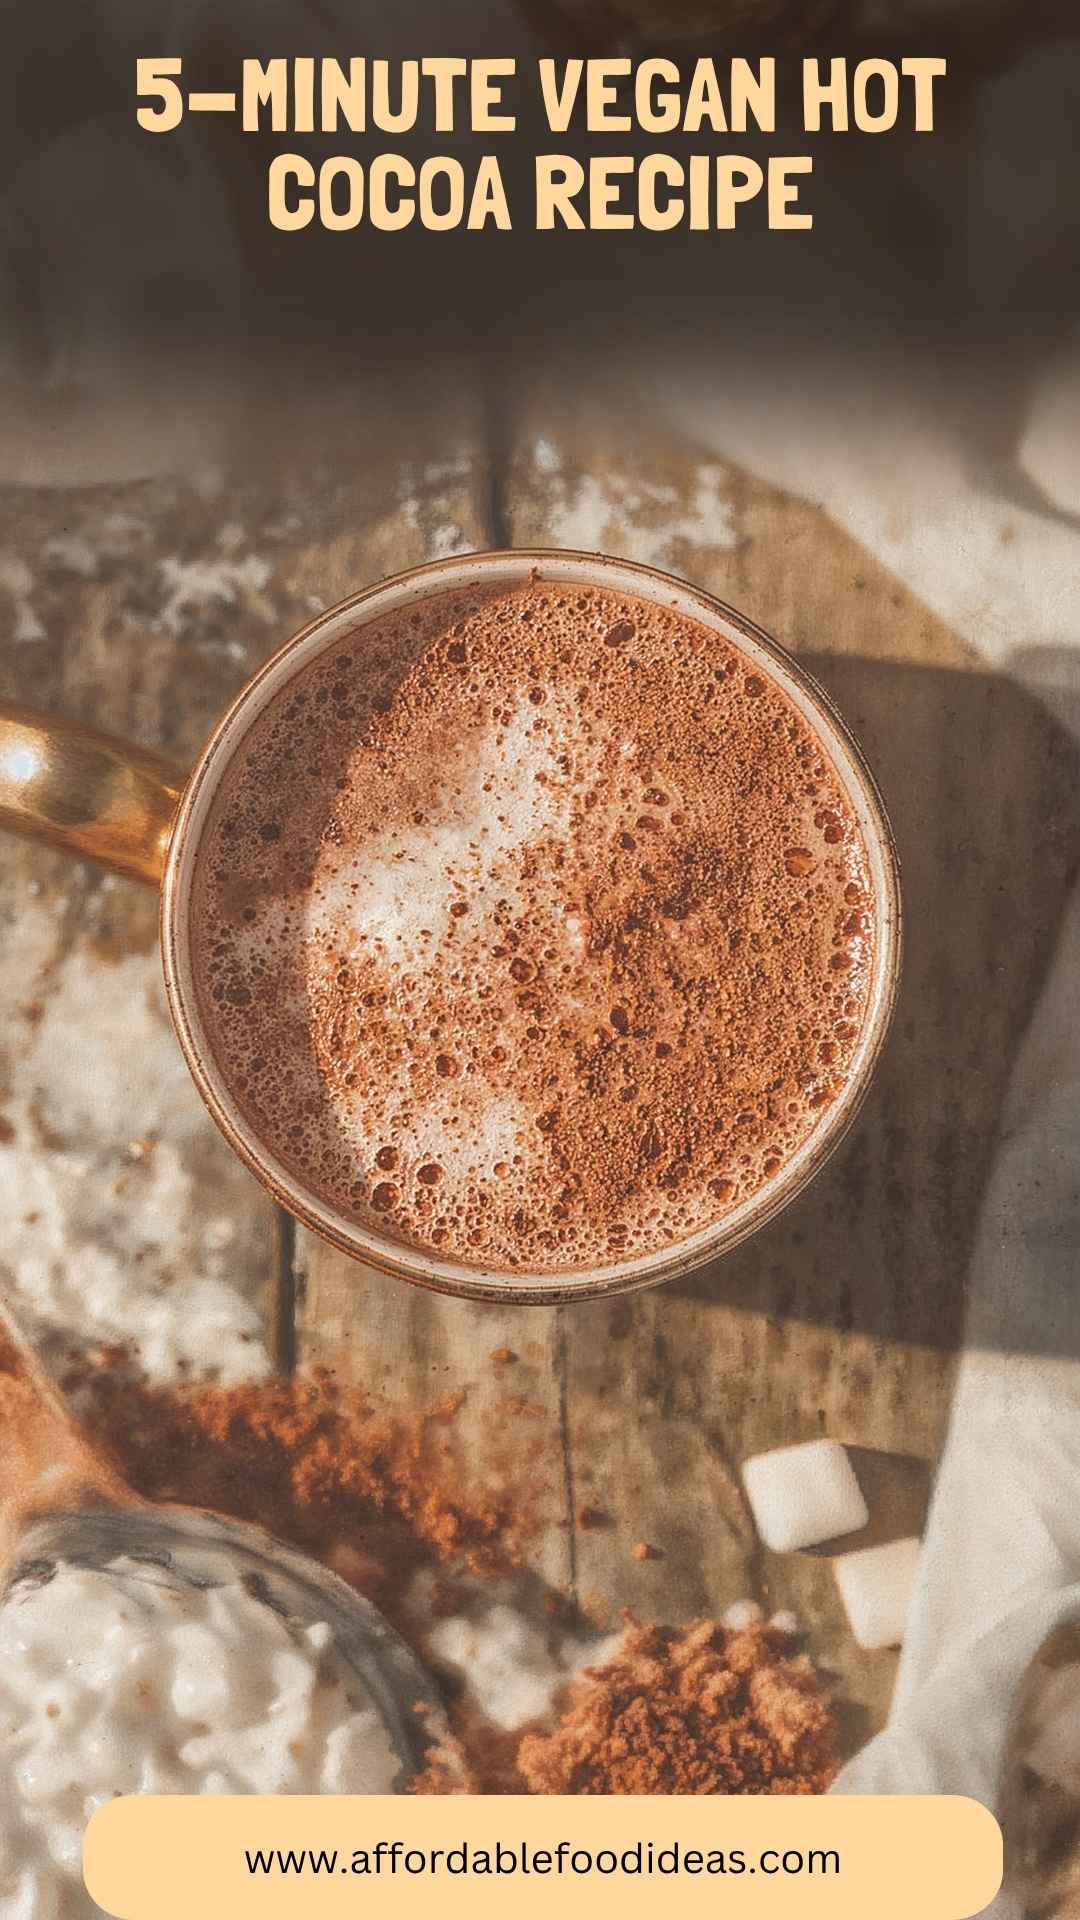
So, what is this magical concoction? The 5-Minute Vegan Hot Cocoa is a simple, plant-based drink made from a handful of easily accessible ingredients. It’s an inviting mix of rich cocoa powder, dairy-free chocolate, and creamy almond milk all whipped together to create a delightful cup of comfort. And the best part? It takes, you guessed it, a mere five minutes to make!
This drink is not only vegan but also allows for customization. Sweeten it to your heart’s content, toss in a pinch of cinnamon if you’re feeling adventurous, or add a hint of peppermint for a refreshing twist.
What Makes This Recipe Different From Other 5-Minute Vegan Hot Cocoa?
Now, you might wonder, what sets this hot cocoa apart from others? For one, it leverages wholesome, plant-based ingredients without compromising on flavor. Many chocolate drinks out there rely heavily on powders that can be overly sweet or artificial tasting. My version, instead, marries raw cane sugar with quality cocoa and dark chocolate.
I believe in giving you flavors that dance together beautifully. In this recipe, the addition of a pinch of sea salt elevates the chocolate notes, making them pop. Plus, the use of almond milk creates a creaminess that can rival any dairy-based counterpart—trust me!
Also, this is an adaptable recipe. Don’t enjoy almond milk? No problem. Opt for soy or oat milk instead. Want to jazz it up with a solid flavor? Add a dash of vanilla extract or even a hint of nutmeg. This is hot cocoa freedom, my friends!
How Does It Taste?
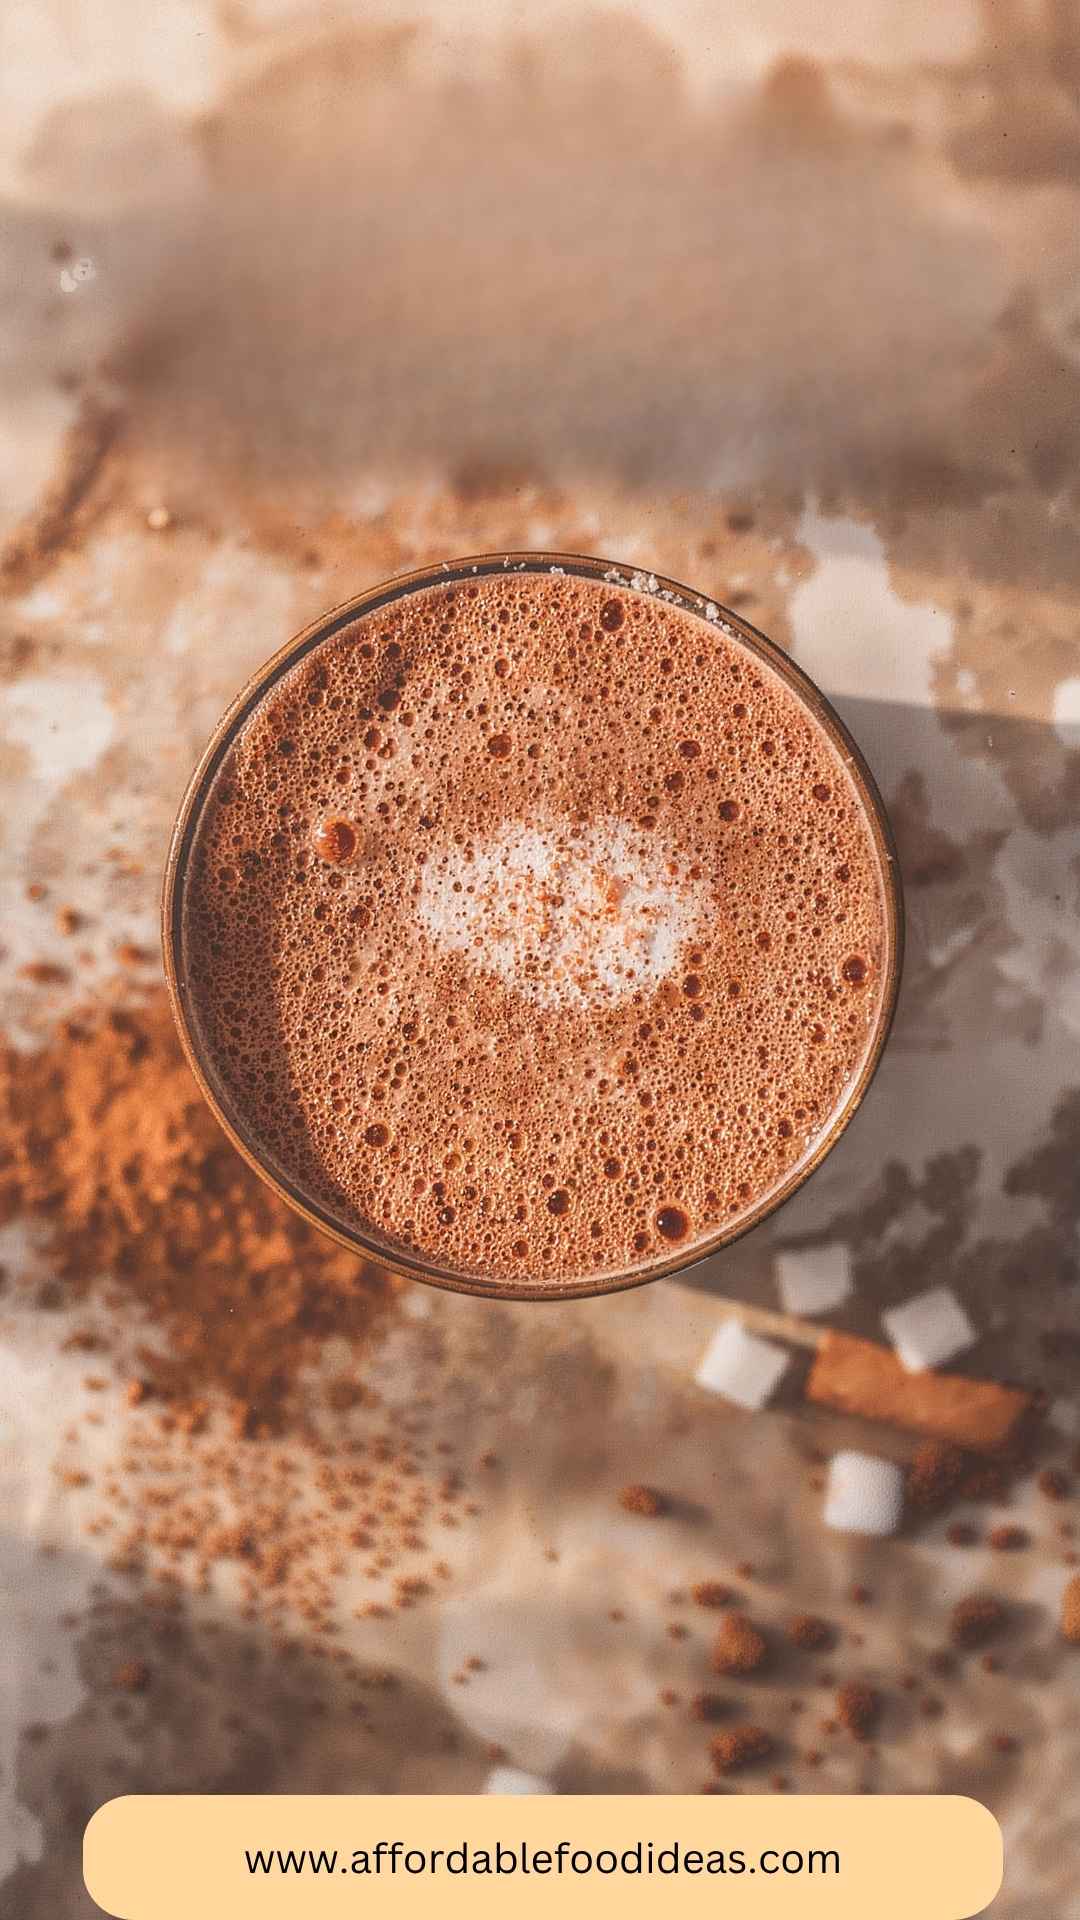
Imagine sipping on a cup of velvet. It’s a harmonious blend of sweetness from the cane sugar and richness from the chocolate. Each slurp brings forth a delightful warmth that wraps around you like a soft blanket. You get that undeniable chocolate flavor—deep and comforting with just a hint of nuttiness from the almond milk. If you decided to add a touch of peppermint, expect a refreshing finish that intrigues your taste buds.
Ingredients You’ll Need To Make This Dish
You’ll need just a few pantry staples that pack a flavorful punch. Here they are:
1 Tbsp raw cane sugar (or a sweetener of your choice, adjusted to taste)
1/4 tsp vanilla extract (this adds warmth and depth)
1½ Tbsp chopped dairy-free semisweet chocolate (choose chips or a quality bar)
1/8 tsp pure peppermint extract (optional for those wanting a cooling effect)
1 Tbsp dark cocoa powder (unsweetened, of course, for that rich flavor)
A tiny pinch of sea salt (enhances the chocolate notes)
1 cup unsweetened almond milk (or your plant-based milk of choice)
Coconut whipped cream (optional, but recommended for a creamy finish)

Step-by-Step Instructions
Making this hot cocoa is as easy as pie—or should I say hot cocoa? Let’s break it down.
Step 1: Gather Your Ingredients
Get everything in one place. You want to have your cocoa, chocolate, milk, and sweetener all in front of you. Trust me, this makes the process smoother than melted chocolate.
Step 2: Heat the Almond Milk
Pour the almond milk into a small saucepan and warm it over medium heat. You don’t want it to boil; just enough to get it hot and steamy!
Step 3: Combine Cocoa and Sugar
While the milk is warming up, grab a bowl and mix together the cocoa powder and raw cane sugar. This ensures that you won’t have cocoa lumps in your drink later.
Step 4: Add the Warm Milk
Once your milk is steamy, gradually pour it into the cocoa mixture while stirring. You want it all incorporated nicely.
Step 5: Add Chocolate and Stir
Toss in the chopped dairy-free chocolate. Stir continuously until it’s fully melted and melted into the hot cocoa.
Step 6: Flavor It Up
Now it’s time for the flavor agents! Add the vanilla extract, a touch of sea salt, and if you’re feeling bold, a hint of peppermint extract. This is your drink; make it yours!
Step 7: Serve and Top
Once everything is well combined and steaming, pour it into your favorite mug. If you’re a fan of whipped cream, don’t hesitate to top it off with some coconut whipped cream for an extra treat.
Tips & Tricks On Making 5-Minute Vegan Hot Cocoa
Here are some handy tips to elevate your hot cocoa game:
Use Quality Ingredients: The better the cocoa and chocolate, the richer the flavor. Seek out organic or fair-trade brands if possible.
Adjust the Sweetness: Everyone’s sweetness threshold is different! Start with less sugar and adjust it according to your taste.
Control Thickness: If you prefer a thicker cocoa, reduce the amount of almond milk. Alternatively, add more cocoa powder, but keep it balanced.
Try Different Milks: Experiment with different plant-based milks. Oat milk or cashew milk can add unique flavors and creaminess.
Get Creative with Toppings: Don’t limit yourself to whipped cream. Try chocolate shavings, marshmallows, or a sprinkle of cinnamon on top.
How Do I Store This Dish?
Hot cocoa is best enjoyed fresh, but if you happen to have leftovers, consider the following storage tips:
Fridge: Transfer to an airtight container and store it in the refrigerator for up to three days.
Reheat Carefully: When you’re ready to enjoy it again, heat gently on the stove or microwave until warm.
Stir Before Serving: The cocoa may separate as it sits. Give it a good stir before enjoying.
What Other Substitutes Can You Use in 5-Minute Vegan Hot Cocoa?
Want to switch things up? Here are some fantastic substitutes:
Nut Milk: Substitute almond milk with coconut milk for a tropical vibe or soy milk for extra creaminess.
Sweeteners: Instead of raw cane sugar, try maple syrup. It adds a unique depth of flavor.
Chocolate Type: Use dark chocolate instead of semisweet; it can intensify the overall richness.
Cocoa Alternatives: If you’re looking for something lighter, consider carob powder instead of cocoa. It’s naturally sweeter and caffeine-free.
Plant-Based Whipped Topping: Use soy whipped cream as an alternative to coconut whipped cream.

Conclusion
And there we have it! Your very own comforting cup of 5-Minute Vegan Hot Cocoa, ready to wrap you in warmth and joy. The best part? You can whip this up any time the mood strikes.
Remember, this isn’t just about satisfying a chocolate craving; it’s a moment of self-care. Go ahead, fill your mug, cozy up, and enjoy each delicious sip. Because moments like these? They’re worth savoring. Cheers to cozy treats and warm hearts!
You’ll also like the following recipes!
5-Minute Vegan Hot Cocoa Recipe – Affordable Food Ideas
Hello, cocoa enthusiasts! Let me take you on a journey that’s as smooth and velvety as the drink we’re about to make. Picture this: it’s chilly outside, maybe there’s a light drizzle pattering against your window, and you crave something warm and sweet. Enter the 5-Minute Vegan Hot Cocoa! This drink isn’t just a warm-up for your hands; it’s like a warm hug for your soul.
This recipe is ultra-simple, yet scrumptious. It’s a lifesaver on cold days, a delightful treat for movie nights, and a quick indulge for any chocolate cravings. As a food enthusiast, I’m excited to share this with you. I promise, once you know how quick and easy this is, you might never reach for that pre-packaged cocoa again.

Ingredients
Instructions
Step 1: Gather Your Ingredients
-
Get everything in one place. You want to have your cocoa, chocolate, milk, and sweetener all in front of you. Trust me, this makes the process smoother than melted chocolate.
Step 2: Heat the Almond Milk
-
Pour the almond milk into a small saucepan and warm it over medium heat. You don’t want it to boil; just enough to get it hot and steamy!
Step 3: Combine Cocoa and Sugar
-
While the milk is warming up, grab a bowl and mix together the cocoa powder and raw cane sugar. This ensures that you won’t have cocoa lumps in your drink later.
Step 4: Add the Warm Milk
-
Once your milk is steamy, gradually pour it into the cocoa mixture while stirring. You want it all incorporated nicely.
Step 5: Add Chocolate and Stir
-
Toss in the chopped dairy-free chocolate. Stir continuously until it’s fully melted and melted into the hot cocoa.
Step 6: Flavor It Up
-
Now it’s time for the flavor agents! Add the vanilla extract, a touch of sea salt, and if you’re feeling bold, a hint of peppermint extract. This is your drink; make it yours!
Step 7: Serve and Top
-
Once everything is well combined and steaming, pour it into your favorite mug. If you’re a fan of whipped cream, don’t hesitate to top it off with some coconut whipped cream for an extra treat.
Nutrition Facts
Servings 1
- Amount Per Serving
- Calories 234kcal
- % Daily Value *
- Total Fat 9.1g14%
- Saturated Fat 5.3g27%
- Cholesterol 24mg8%
- Sodium 323mg14%
- Total Carbohydrate 31g11%
- Dietary Fiber 4g16%
- Sugars 26g
- Protein 10g20%
* Percent Daily Values are based on a 2,000 calorie diet. Your daily value may be higher or lower depending on your calorie needs.
Note
- Use Quality Ingredients: The better the cocoa and chocolate, the richer the flavor. Seek out organic or fair-trade brands if possible.
- Adjust the Sweetness: Everyone’s sweetness threshold is different! Start with less sugar and adjust it according to your taste.
- Control Thickness: If you prefer a thicker cocoa, reduce the amount of almond milk. Alternatively, add more cocoa powder, but keep it balanced.
- Try Different Milks: Experiment with different plant-based milks. Oat milk or cashew milk can add unique flavors and creaminess.
- Get Creative with Toppings: Don’t limit yourself to whipped cream. Try chocolate shavings, marshmallows, or a sprinkle of cinnamon on top.


