Cooking an egg with a perfectly runny yolk can elevate many dishes—the kind of magic that makes a simple meal feel gourmet. Think of it sitting atop a slice of avocado toast, draped over a crispy hash brown, or nestled beside sautéed spinach. The rich, creamy yolk brings moisture and depth to any dish it graces.
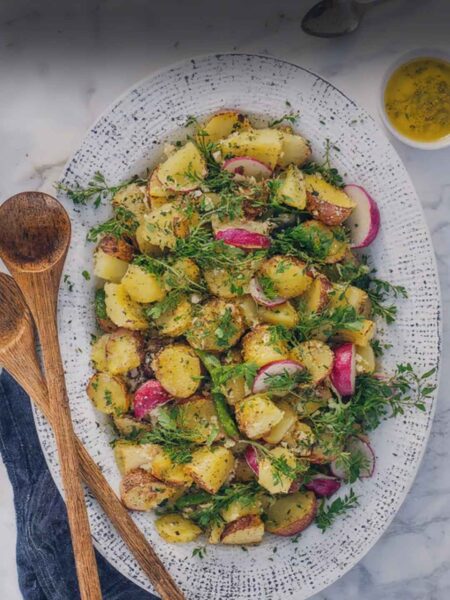
Perhaps you serve it alongside a fresh salad, with vibrant greens and crunchy radishes. Or, how about incorporating it into your favorite breakfast burrito, adding that sumptuous splash of flavor? The possibilities are endless, and each pairing gives a unique twist to your egg experience.
What is Cooking an Egg with a Runny Yolk?
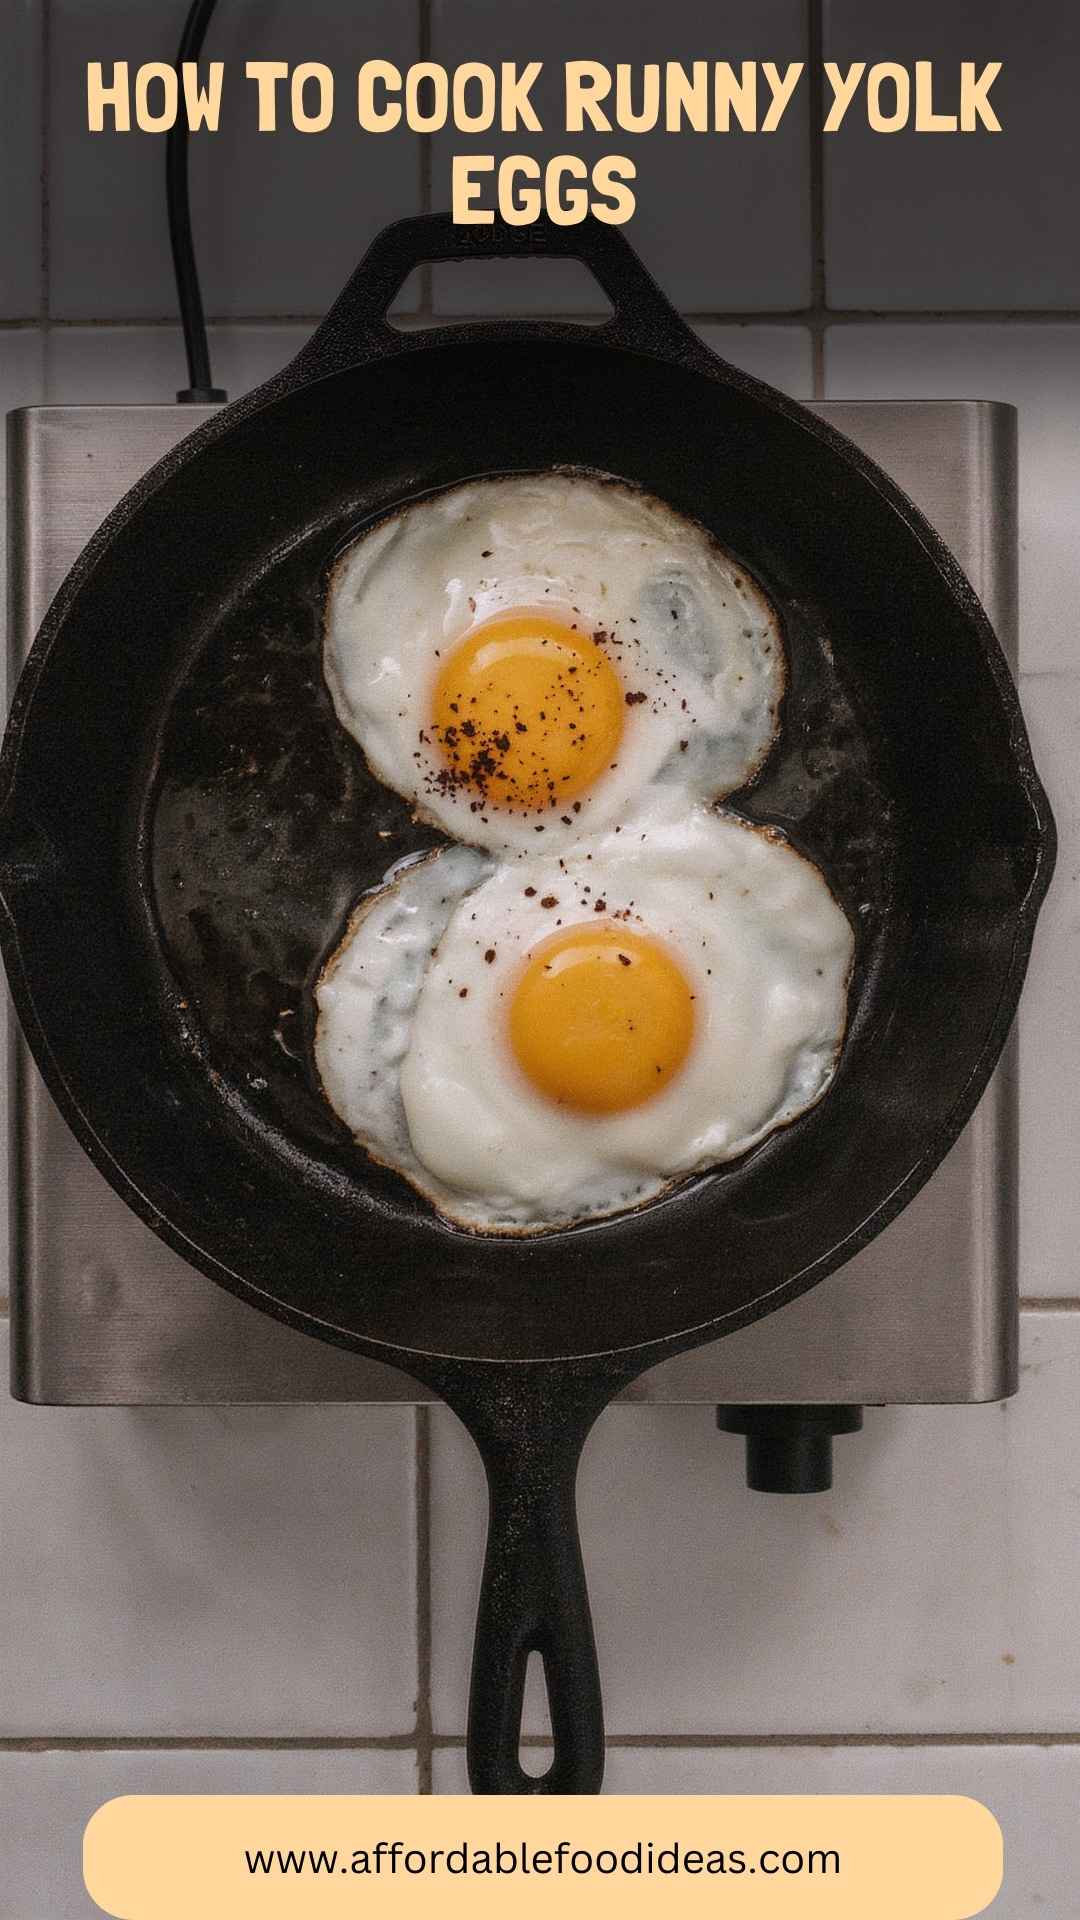
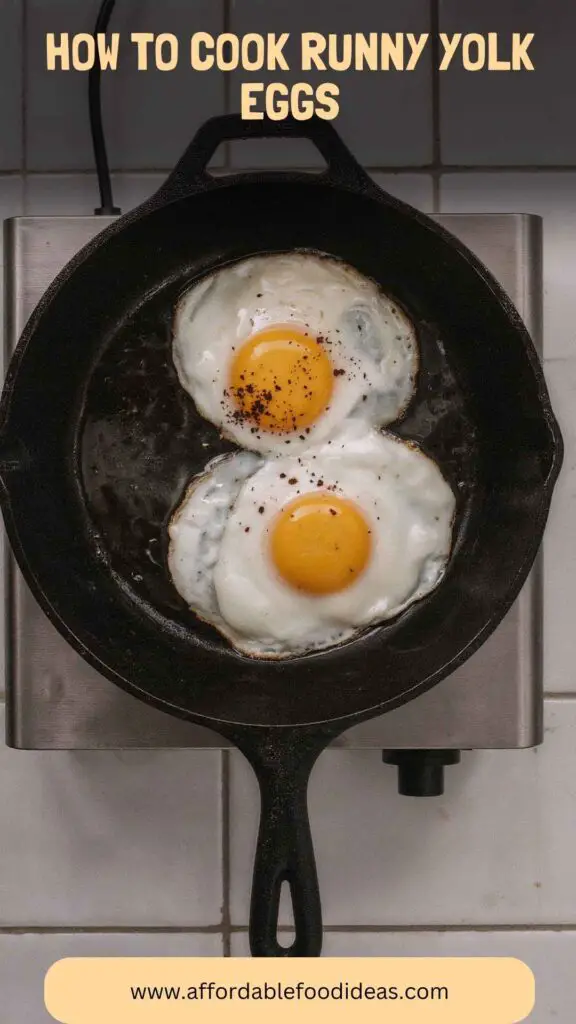
Cooking an egg with a runny yolk implies that the yolk is still liquid and not fully cooked. The whites should be firm but tender, perfectly complementing the rich center. This technique can elevate familiar preferences, turning an ordinary egg into the star of your plate. While sunny side up or soft-boiled eggs are common methods, each technique can create different textural experiences.
How Does It Taste?
Imagine breaking through the egg white into that luscious yolk. The taste? Rich and creamy, with a hint of sweetness that contrasts nicely with the subtle saltiness of the egg. It’s a delicate balance of flavors—comforting yet sophisticated.
Pair it with a sprinkle of sea salt or a dash of your favorite seasoning, and the taste reaches new heights. You might even add a drizzle of hot sauce or a sprinkle of smoked paprika for a delightful kick.
Why You’ll Love This
You might be wondering what makes cooking an egg with a runny yolk so special. Firstly, it comes together quickly, making it a perfect option for busy mornings or last-minute dinners. Secondly, it’s an excellent source of protein and essential nutrients. Additionally, the runny yolk serves as a fantastic sauce for grains or vegetables, providing flavor and moisture without being overly heavy. It’s the kind of dish that embraces simplicity while packing a punch.
Ingredients
To whip up this delicious egg treat, gather the following items:
- 2 large eggs (preferably free-range, organic, pasture-raised)
- 1/2 tsp light avocado oil (or another neutral oil with a high smoke point, like grapeseed or sunflower oil)
- Pinch of sea salt and freshly cracked black pepper (or other seasonings to taste)
- 1/4 tsp smoked paprika (optional, for a subtle smoky flavor)
- 1 tsp finely chopped fresh chives or parsley (optional, for freshness and aroma)
Step-by-Step Directions
Cooking an egg with a runny yolk isn’t rocket science, but a bit of precision goes a long way. Follow these steps to ensure the perfect result.
Step 1: Prepare Your Ingredients
Gather all the ingredients and equipment. You’ll need a non-stick skillet, a spatula, and your chosen seasonings. Ensure your eggs are at room temperature—this helps them cook evenly. Either leave them out for a bit or give them a quick warm water bath.
Step 2: Heat the Pan
Set your skillet over medium heat. Add the avocado oil and allow it to warm up. You’ll want to hear a gentle sizzle when the eggs hit the pan—too hot, and the outside will cook before the inside can catch up.
Step 3: Crack the Eggs
Carefully crack the eggs into the pan. Give them a little space; you don’t want them to merge together.
Step 4: Season Lightly
As the eggs start to fry, sprinkle them with sea salt and freshly cracked black pepper. This enhances the overall flavor without overpowering the egg’s natural taste.
Step 5: Cook the Eggs
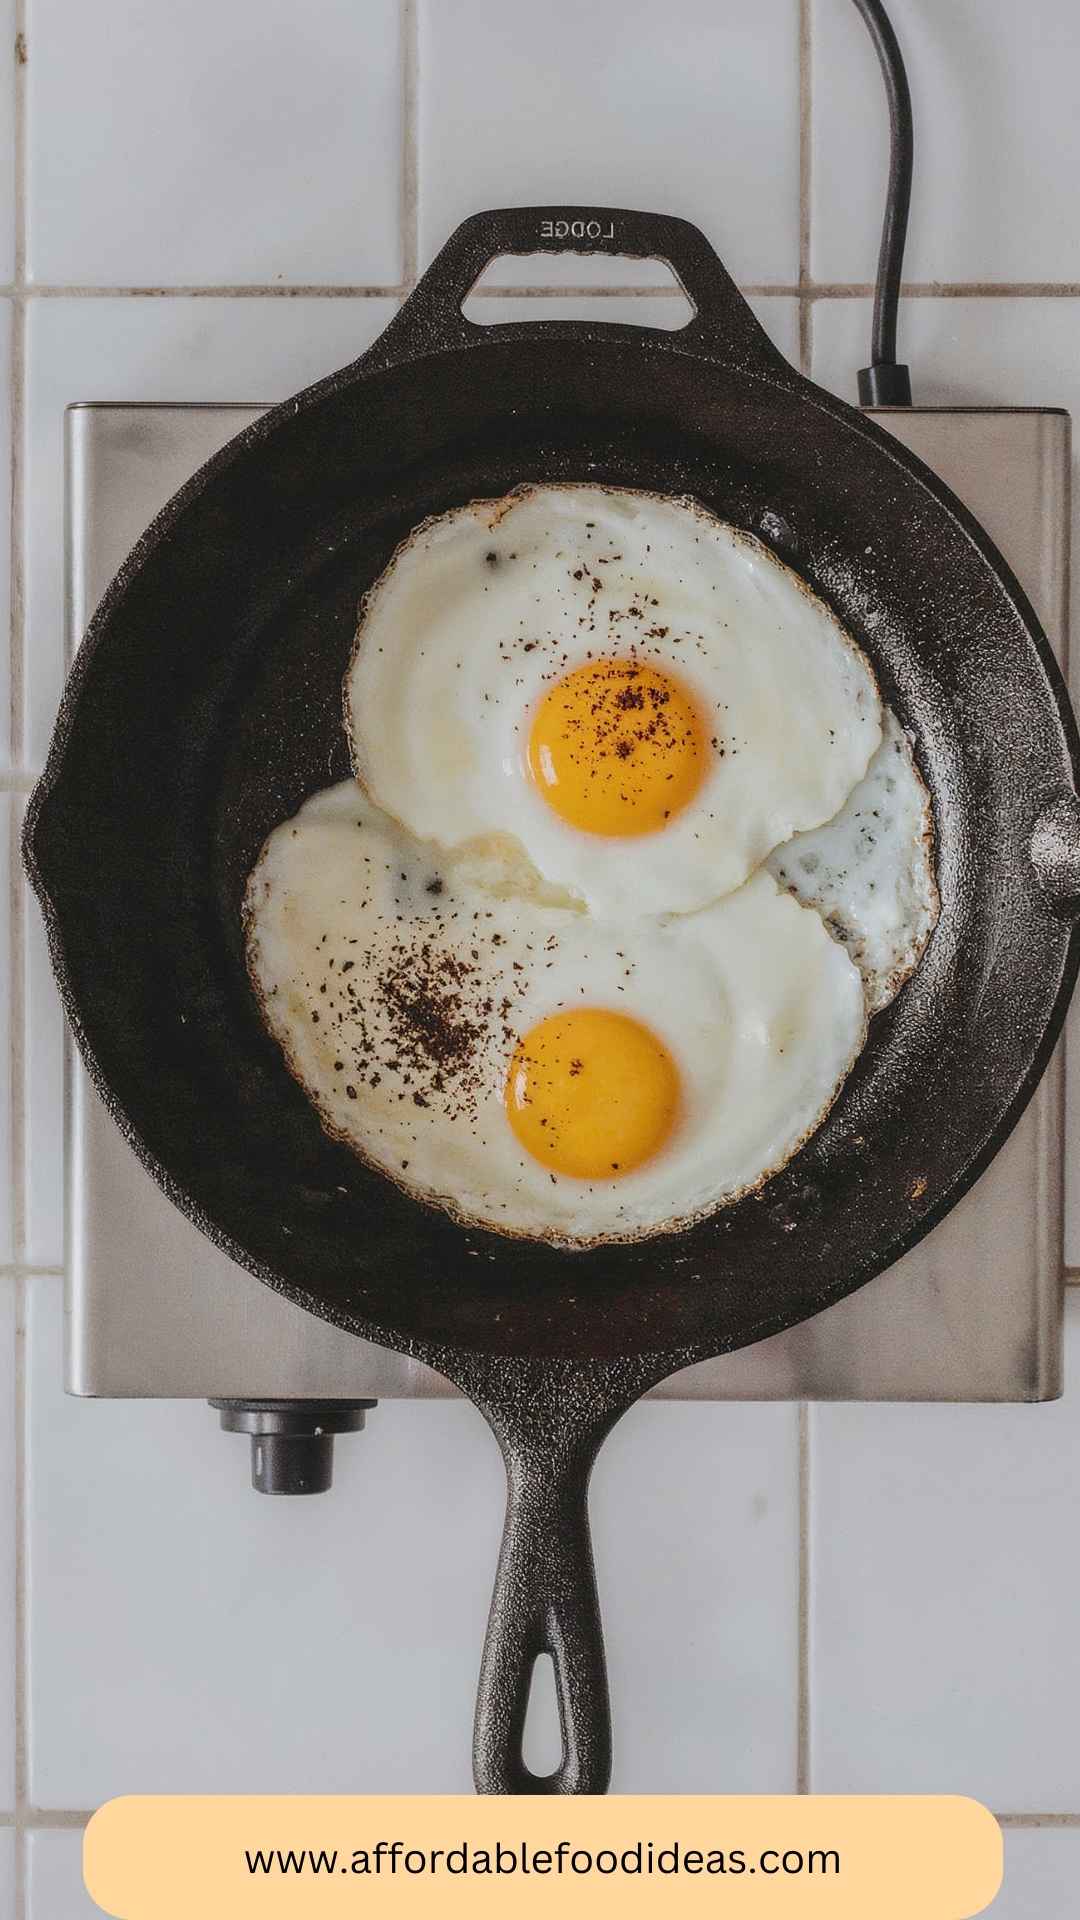
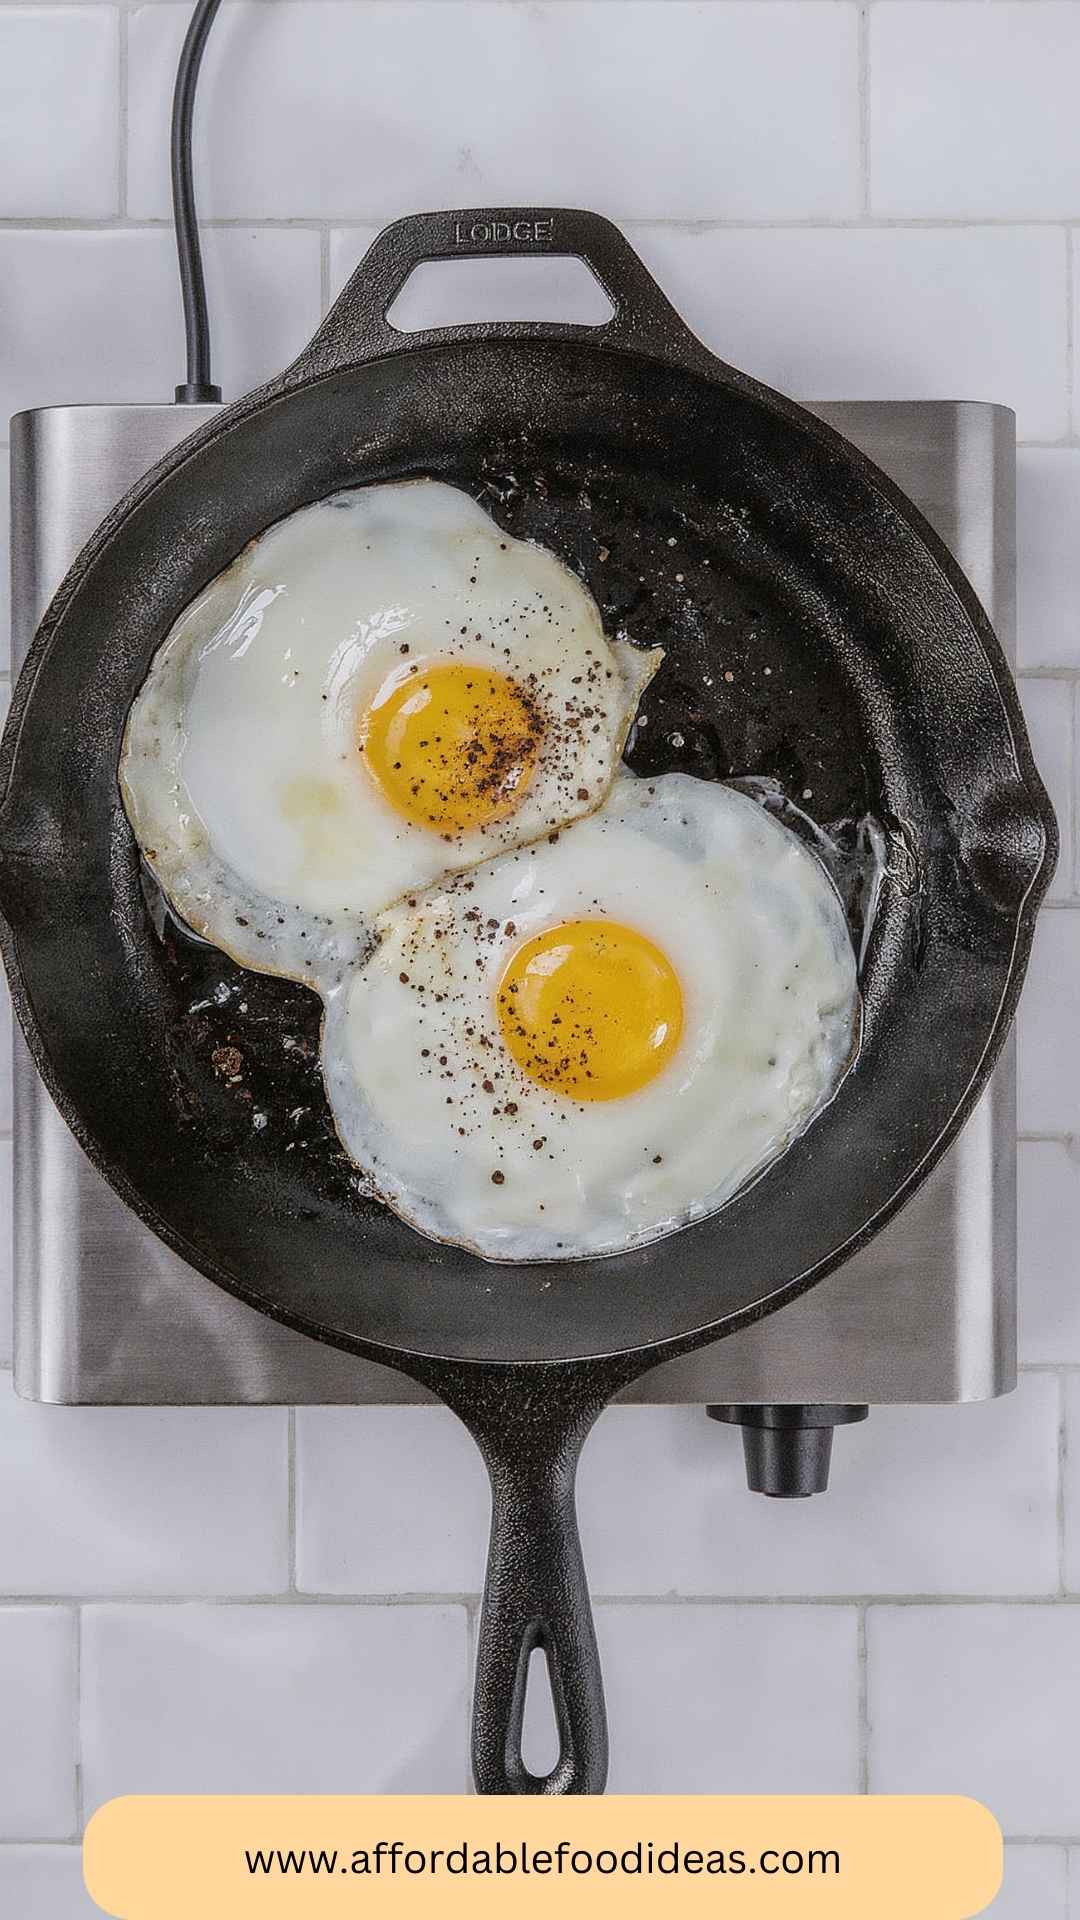
Monitor the eggs closely. You want to let them cook for about 2 to 3 minutes. As the whites firm up, you’ll notice they are completely opaque while the yolks remain bright and glossy.
Step 6: Test for Doneness
To check the yolks, gently press the white with your spatula. It should feel firm and bounce back. If the yolk jiggles too much, give it another minute.
Step 7: Plate and Serve
Once the eggs are cooked to your liking, carefully slide your spatula beneath them to lift them from the skillet. Transfer them to a plate, making sure not to break the yolks.
Step 8: Add Final Touches
Sprinkle on your optional smoked paprika and fresh chives or parsley. A bit of hot sauce can add a zing if you like some heat.
Tips for Making an Egg with a Runny Yolk
- Use Fresh Eggs: Fresh eggs behave better in the pan. They hold their shape, ensuring that gorgeous yolk doesn’t break before it’s time.
- Monitor Temperature: Keep the heat moderate. Too high, and you risk crispy whites with a raw yolk.
- Don’t Rush It: Let each step happen naturally. Cooking eggs is not a race; a bit of patience pays off.
- Experiment with Seasonings: While salt and pepper are classics, feel free to try herbs, spices, or even cheese to elevate the flavor profile.
- Practice, Practice, Practice: Like many culinary skills, creating perfectly runny yolks takes practice. Don’t be discouraged if your first attempts aren’t perfect.
Nutrition Information
This method of cooking eggs, specifically with runny yolks, results in a dish rich in protein, vitamins, and healthy fats. For a serving of two eggs, here is a rough breakdown:
- Calories: About 140
- Protein: 12g
- Fat: 9g
- Carbohydrates: 1g
- Cholesterol: 370mg
- Sodium: Varies with added seasonings
Eggs offer vitamins A, D, E, and B12, supporting eye health and metabolism among other benefits.
How Do You Store Runny Yolk Eggs?
Storing runny yolk eggs is a bit tricky, given their delicate nature. If you find yourself with leftovers (which can be a rarity), here’s how to manage them:
- Refrigeration: Store cooked eggs in an airtight container. They are best eaten fresh, but can be safely kept in the fridge for up to 24 hours.
- Reheating: If you have to reheat, do it gently in a skillet with a splash of water to steam them slightly, which helps maintain the yolk’s runny consistency.
What Other Substitutes Can You Use for Runny Yolk Eggs?
Should you want to vary your breakfast or brunch repertoire, consider these options:
- Quail Eggs: These tiny gems cook similarly to chicken eggs but are more delicate. They bring a unique flair to any dish.
- Duck Eggs: Richer than chicken eggs, duck eggs can provide a creamier yolk. These are fantastic if you seek a deeper flavor.
- Tofu: For a vegan alternative, silken tofu cooked gently can mimic the creamy texture without the eggs.
- Yolk-Style Sauces: Aioli or homemade hollandaise can provide a similar richness to dishes, particularly when drizzled over veggies.
- Avocado: Mashed avocado delivers a creamy, luscious mouthfeel that can mimic the indulgence of a runny yolk.
Conclusion
Cooking an egg with a runny yolk is an enjoyable skill that can bring so much more to your meals. It’s a simple technique that rewards you with complex flavors, vivid colors, and endless culinary possibilities.
Keep experimenting with different pairings, sauces, and style variations. As you hone this skill, you’ll discover how it can enrich not just your plate but every meal experience. So, embrace those eggs; your taste buds will thank you!
You’ll also like the following recipes!
How To Cook Runny Yolk Eggs – Affordable Food Ideas
Let’s talk eggs. They are humble, yet versatile. One of the most enticing ways to enjoy eggs is with a runny yolk. There's something delightful about that golden liquid waiting to burst open. It creates a flavor explosion, enriching every bite with its silky texture.
Whether you are a breakfast enthusiast or a dinner innovator, knowing how to correctly prepare an egg with a runny yolk can make all the difference. So, gather your ingredients and let’s dive into this culinary adventure together.
Ingredients
Instructions
Step 1: Prepare Your Ingredients
-
Gather all the ingredients and equipment. You’ll need a non-stick skillet, a spatula, and your chosen seasonings. Ensure your eggs are at room temperature—this helps them cook evenly. Either leave them out for a bit or give them a quick warm water bath.
Step 2: Heat the Pan
-
Set your skillet over medium heat. Add the avocado oil and allow it to warm up. You’ll want to hear a gentle sizzle when the eggs hit the pan—too hot, and the outside will cook before the inside can catch up.
Step 3: Crack the Eggs
-
Carefully crack the eggs into the pan. Give them a little space; you don’t want them to merge together.
Step 4: Season Lightly
-
As the eggs start to fry, sprinkle them with sea salt and freshly cracked black pepper. This enhances the overall flavor without overpowering the egg’s natural taste.
Step 5: Cook the Eggs
-
Monitor the eggs closely. You want to let them cook for about 2 to 3 minutes. As the whites firm up, you’ll notice they are completely opaque while the yolks remain bright and glossy.
Step 6: Test for Doneness
-
To check the yolks, gently press the white with your spatula. It should feel firm and bounce back. If the yolk jiggles too much, give it another minute.
Step 7: Plate and Serve
-
Once the eggs are cooked to your liking, carefully slide your spatula beneath them to lift them from the skillet. Transfer them to a plate, making sure not to break the yolks.
Step 8: Add Final Touches
-
Sprinkle on your optional smoked paprika and fresh chives or parsley. A bit of hot sauce can add a zing if you like some heat.
Nutrition Facts
Servings 1
- Amount Per Serving
- Calories 140kcal
- % Daily Value *
- Total Fat 9g14%
- Cholesterol 370mg124%
- Total Carbohydrate 1g1%
- Protein 12g24%
* Percent Daily Values are based on a 2,000 calorie diet. Your daily value may be higher or lower depending on your calorie needs.
Note
- Use Fresh Eggs: Fresh eggs behave better in the pan. They hold their shape, ensuring that gorgeous yolk doesn’t break before it’s time.
- Monitor Temperature: Keep the heat moderate. Too high, and you risk crispy whites with a raw yolk.
- Don’t Rush It: Let each step happen naturally. Cooking eggs is not a race; a bit of patience pays off.
- Experiment with Seasonings: While salt and pepper are classics, feel free to try herbs, spices, or even cheese to elevate the flavor profile.
- Practice, Practice, Practice: Like many culinary skills, creating perfectly runny yolks takes practice. Don’t be discouraged if your first attempts aren’t perfect.

