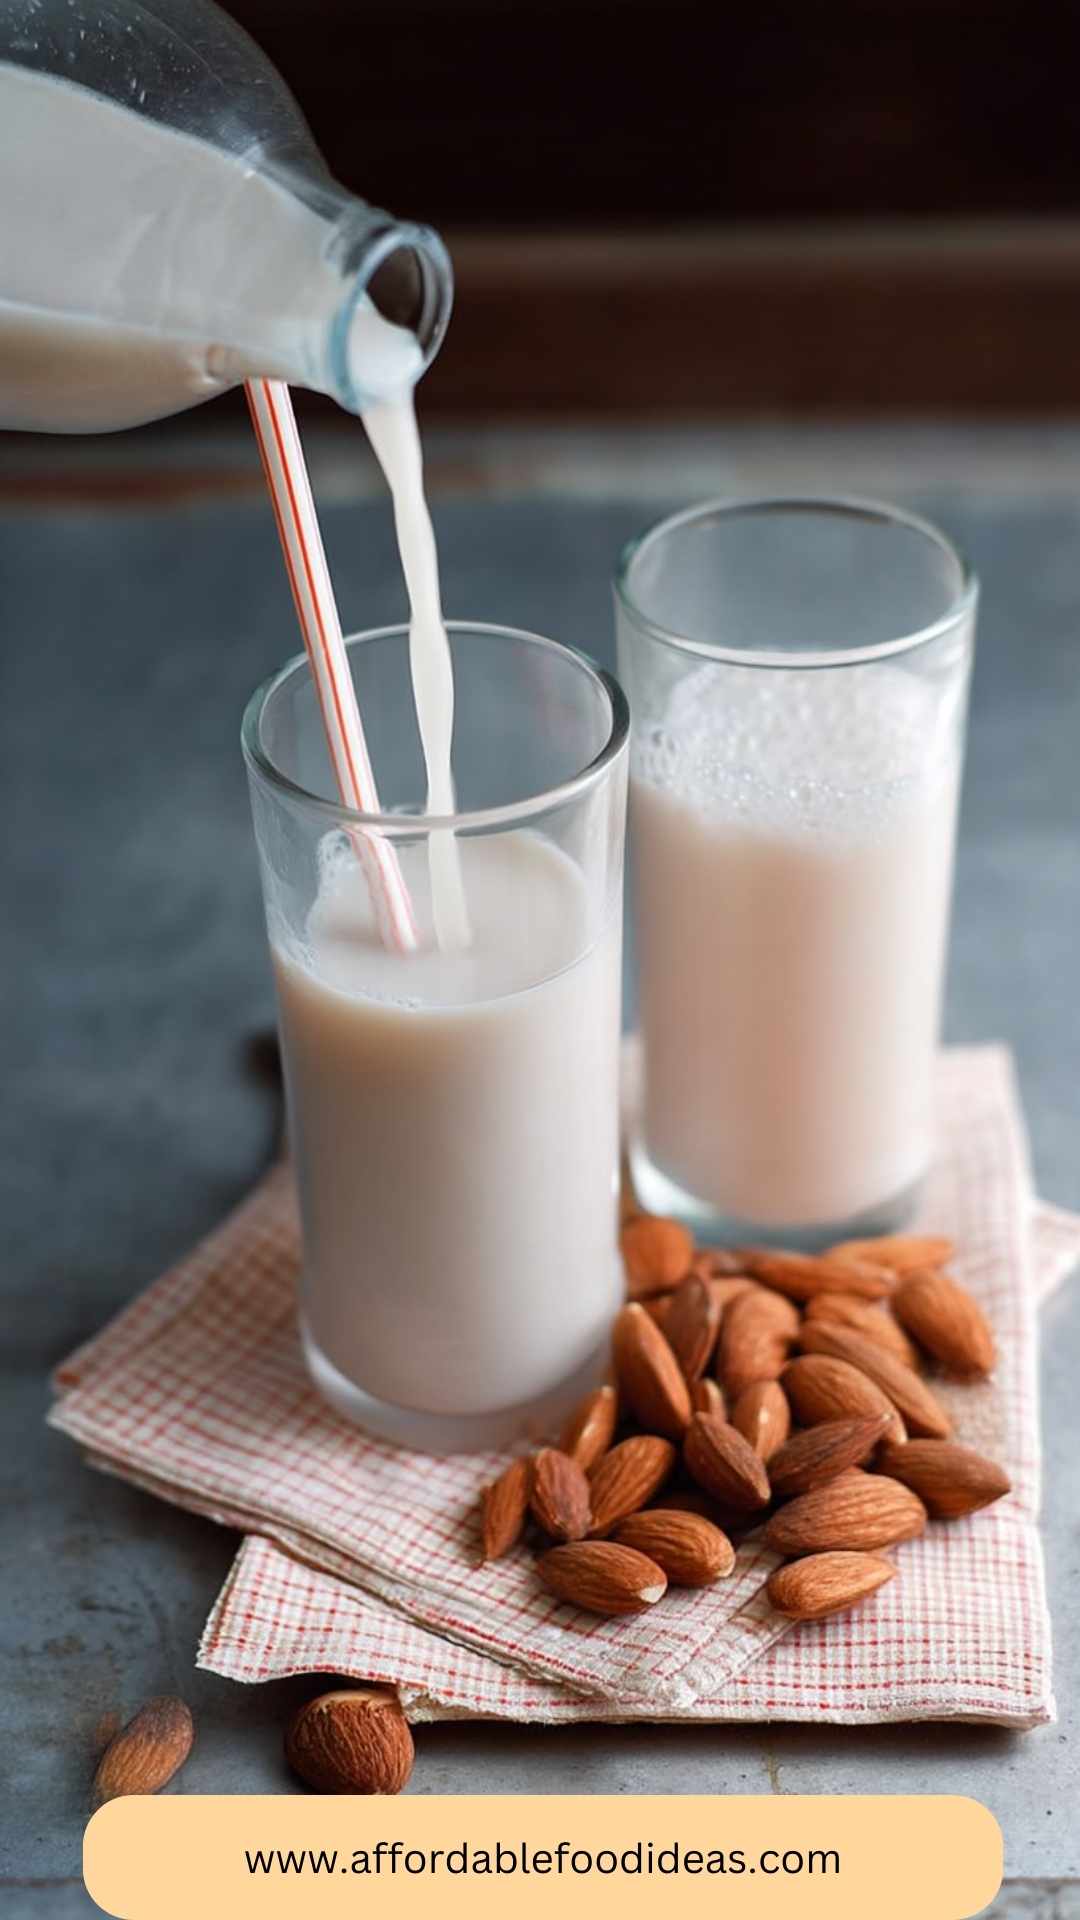
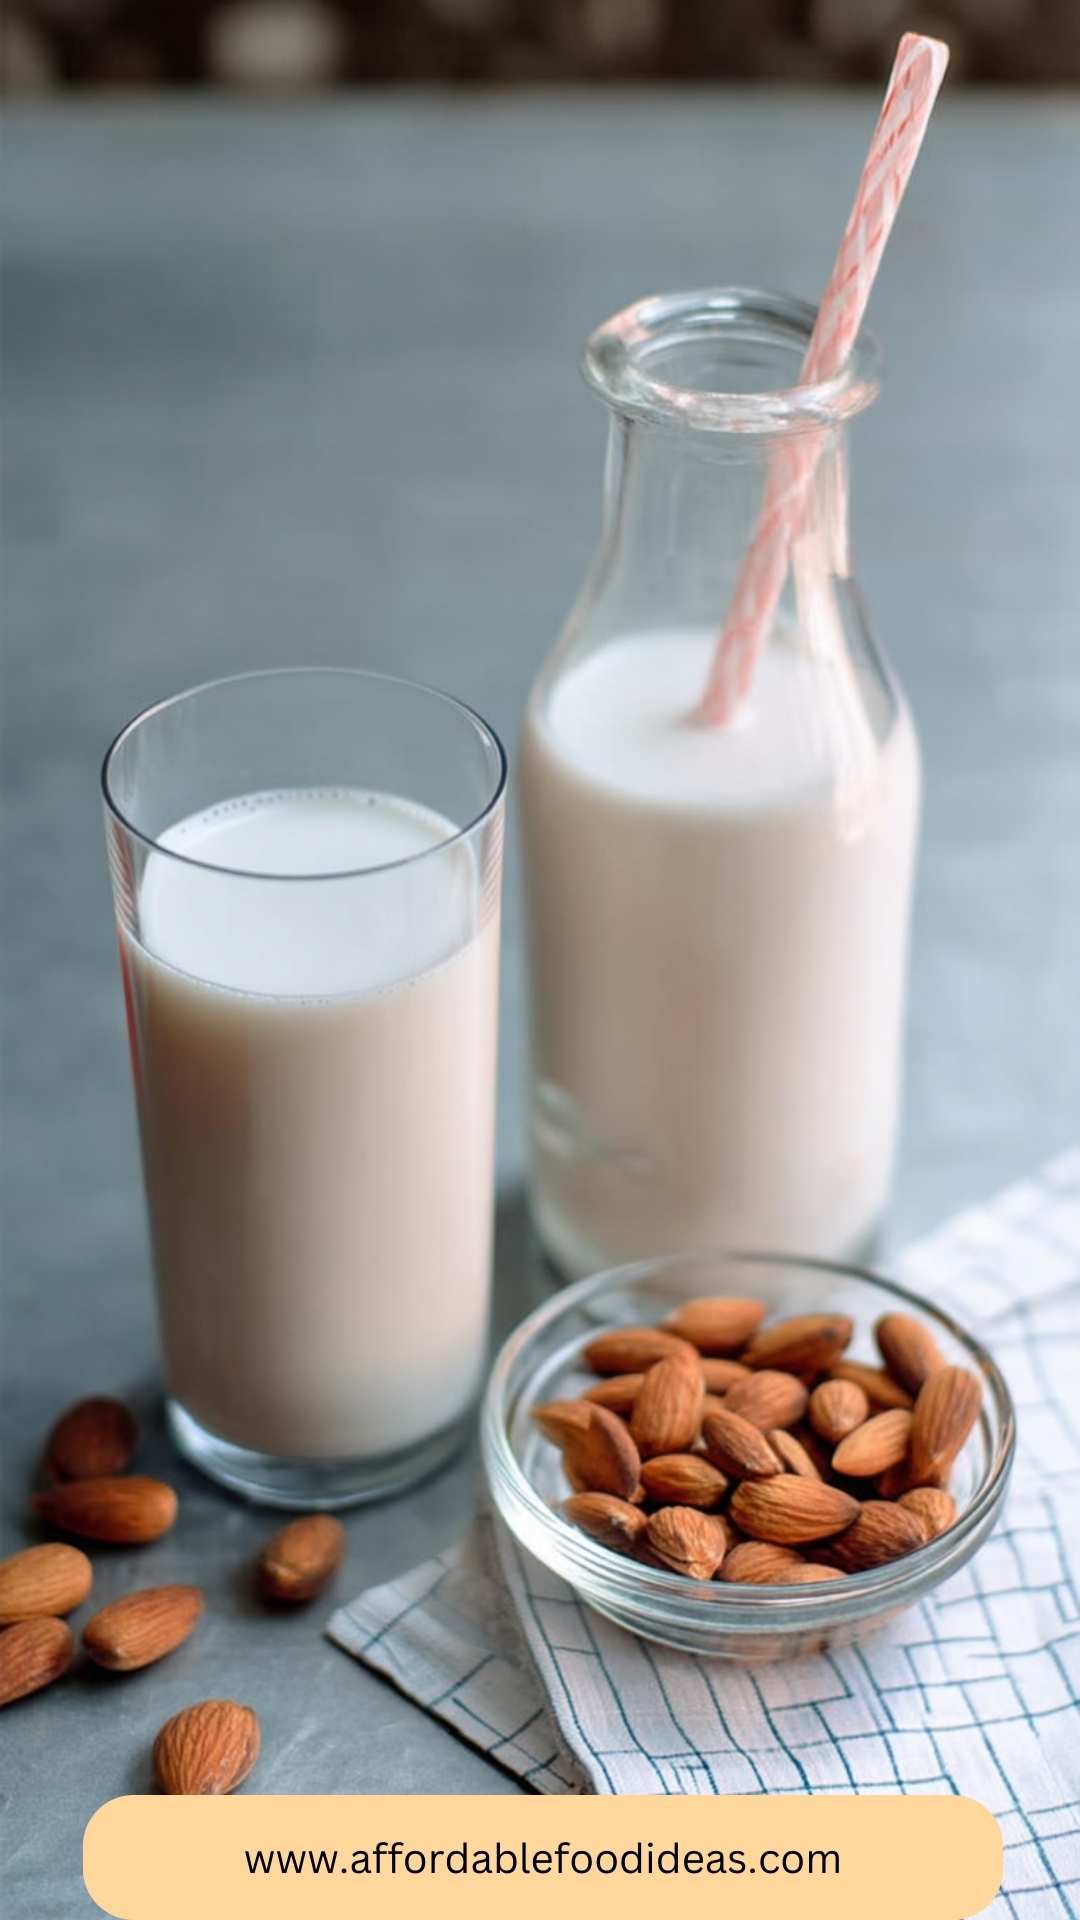
Everybody knows that homemade is better than store-bought—especially when it comes to almond milk! Picture yourself whipping up a fresh batch of creamy goodness in your own kitchen.
You can pair this delightful dairy alternative with your favorite dishes. Whether it’s poured over your morning cereal, blended into a smoothie, or mixed with your post-workout protein shake, homemade almond milk has plenty of uses.
Plus, it’s a fantastic base for delightful treats like almond milk lattes or creamy soups.
It’s officially time to make some almond milk. Allow me to take you on this simple yet satisfying journey.

The Joy of Homemade Almond Milk
Why take the plunge into making your own almond milk? Let’s dive into the benefits of doing it yourself.
1. Superior Freshness
There’s an undeniable freshness that comes with making your almond milk. You control the date it’s made, so you can enjoy it at its best. Did you know that store-bought almond milk might sit on the shelf for weeks?
Freshness means richer flavor. Nothing beats the smooth creaminess that freshly blended almonds can bring.
2. Customizable Flavors
Store-bought options can be limiting. They often come with added sugars and flavors that mask the almond taste. When you make it at home, the flavor possibilities are endless! Want it sweet? Add a touch of honey or vanilla.
Prefer it plain?
Just skip the sweeteners. You’re in charge of your palate!
3. Health Benefits
By making almond milk at home, you ensure there are no preservatives or artificial additives. You control the ingredients, so it’s ultimately healthier. Plus, almonds are packed with nutrients, such as vitamin E and healthy fats.
You’re not just making a drink; you’re creating a nutritional powerhouse.
4. Cost-Effectiveness
Let’s talk money. Those cartons of almond milk can add up, especially if you’re a fan. By investing in raw almonds, you can make multiple batches at a fraction of the cost. Trust me, it feels great to save money while enjoying something so delicious.
How Does It Taste?
This homemade almond milk brings forth a mild, nutty flavor. It’s smooth and creamy without any overwhelming sweetness, which can often occur with the pre-packaged varieties.
If you decide to add a touch of vanilla or even a bit of maple syrup, it elevates the taste to a new level of indulgence. The texture? Silky yet not too thick, perfect for multiple culinary creations.
What Sets This Recipe Apart?
This recipe stands out because, unlike other variations you may find, it ensures maximum almond flavor while allowing for customization to suit your taste. It’s straightforward and doesn’t rely on added preservatives or fillers.
Many others might use blenders that leave chunks behind, but let’s ensure you receive that creamy, ultra-smooth texture that everyone loves.
The Ingredients
Before we embark on this delicious journey, let’s gather our ingredients:
- 1/2 tsp vanilla extract
- A pinch of sea salt
- 2 cups filtered water, plus extra for soaking
- 1 cup whole almonds, ideally organic
- Optional sweeteners such as honey, coconut sugar, agave nectar, or maple syrup

Instructions
Now, let’s get to the fun part—making your almond milk!
Step 1: Soak the Almonds
Start by soaking your almonds in filtered water for at least 8-12 hours. This process softens the nuts and makes them easier to blend. If you’re in a hurry, even a few hours can make a difference.
It’s a simple way to get that creamy texture. As they soak, imagine the delightful milk you’ll create.
Step 2: Rinse and Drain
Once the almonds have soaked, rinse them well. Rinsing removes some of the bitterness and ensures a clean flavor. So, grab a colander or strainer and give those almonds a good rinse under cold water.
Step 3: Blend
Put the rinsed almonds in a blender. Add your two cups of filtered water. With the lid on tightly, blend on high speed for about 1 to 2 minutes. You’ll know it’s ready when the mixture looks creamy and the almonds appear finely ground. If it’s not smooth yet, don’t hesitate to let it blend a bit longer.
Step 4: Strain the Mixture
Now for the magic of separation! Grab a nut milk bag or cheesecloth. Place it over a bowl or large jug. Pour the blended almond mixture into it.
Squeeze and twist to extract all that delicious almond milk. You want to get out as much liquid as possible—this is where the creaminess lives!
Step 5: Add Flavor
This is where you can have fun. If you want to add your vanilla extract or a sweetener, do it now! Blend briefly to mix it in without losing any of the nutritional benefits. Taste it. Adjust if needed.
Step 6: Store Your Milk
Transfer the almond milk into a clean glass jar or container. Seal it tightly and store it in your refrigerator. It will stay fresh for about 3 to 5 days. Just give it a good shake before you use it again, as separation is natural.
Notes
Here are some additional tips to ensure your almond milk is perfect every time:
- Quality Matters: Choose high-quality almonds for the best taste and nutritional profile.
- Experiment with Flavors: Try adding a pinch of cinnamon or cocoa powder for fun variations.
- Save the Pulp: That leftover almond pulp can be used in smoothies, oatmeal, or even baking. Don’t waste it!
- Adjust the Water: For creamier milk, reduce the water. For thinner milk, add more.
- Make it Savory: You can also soak and blend almonds without sweeteners to use in savory dishes.
How Do You Store This Almond Milk?
Storing your homemade almond milk is straightforward. Pour it into a clean glass container with a tight lid, and keep it in the fridge. As mentioned earlier, it stays fresh for 3 to 5 days. Just give it a shake before using since it may separate.
Sides for Almond Milk
Here are some delightful ways to enjoy your homemade creation:
1. Smoothies
Almond milk is a fantastic base for smoothies. Blend it with bananas, spinach, and a scoop of protein powder for an energizing drink.
2. Oatmeal
Use almond milk instead of water or regular milk for your morning oatmeal. It adds a subtle nuttiness and creaminess that turns an ordinary bowl into something special.
3. Coffee or Tea
Whip up an almond milk latte! Just froth it up and combine it with your favorite coffee. It makes for a delightful morning boost.
What Alternatives Can You Use for the Ingredients?
Sometimes, you might not have all the ingredients on hand. Here are a few alternatives:
- Cashews: You can substitute almonds with cashews for a different flavor and richness.
- Water: If filtered water isn’t available, tap water can work in a pinch, though it may slightly alter the taste.
- Sweeteners: Replace honey with maple syrup or agave for a vegan option.
- Flavorings: If vanilla extract isn’t available, a touch of almond extract can enhance flavors too.

Conclusion
Making almond milk at home is an easy and rewarding process. With minimal ingredients, you can create a delicious and healthy alternative to dairy milk.
The potential for customization allows you to experiment based on your preferences. You not only save money but also avoid additives found in store-bought versions.
So what are you waiting for?
Grab those almonds, soak them, and blend away! You’ll be enjoying a glass of creamy, homemade almond milk in no time.
You’ll also like the following recipes!
- How To Roast Spaghetti Squash Quickly
- Easy Homemade Harissa Sauce Copycat Recipe
- Best One Pot Vegetable Broth
How To Make Almond Milk At Home – Affordable Food Ideas
Everybody knows that homemade is better than store-bought—especially when it comes to almond milk! Picture yourself whipping up a fresh batch of creamy goodness in your own kitchen.
You can pair this delightful dairy alternative with your favorite dishes. Whether it’s poured over your morning cereal, blended into a smoothie, or mixed with your post-workout protein shake, homemade almond milk has plenty of uses.

Ingredients
Instructions
Step 1: Soak the Almonds
-
Start by soaking your almonds in filtered water for at least 8-12 hours. This process softens the nuts and makes them easier to blend. If you're in a hurry, even a few hours can make a difference.
It’s a simple way to get that creamy texture. As they soak, imagine the delightful milk you'll create.
Step 2: Rinse and Drain
-
Once the almonds have soaked, rinse them well. Rinsing removes some of the bitterness and ensures a clean flavor. So, grab a colander or strainer and give those almonds a good rinse under cold water.
Step 3: Blend
-
Put the rinsed almonds in a blender. Add your two cups of filtered water. With the lid on tightly, blend on high speed for about 1 to 2 minutes. You’ll know it’s ready when the mixture looks creamy and the almonds appear finely ground. If it’s not smooth yet, don’t hesitate to let it blend a bit longer.
Step 4: Strain the Mixture
-
Now for the magic of separation! Grab a nut milk bag or cheesecloth. Place it over a bowl or large jug. Pour the blended almond mixture into it.
Squeeze and twist to extract all that delicious almond milk. You want to get out as much liquid as possible—this is where the creaminess lives!
Step 5: Add Flavor
-
This is where you can have fun. If you want to add your vanilla extract or a sweetener, do it now! Blend briefly to mix it in without losing any of the nutritional benefits. Taste it. Adjust if needed.
Step 6: Store Your Milk
-
Transfer the almond milk into a clean glass jar or container. Seal it tightly and store it in your refrigerator. It will stay fresh for about 3 to 5 days. Just give it a good shake before you use it again, as separation is natural.
Nutrition Facts
Servings 2
- Amount Per Serving
- Calories 207kcal
- % Daily Value *
- Total Fat 0.3g1%
- Sodium 11mg1%
- Total Carbohydrate 50g17%
- Sugars 24g
* Percent Daily Values are based on a 2,000 calorie diet. Your daily value may be higher or lower depending on your calorie needs.
Note
- Quality Matters: Choose high-quality almonds for the best taste and nutritional profile.
- Experiment with Flavors: Try adding a pinch of cinnamon or cocoa powder for fun variations.
- Save the Pulp: That leftover almond pulp can be used in smoothies, oatmeal, or even baking. Don’t waste it!
- Adjust the Water: For creamier milk, reduce the water. For thinner milk, add more.
- Make it Savory: You can also soak and blend almonds without sweeteners to use in savory dishes.


