Before getting our hands dirty with roasting pumpkin seeds, let’s consider some flavor buddies. Roasted pumpkin seeds are not just delightful snacks on their own; they also shine when paired with various dishes. Imagine crumbling them atop a fresh salad.
They add a lovely crunch and a nutty taste that elevates any leafy mix. Also, they can serve as an impressive topping on soups. Picture a creamy butternut squash soup with a handful of these seeds sprinkled on top. The contrast in textures will redefine your experience!
Another fantastic pairing is with yogurt or cottage cheese. A sprinkle of roasted pumpkin seeds can turn a simple bowl of dairy into a protein-packed, filling snack or breakfast.
Let’s not forget about their role in baking. Toss them into muffins or bread dough, and you’re in for a yummy surprise. Feeling adventurous? Add them into trail mixes for an afternoon snack that fuels your day.
Now that we’ve established how versatile roasted pumpkin seeds can be, let’s dive deep into the roasting process.

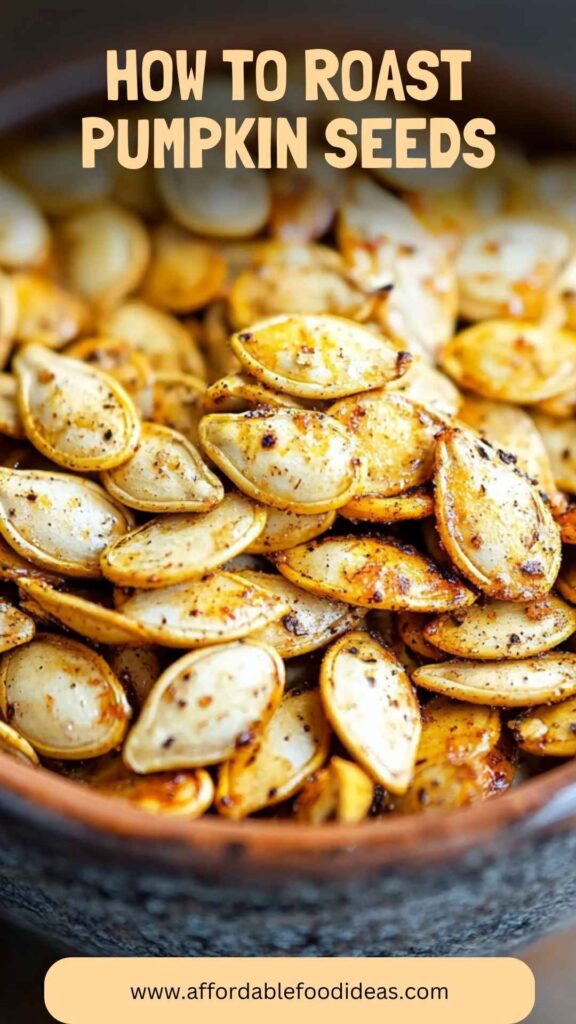
What is How to Roast Pumpkin Seeds?
Roasting pumpkin seeds involves cleaning and baking the seeds found inside pumpkins until they’re crispy. It’s a simple process, and honestly, the rewards are huge.
Roasted pumpkin seeds can act as a healthy snack on their own or a crunch factor for a variety of dishes. Plus, it’s an eco-friendly way to use up the parts of the pumpkin that usually get left behind.
Why You’ll Love Roasted Pumpkin Seeds
You might be wondering, why should I spend my time roasting pumpkin seeds? Allow me to share the merits that go beyond the delicious flavor.
Nutritional Benefits
Pumpkin seeds, also known as pepitas, pack a nutritional punch. They’re a great source of magnesium, zinc, and antioxidants. These nutrients offer various health benefits, including improved heart health, better sleep, and support for the immune system.
A study published in the Journal of Nutritional Biochemistry highlights the antioxidant properties of pumpkin seeds, promoting overall health. Being a registered dietitian, I can confidently say that adding these to your diet could be beneficial.
A Flavor Playground
You can customize your roasting process based on personal preference. From sweet to savory, the options are endless. Want to give them a spicy kick?
Add chili powder. Prefer something sweet? Sprinkle a bit of sugar and cinnamon. The choice is yours!
Value for Money
Roasting pumpkin seeds at home is a budget-friendly activity. Store-bought snacks can add up quickly, and they often lack freshness. By creating your own, you control the ingredients and save money in the long run.
Environmental Impact
Using pumpkin seeds goes hand-in-hand with sustainability. By roasting them, you’re making full use of the pumpkin and reducing food waste. It feels good to contribute positively to the environment.
Family Fun
This can be a fantastic activity involving the whole family. Clean the seeds, season them, and place them in the oven together. It is an interactive experience that kids and adults alike can enjoy. I always look back fondly on those moments.
Sounds tempting? Let’s move on to the essential tools you’ll need and the ingredients for our tasty roasted pumpkin seeds!
The Ingredients You Will Need to Make Roasted Pumpkin Seeds
Gather your gear! Here’s what you need:
– 2 teaspoons fine Himalayan pink salt, plus extra for sprinkling after roasting
– 1 ½ cups raw pumpkin seeds
– ½ teaspoon smoked paprika
– 2 teaspoons preferred spice mix — options like pumpkin spice, smoky curry powder, harissa blend, or bold chili powder
– 2 teaspoons melted extra virgin olive oil, unrefined coconut oil, or nut oil like roasted walnut oil
– 1 teaspoon maple syrup

Directions
Now for the fun part! Here’s a step-by-step guide on how to roast pumpkin seeds.
Step 1: Clean the Seeds
Start with those slimy seeds! Once you carve your pumpkin, scoop out the seeds and guts. Rinse the seeds in cold water to remove any remaining pulp. This is crucial because any leftover pumpkin flesh can burn during roasting.
I always feel like a degree in anatomy comes in handy at this point. Drain the seeds in a colander and pat them dry with a kitchen towel.
Step 2: Preheat the Oven
While you are cleaning the seeds, go ahead and preheat your oven to 325°F (165°C). This will give you a head start so that the seeds can go straight to cooking once they’re ready.
Step 3: Season the Seeds
Transfer your cleaned seeds to a bowl. Now, drizzle the melted olive oil over them. Add the salt, smoked paprika, and your choice of spice mix.
If you want to introduce sweetness, add the maple syrup as well. Give it a good toss to ensure every seed is coated well.
Step 4: Spread and Bake
Grab a baking sheet and line it with parchment paper. Spread the seasoned pumpkin seeds in a single layer. You want them evenly spaced for that beautiful crispy finish.
Bake in the preheated oven for about 20–25 minutes. Stir them halfway through to ensure even cooking. Keep an eye on them in the last few minutes—nothing worse than burnt seeds!
Step 5: Cool and Enjoy
Once they’re golden brown and fragrant, take them out of the oven. Let them cool for a few minutes on the baking sheet. The seeds will continue to crisp up as they cool down. After that, sprinkle with an additional touch of salt if desired.
Congratulations! You just made roasted pumpkin seeds.
Notes
Here are some extra tips to boost your roasting skills:
- Experiment with Spice: Feel free to get creative! Try different spices or even a sweet and spicy blend for a unique twist.
- Dry Seeds: Make sure your seeds are thoroughly dry before seasoning to promote a better crunch.
- Oven Times May Vary: Keep in mind that ovens are like people—no two are exactly alike. Adjust your cooking time if needed.
- Check for Doneness: Don’t wait for seeds to become dark brown—they should be a light golden color when done.
- Store Properly: Once cool, store them in an airtight container to maintain freshness.
Storage Tips
These tasty seeds can be stored for several weeks. Keep them in an airtight container at room temperature or in the refrigerator for even longer shelf life.
They stay crunchy longer that way. That said, you might find yourself eating them before needing to store them at all!
Serving Suggestions
Roasted pumpkin seeds are incredibly versatile! Here are some serving suggestions:
- On Salads: Top your fresh garden or bean salad with them. The added crunch and flavor lift the dish.
- In Trail Mix: Combine with dried fruits, nuts, and chocolate chips for the perfect on-the-go snack.
- With Yogurt: Add a handful to yogurt—great for breakfast or a post-workout treat.
- On Soups: Use as a garnish on creamy soups for added texture and a nutty kick.
- As Pizza Topping: Craving something different? Top homemade or store-bought pizza with roasted pumpkin seeds for a crunchy finish.
What Other Substitutes Can I Use for Roasted Pumpkin Seeds?
Are pumpkin seeds not available? No problem! Here are some tasty alternatives:
- Sunflower Seeds: These seeds are similar in texture and can take on various flavors easily. Use them in a 1:1 ratio.
- Pine Nuts: These add a creamy texture and mild flavor. Use in moderation as they can be pricier.
- Hemp Seeds: Known for their nutritional content, these seeds provide a nutty flavor. They don’t need roasting—simply sprinkle them on top.
- Chopped Nuts: Almonds or walnuts add crunch. Modify the baking time as nuts roast faster.
- Chia Seeds: Use them for a different texture. They won’t provide the same crunch but will add nutrition.

Conclusion
Roasting pumpkin seeds is not just a cooking method; it’s a joyful experience that turns simple ingredients into delightful snacks. The process is straightforward, empowering, and packed with nutritional gains.
Whether you enjoy them as a quick snack, sprinkle them over your meal, or include them in baking, you’ll find that their versatility chimes in with flavors in multiple dishes.
So rolling up your sleeves and giving this a go is worthwhile. Each batch of roasted pumpkin seeds brings a bit of warmth and satisfaction, along with a hearty crunch that can bring a smile to any occasion.
Trust me; once you try it, you’ll be inspired to make this a yearly tradition. Go on, fire up the oven, and let the roasting begin!
You’ll also like the following recipes!
- Creamy Vegan Garlic Pasta With Roasted Tomatoes
- How to Make Vegan Green Bean Casserole
- Best Easy Homemade Cinnamon Rolls
How To Roast Pumpkin Seeds – Affordable Food Ideas
Roasting pumpkin seeds is like creating a masterpiece in your kitchen. There's something undeniably satisfying about transforming raw seeds into golden, crunchy bites bursting with flavor. Not only do they make a great snack, perfect for any occasion, but they're also packed with nutrition. I recall the first time I tried roasting pumpkin seeds.
My friends and I had just finished carving pumpkins for Halloween, and instead of tossing those seeds aside, we decided to roast them. It turned into a culinary adventure that I still cherish.
So, if you're looking for an easy and fun way to enjoy this seasonal treat, stay tuned. I'm about to guide you through every step of the process!
Ingredients
Instructions
Step 1: Clean the Seeds
-
Start with those slimy seeds! Once you carve your pumpkin, scoop out the seeds and guts. Rinse the seeds in cold water to remove any remaining pulp. This is crucial because any leftover pumpkin flesh can burn during roasting.
I always feel like a degree in anatomy comes in handy at this point. Drain the seeds in a colander and pat them dry with a kitchen towel.
Step 2: Preheat the Oven
-
While you are cleaning the seeds, go ahead and preheat your oven to 325°F (165°C). This will give you a head start so that the seeds can go straight to cooking once they’re ready.
Step 3: Season the Seeds
-
Transfer your cleaned seeds to a bowl. Now, drizzle the melted olive oil over them. Add the salt, smoked paprika, and your choice of spice mix.
If you want to introduce sweetness, add the maple syrup as well. Give it a good toss to ensure every seed is coated well.
Step 4: Spread and Bake
-
Grab a baking sheet and line it with parchment paper. Spread the seasoned pumpkin seeds in a single layer. You want them evenly spaced for that beautiful crispy finish.
Bake in the preheated oven for about 20–25 minutes. Stir them halfway through to ensure even cooking. Keep an eye on them in the last few minutes—nothing worse than burnt seeds!
Step 5: Cool and Enjoy
-
Once they're golden brown and fragrant, take them out of the oven. Let them cool for a few minutes on the baking sheet. The seeds will continue to crisp up as they cool down. After that, sprinkle with an additional touch of salt if desired.
Congratulations! You just made roasted pumpkin seeds.
Nutrition Facts
Servings 1
- Amount Per Serving
- Calories 103kcal
- % Daily Value *
- Total Fat 8.3g13%
- Saturated Fat 1.5g8%
- Cholesterol 1mg1%
- Sodium 59mg3%
- Total Carbohydrate 4g2%
- Dietary Fiber 2g8%
- Sugars 1g
- Protein 5g10%
* Percent Daily Values are based on a 2,000 calorie diet. Your daily value may be higher or lower depending on your calorie needs.
Note
- Experiment with Spice: Feel free to get creative! Try different spices or even a sweet and spicy blend for a unique twist.
- Dry Seeds: Make sure your seeds are thoroughly dry before seasoning to promote a better crunch.
- Oven Times May Vary: Keep in mind that ovens are like people—no two are exactly alike. Adjust your cooking time if needed.
- Check for Doneness: Don’t wait for seeds to become dark brown—they should be a light golden color when done.
- Store Properly: Once cool, store them in an airtight container to maintain freshness.