Ingredients
Method
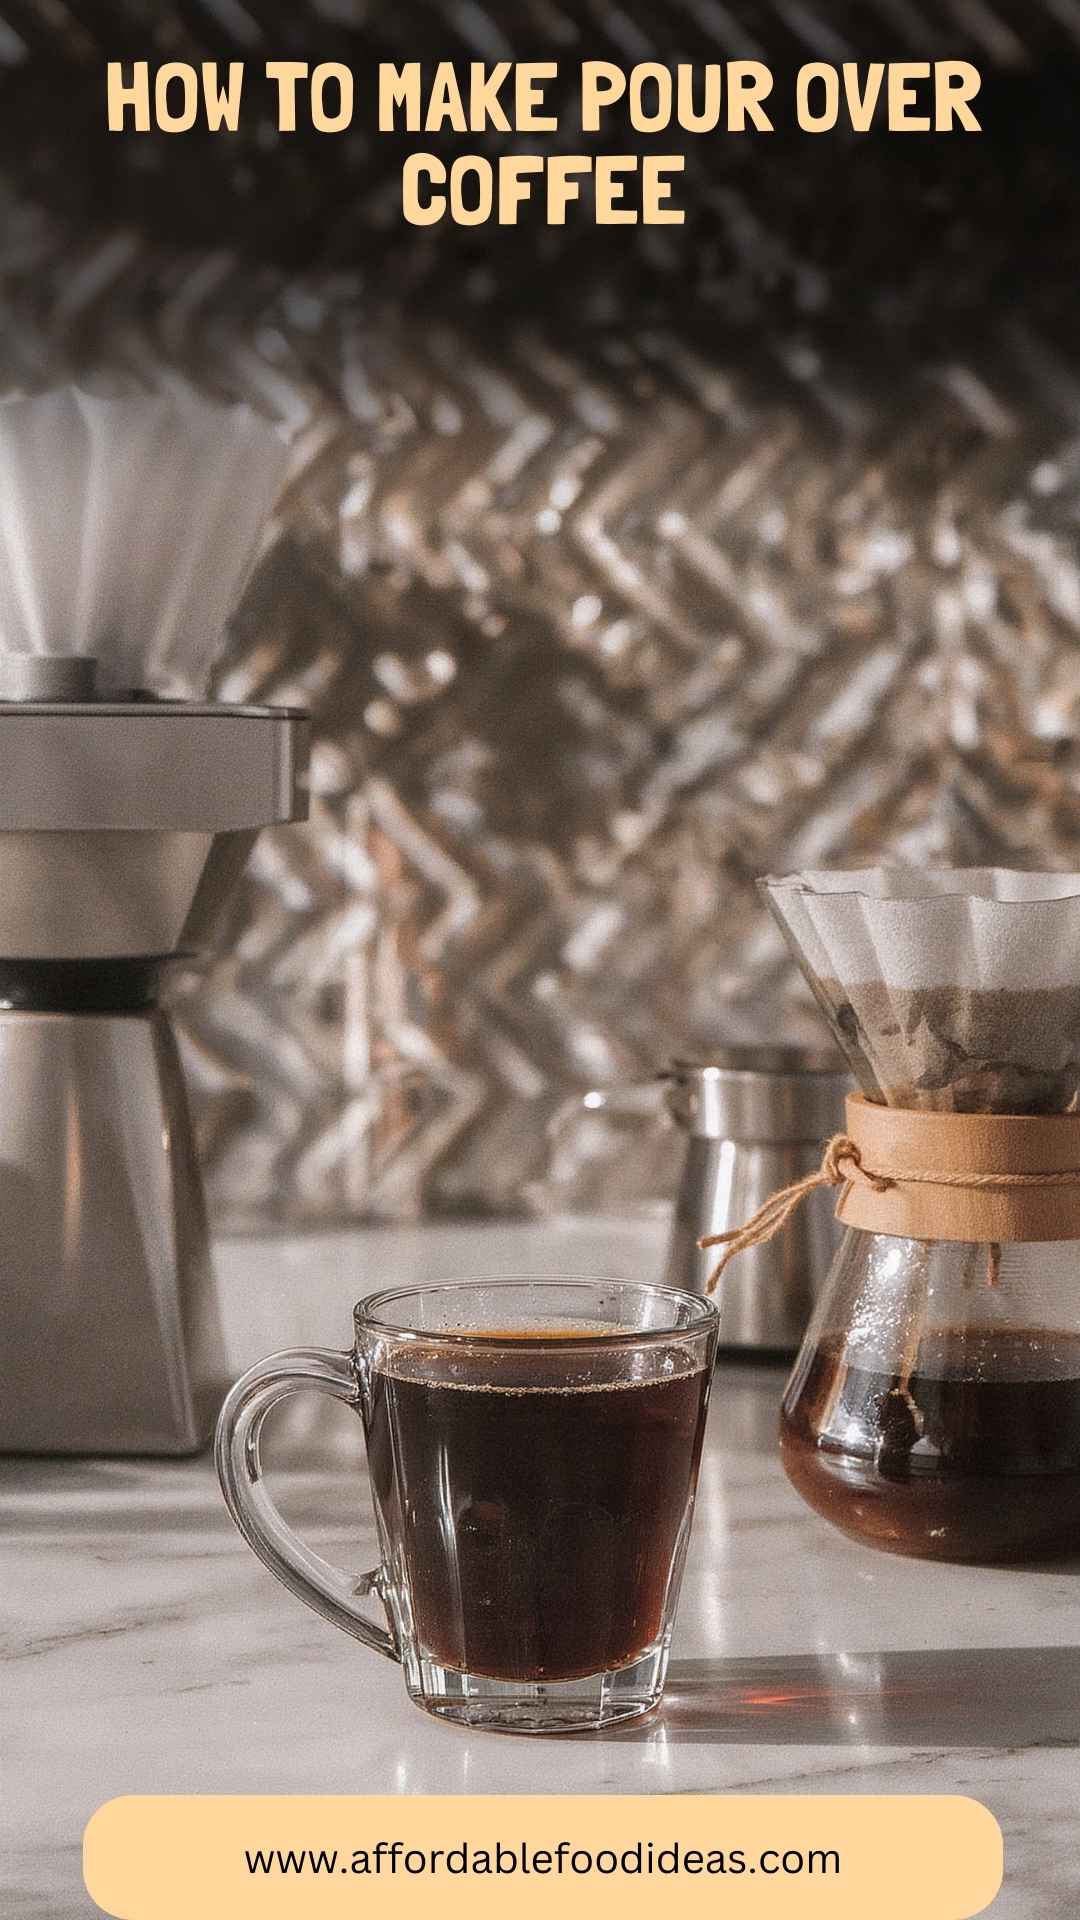
Step 1: Gather Your Equipment
- First up, grab your pour over setup. You’ll need a pour over cone (like a V60), a carafe or mug, a coffee grinder, a kettle (preferably with a gooseneck for precision), and coffee filters. Having everything ready will streamline your brewing process.
Step 2: Measure and Grind the Coffee Beans
- Next, weigh out 32 grams of coffee beans. The scale ensures consistency. I love using a burr grinder for a uniform grind size. Aim for a medium-coarse grind, akin to sea salt. This grind enhances extraction and results in a balanced flavor.
Step 3: Boil the Water
- Pour 500 ml of filtered spring water into your kettle. Heat it to about 200°F (93°C). This temperature is just off boiling and helps extract flavors without scorching the coffee.
Step 4: Wet the Coffee Filter
- Before adding grounds, place a coffee filter in the cone and rinse it with hot water. This warms the cone and eliminates paper taste. It’s a small step that makes a world of difference. Discard the rinse water.
Step 5: Add the Coffee Grounds
- Now, add your freshly ground coffee to the filter. Give it a gentle shake to level the grounds. This ensures even extraction during brewing.
Step 6: Bloom the Coffee
- Pour a small amount of hot water (about 60 ml) over the coffee grounds. This is called blooming. It allows carbon dioxide trapped in the coffee to escape, which enhances flavor extraction. Let it sit for about 30 seconds.
Step 7: Pour in Stages
- After blooming, it’s time for the main pour. Slowly and steadily, pour the remaining hot water over the coffee grounds in a circular motion. This should take about 3-4 minutes for a full brew. Pour gently, allowing the water to drip through before adding more.
Step 8: Enjoy Your Brew
- Once the dripping stops, remove the cone and discard the used grounds. Pour your freshly brewed coffee into your favorite mug, and if you're feeling adventurous, add a small piece of cinnamon for that extra layer of flavor.
Notes
- Consistency is Key: Use the same coffee-to-water ratio for consistency. Adjust depending on your taste.
- Water Temperature Matters: Always use water just off boiling to avoid bitter flavors.
- Invest in Quality Beans: Freshly roasted coffee beans make a significant difference. I can’t stress this enough!
- Experiment with Grind Size: Different grind sizes can alter extraction time. Find what works best for you.
- Keep Equipment Clean: Clean your coffee maker and grinder regularly for the best-tasting brew.