Ingredients
Method
Step 1: Preheat Your Oven
- Start by preheating your oven to 350°F (175°C). This ensures your bread will bake evenly and rise beautifully.
Step 2: Prepare Baking Pan
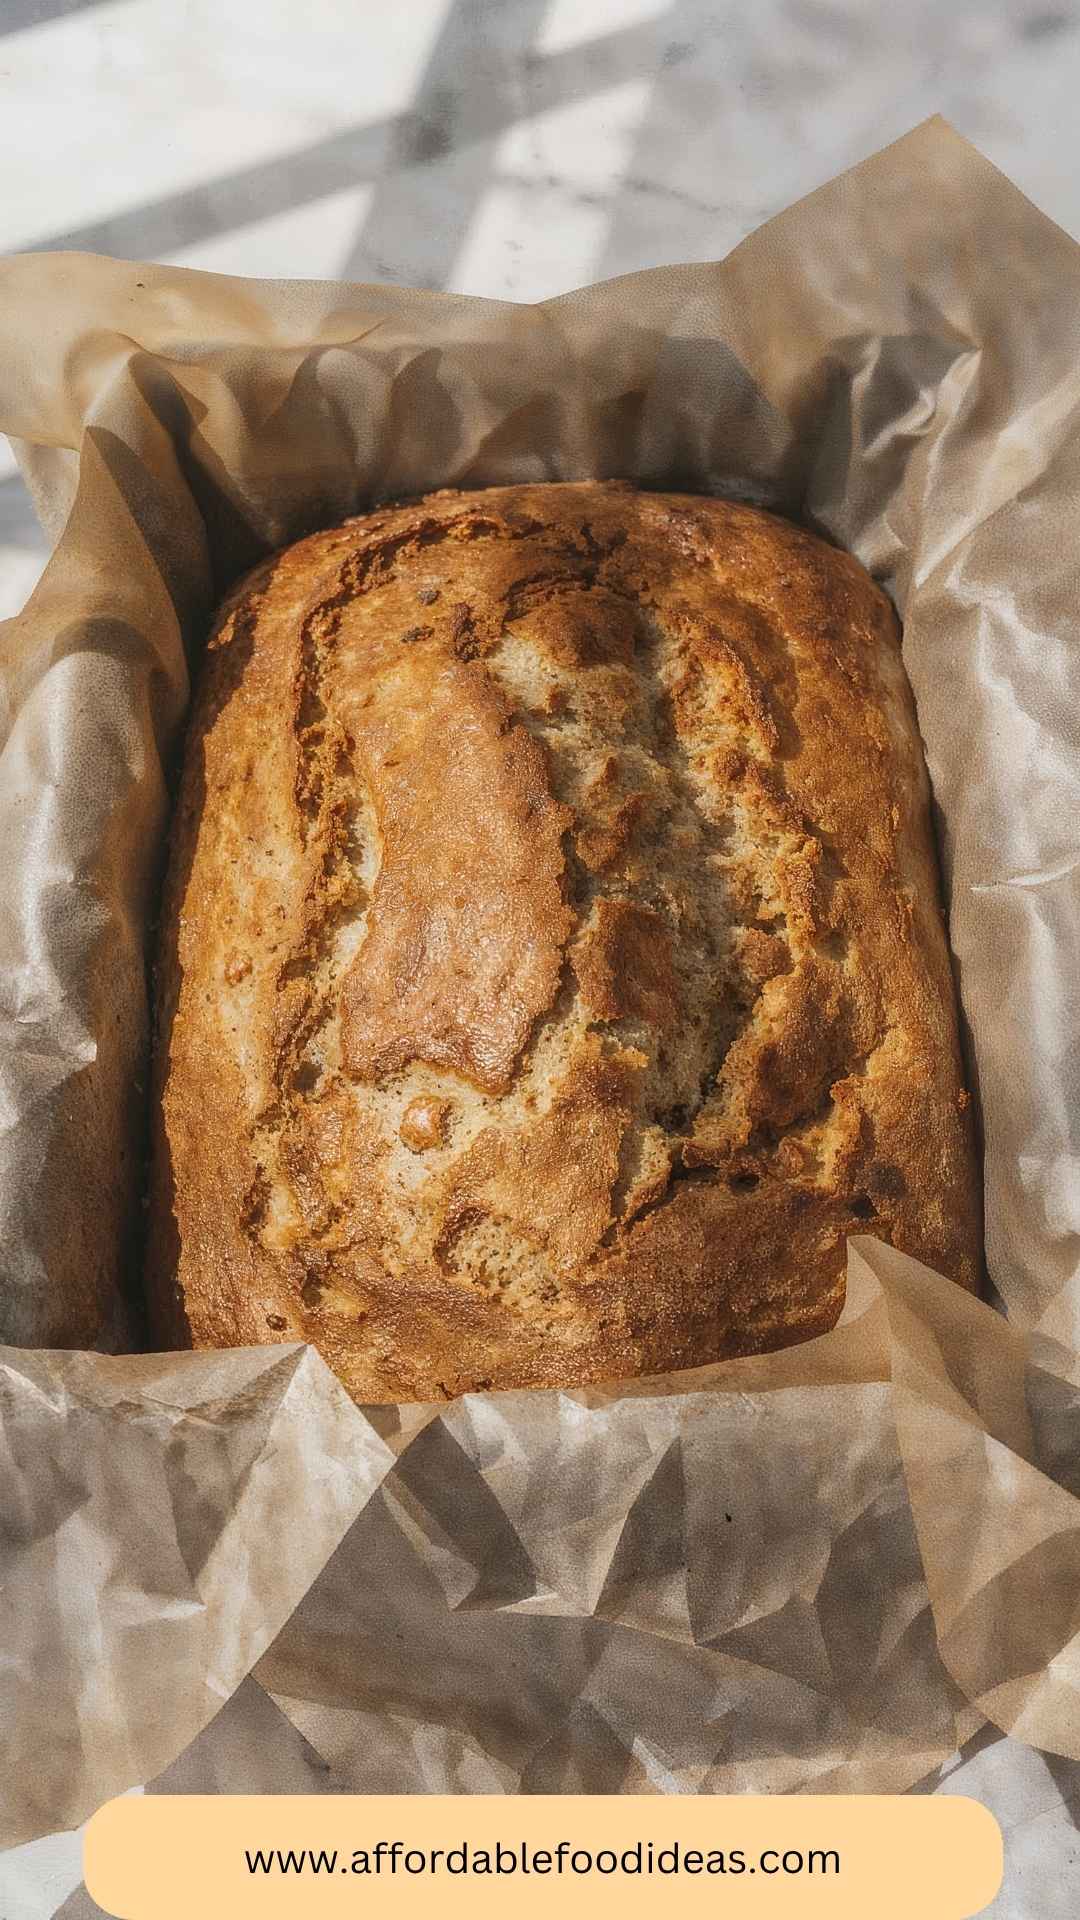
- Grease a standard loaf pan with cooking spray or line it with parchment paper for easy removal. A 9x5-inch pan works perfectly for this recipe.
Step 3: Mash the Bananas
- In a large bowl, mash your bananas thoroughly. Aim for a smooth consistency; small lumps won’t hurt, but you want most of the banana to break down.
Step 4: Mix in Wet Ingredients
- Add the egg, melted oil, sugar, maple syrup, and vanilla extract to the mashed bananas. Stir until well combined. The mixture should be lush and a little shiny, hinting at the moisture to come.
Step 5: Combine Dry Ingredients
- In a separate bowl (yes, I know, we're breaking our one-bowl rule just a bit), mix the gluten-free flour, rolled oats, baking powder, salt, cinnamon, and nutmeg.
Step 6: Combine Wet and Dry Ingredients
- Now’s the fun part! Gradually fold the dry mixture into the wet ingredients until just combined. Avoid over-mixing; it's okay if the batter looks a little lumpy.
Step 7: Add Almond Meal and Nuts
- Gently stir in the almond meal and walnuts. This step adds texture and a nutty flavor that goes perfectly with the sweetness of the bananas.
Step 8: Pour Batter into Pan
- Transfer the batter into your prepared loaf pan. Use a spatula to smooth the top if needed.
Step 9: Bake
- Place your pan in the preheated oven and let it bake for 50-60 minutes. Keep an eye on it! A toothpick inserted into the center should come out clean.
Step 10: Cool and Serve
- Once done, remove the loaf from the oven and allow it to cool in the pan for about 10 minutes. Then, transfer it to a wire rack to cool completely. Slice, serve, and enjoy the delightful warm banana bread!
Notes
- Use Overripe Bananas: The browner, the better! They bring maximum flavor and sweetness without needing added sugars.
- Don’t Skip the Nuts: Walnuts add a delightful crunch that contrasts well with the soft bread. However, feel free to omit them if allergies are a concern.
- Storing Unused Bananas: If you have leftover bananas, freeze them. They make for an ideal banana bread ingredient later!
- Alternative Milk Options: If you don’t have almond milk, feel free to use any plant-based milk. Coconut or soy milk also works lovely in this recipe.
- Check for Doneness Carefully: Ovens can vary. If the top browns too quickly, consider covering it loosely with aluminum foil toward the end to prevent burning.