Ingredients
Method
Step 1: Prepare Your Workspace and Season the Chicken
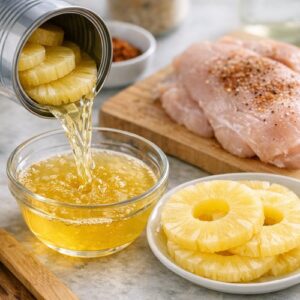
- Before any heat gets involved, I open the pineapple can and drain it into a small bowl, reserving every drop of that juice. Set the pineapple slices on a paper towel to drain further. Pat your chicken thighs completely dry with paper towels—this is non-negotiable for golden-brown skin. Moisture prevents browning. Season both sides of each thigh generously with salt and pepper. I use the back of my hand to rub the seasonings in, making sure they stick to the meat rather than just sitting on the surface. This takes about 90 seconds and makes a real difference in the final flavor.
Step 2: Heat Your Skillet and Build Golden Color
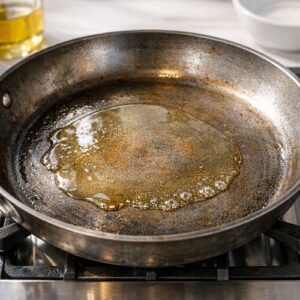
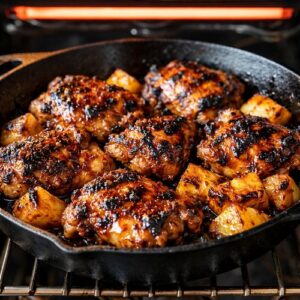
- Place a large oven-safe skillet (10 to 12 inches) over medium heat. Add your cooking oil and let it heat for about 60-90 seconds. You'll know it's ready when the oil shimmers across the surface and moves easily when you tilt the pan. If you see wisps of smoke, your heat is too high—back it down slightly to medium. Carefully place each seasoned chicken thigh skin-side down into the hot oil. You should hear an immediate sizzle—that's the sound of the Maillard reaction, which creates those deeply flavorful, golden-brown layers. Don't move the chicken. Let it sit undisturbed for 5-6 minutes until the skin releases naturally from the pan and turns a rich golden color. Flip each thigh and cook the other side for another 4-5 minutes until golden brown. The internal temperature should reach 165°F when measured with a meat thermometer in the thickest part (not touching bone). Remove all chicken to a clean plate and set aside.
Step 3: Build Your Pineapple-BBQ Glaze
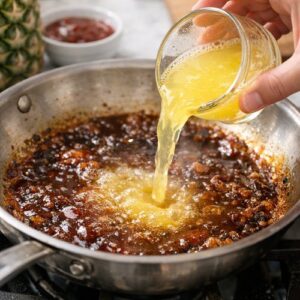
- Reduce your stovetop heat to low. The pan is still hot and will retain plenty of heat—this is where the magic happens. Pour about ½ cup of your reserved pineapple juice directly into the hot skillet. You'll hear a gentle sizzle and see steam rise. Use a wooden spoon to scrape the bottom of the pan, working at those browned, caramelized bits. These are pure flavor, and the juice helps dissolve and incorporate them into your sauce. After scraping for about 30-45 seconds, add your ½ cup BBQ sauce and stir constantly until everything combines into a thick, glossy mixture. The consistency should coat the back of a spoon but still flow slightly. If it becomes too thick, add another splash of reserved pineapple juice (about 2 tablespoons). Taste it and add a pinch more salt if needed—remember that the pineapple juice adds natural sweetness and slight acidity.
Step 4: Combine Chicken and Pineapple in the Glaze
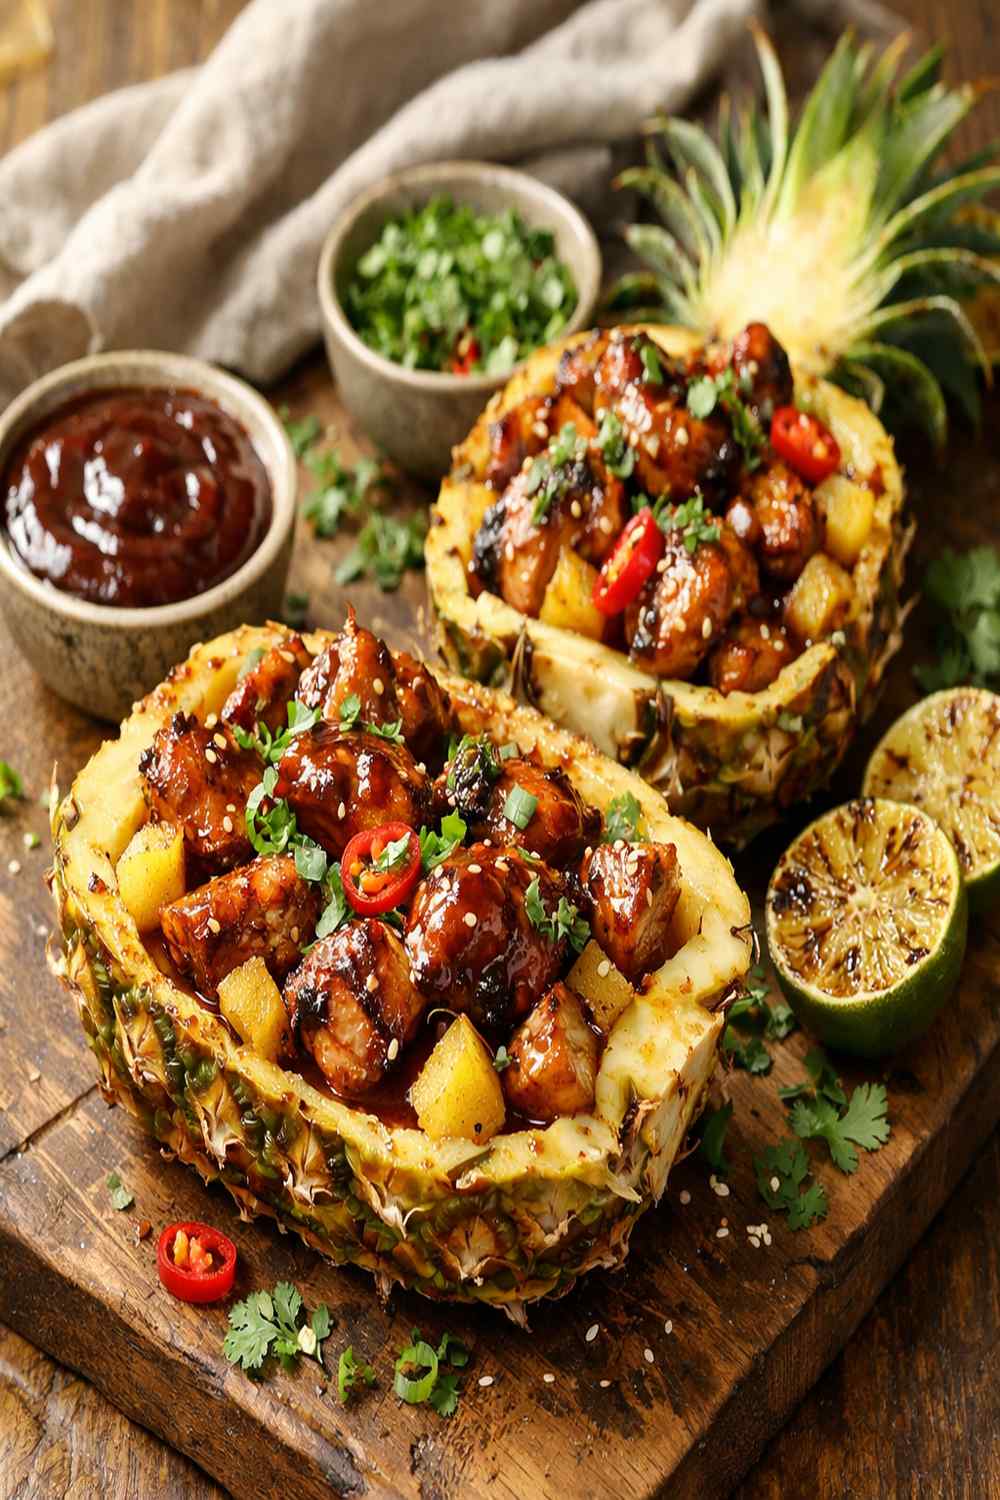
- Return your cooked chicken thighs to the skillet, nestling them skin-side up into the sauce. Arrange the drained pineapple slices around and between the chicken pieces. Using your wooden spoon, gently coat every surface—both the chicken and pineapple—with the glaze, spooning extra sauce over the top. This is purely for appearance and flavor distribution, so take your time here. The goal is for everything to be evenly glossed with that beautiful reddish-brown sauce.
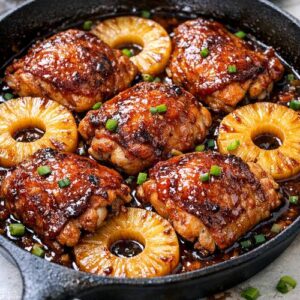
Step 5: Broil Until Caramelized and Charred
- Position your oven rack so your skillet will sit approximately 6 inches below the broiler element. Turn your broiler to high. Transfer your skillet carefully to the oven (use an oven mitt—the handle is hot). Broil for 4-5 minutes, watching through the oven window. You're looking for the edges of the sauce to darken and slightly char, and the pineapple to develop caramelized spots. The whole thing happens quickly—don't walk away. If your skillet isn't oven-safe (some nonstick skillets aren't), simply transfer the chicken, pineapple, and all the sauce to a baking dish and broil in the same manner. Remove from the oven carefully. The skillet handle will be extremely hot. Let it rest for 30 seconds before handling.
Step 6: Finish With Fresh Brightness and Serve
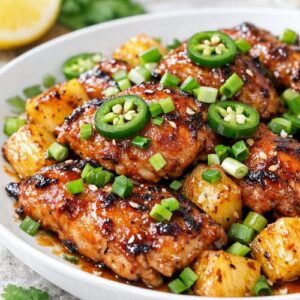
- Sprinkle the sliced jalapeño pepper (if using) and green onions over the top of the chicken and pineapple. The fresh, bright flavors of these garnishes cut through the richness of the sauce beautifully. Serve immediately while everything is still hot and the sauce is glossy.
Notes
- Don't skip the browning step - This is where 80% of your flavor develops. Those golden-brown bits are literally caramelized proteins and sugars. Rushing this step will noticeably change your results.
- Use parchment paper under your broiler - If any sauce drips, it won't splatter across your oven. This saves cleanup time, which means you're more likely to cook again soon.
- Keep your pineapple juice reserved from step one - Don't dump it down the sink. That juice is your secret weapon for adjusting sauce consistency and adding subtle sweetness and acidity.
- Pat chicken completely dry - I mention this in the instructions, but it's worth repeating because it's the single most important step for browning. Wet chicken steams instead of sears.
- Taste your sauce before serving - Every BBQ sauce brand tastes slightly different. A pinch more salt, a splash more pineapple juice—these micro-adjustments take your recipe from good to exceptional.
- Serve immediately after broiling - The caramelization loses appeal as it sits. This recipe doesn't hold temperature well, so time your cooking so everything is ready to eat at the same moment.