Ingredients
Method
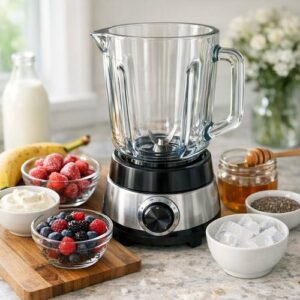
Step 1: Prepare Your Blender and Gather Ingredients
- Before you touch anything, pull out your blender and make sure the pitcher is clean and dry. Place it on a stable, flat surface—I learned this lesson the hard way when I was in grad school and made a smoothie on an uneven shelf. Add your frozen berries to the blender first, followed by your sliced banana pieces. This order matters because denser ingredients at the bottom give your blender something substantial to grip onto, making the entire blending process smoother and faster.
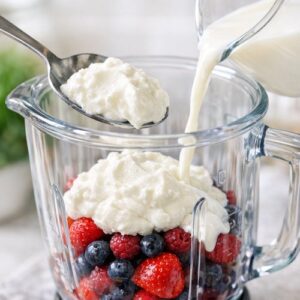
Step 2: Add Your Protein and Liquid Base
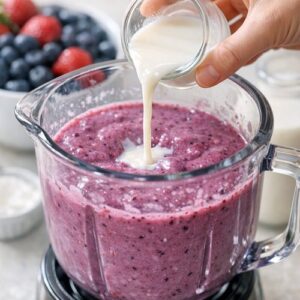
- Spoon your Greek yogurt directly into the blender next—don't thin it with liquid yet. The yogurt will sit on top of your fruit. Pour your liquid choice slowly around the yogurt and fruit, filling to about three-quarters full. This step should take about thirty seconds of careful pouring. I've found that adding liquid gradually, rather than dumping it all at once, prevents those stubborn pockets where ingredients stick to the blender walls.
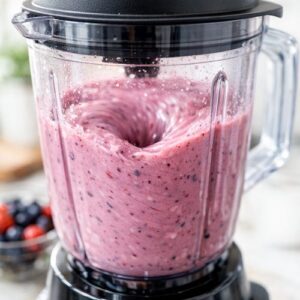
Step 3: Blend Until Completely Smooth
- Turn on your blender to medium speed first—not high, not low—for about 15 to 20 seconds. You'll hear the machine working steadily, and you should see the fruit and yogurt starting to break down. Then increase to high speed and blend for another 20 to 30 seconds until absolutely everything is smooth with no visible fruit chunks or yogurt streaks. The consistency should be pourable but thick, like a milkshake.
Step 4: Taste and Adjust Sweetness
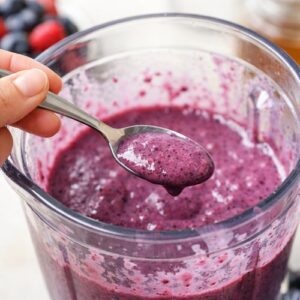
- Here's where personal preference matters most. Stop blending and taste a tiny bit—I usually dip a clean spoon into the blender. If you're using tart berries, you'll probably want that tablespoon of honey. If you're using naturally sweet berries like strawberries, you might skip it entirely. Add honey if needed and blend for just 5 more seconds to incorporate completely. Remember, you're not making a dessert; you're making breakfast.
Step 5: Adjust Texture if Needed
- If your smoothie seems too thick to drink easily through a straw, add an additional ¼ cup of your liquid base and blend for 10 more seconds. If it seems too thin and watery, add a handful more frozen berries and blend briefly. This adjustment step is crucial because blender power varies wildly, frozen fruit moisture content differs by season, and yogurt brands have different water content.
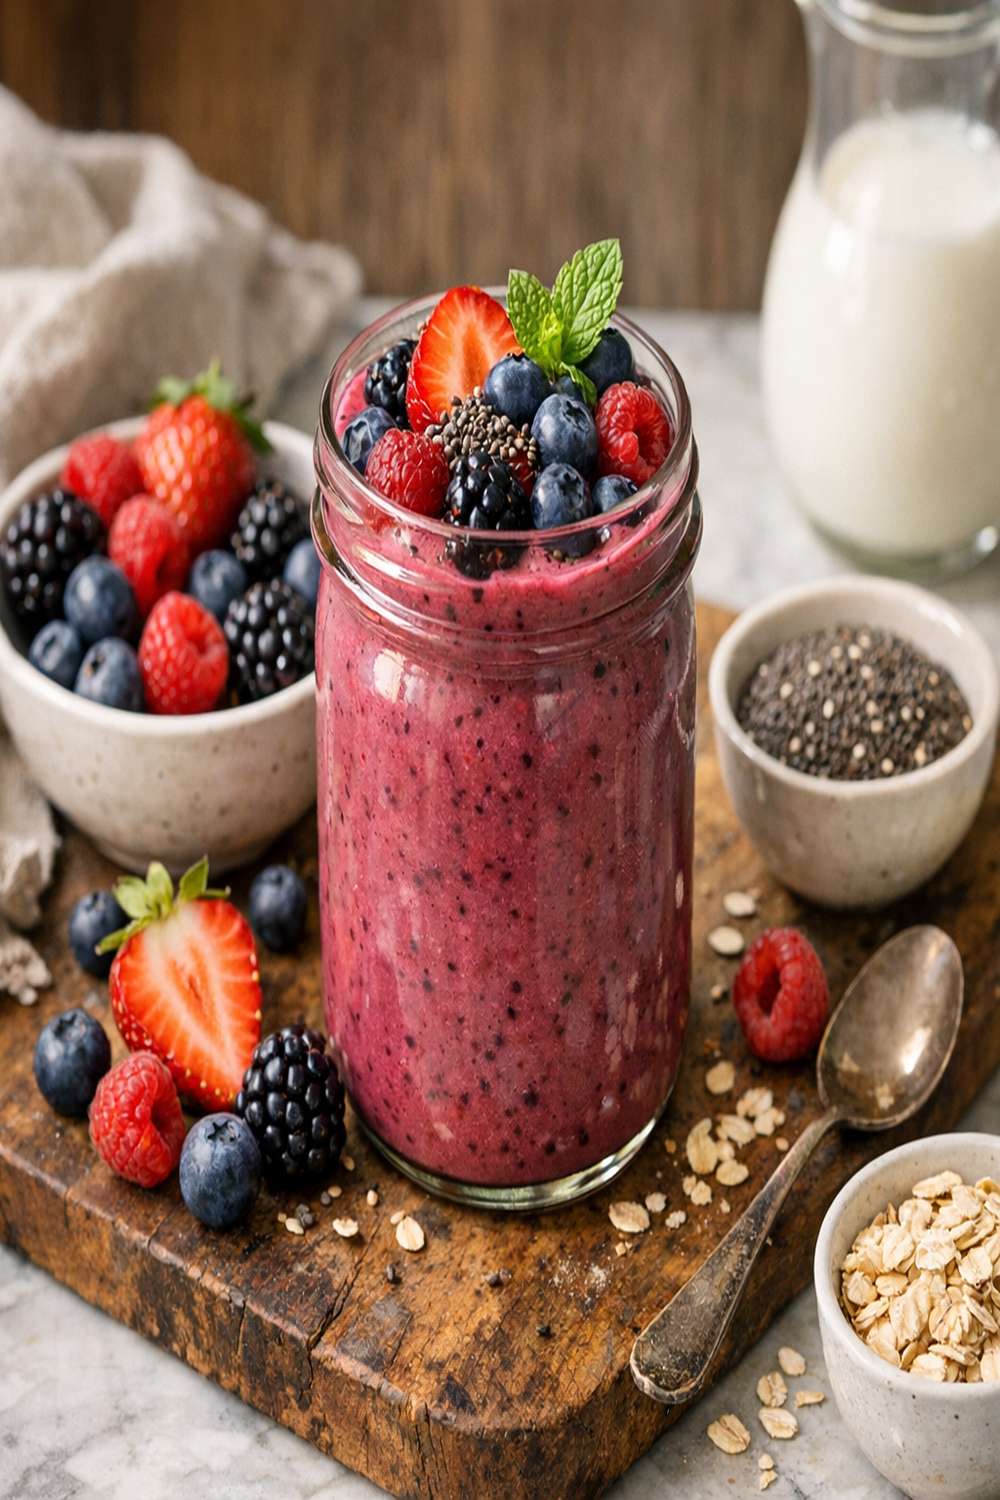
Step 6: Pour and Garnish
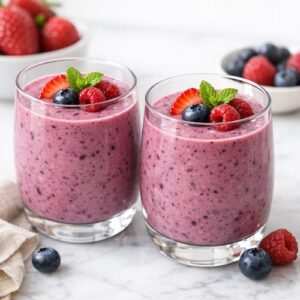
- Pour the smoothie evenly into two glasses, filling about three-quarters full. If you're using garnish, place 2-3 fresh berries and a small mint sprig on top of each glass. This isn't just pretty—it actually signals to your brain that you're eating something special and intentional, which research shows genuinely improves satisfaction and digestion. Serve immediately while still cold and thick.
Notes
- Freeze your banana slices in advance - When bananas start getting those brown spots (which means they're sweetest), peel them, slice them into coins, spread them on a baking sheet, freeze for two hours, then transfer to a freezer bag. This prevents brown banana syndrome where your smoothie tastes like baby food instead of breakfast
- Make your liquid cold but not frozen - Refrigerate your milk or juice overnight. If it's too warm, it melts your frozen fruit and creates a watery smoothie instead of a thick one
- Don't over-blend - Blending longer than 45 seconds total actually breaks down fiber and separates the smoothie into liquid and pulp. You want power, not prolonged abuse
- Layer your ingredients intentionally - Frozen fruit and banana at bottom, yogurt in middle, liquid on top. This arrangement makes blending more efficient and creates better texture
- Clean your blender immediately - Fill it halfway with warm water, add a drop of dish soap, blend for 10 seconds, rinse. Do this right after drinking and you'll never deal with hardened yogurt or berry stains
- Use yogurt as your base consistency creator - If you don't have yogurt, you can substitute silken tofu or cottage cheese, but Greek yogurt is cheapest and delivers probiotics your gut actually needs