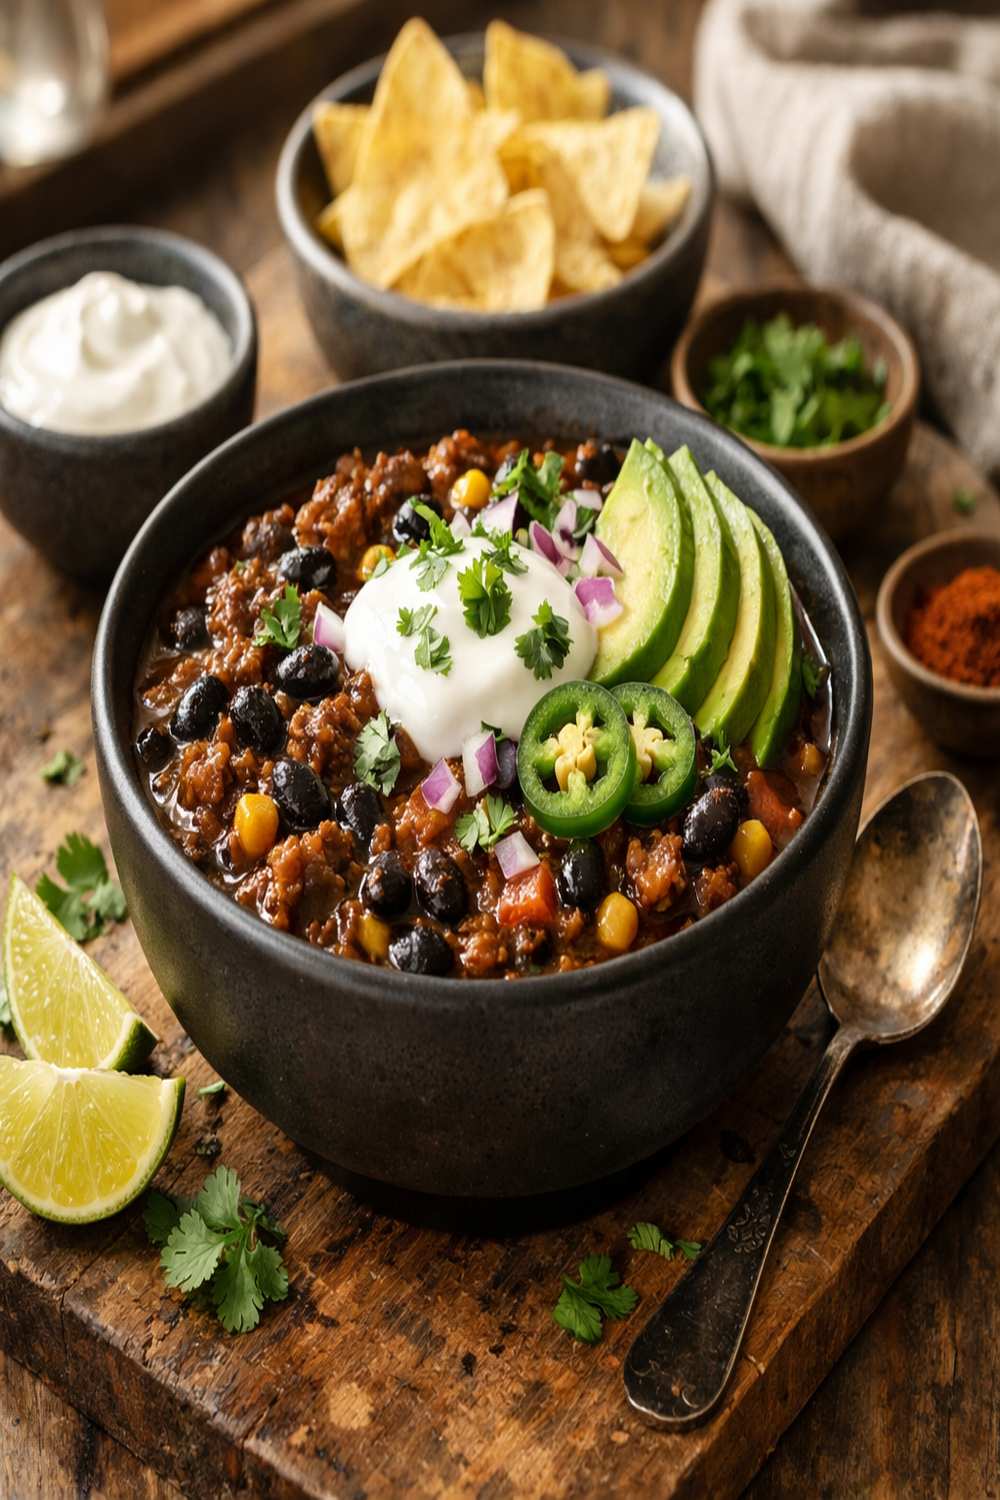
Ingredients
Method
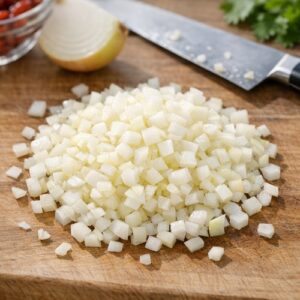
Step 1: Prepare Your Vegetables
- Start by dicing your yellow onion into pieces about the size of a pea. You're aiming for pieces small enough to soften quickly but large enough that you can still identify them in the finished chili. For the garlic, I like mincing it fine—about the thickness of a coin when sliced, then chopped into tiny pieces. This helps it distribute throughout the pot and prevents any harsh, raw garlic flavor.
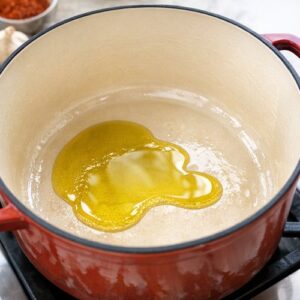
Step 2: Build Your Flavor Base
- Add your tablespoon of olive oil to a large pot (I use a 5-quart Dutch oven, but any heavy-bottomed pot works) over medium heat. Once the oil is shimmering—you'll see it move easily when you tilt the pot—add your diced onion and minced garlic. You're looking for the onion to turn translucent and slightly softened, which takes about 2 to 3 minutes. Stir occasionally so nothing sticks to the bottom. You'll smell the garlic becoming fragrant—that's your cue that it's working.
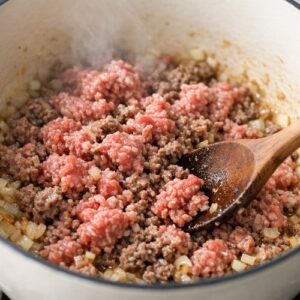
Step 3: Brown the Ground Beef
- Add your ½ pound of ground beef directly to the pot with the softened onions and garlic. Using a wooden spoon or spatula, break the beef into smaller pieces as it cooks. You want it distributed throughout the pot rather than in one large clump. This should take about 5 to 7 minutes of cooking over medium heat. The beef is done when it's no longer pink and has turned a light brown color. Don't worry about getting a deep golden crust—we're not searing here, just cooking it through.
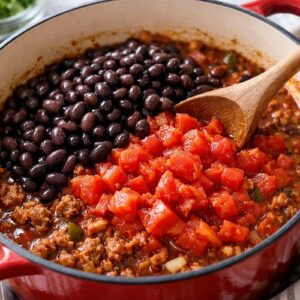
Step 4: Add the Beans and Tomatoes
- Now comes the satisfying part where your pot transforms from savory-smelling to visibly hearty. Drain and rinse your three cans of black beans—this removes excess sodium and the starchy liquid that can make chili gummy. Add them to the pot along with your can of diced tomatoes with green chiles (include all the juice), the tomato paste, and your 2 cups of water. The tomato paste should be stirred in well so it doesn't clump.
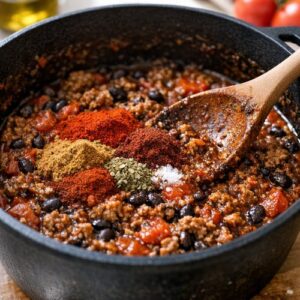
Step 5: Season and Spice
- Add your chili powder, ground cumin, smoked paprika, dried oregano, and salt. I like to stir everything together thoroughly—you'll see the color deepen and the aroma become noticeably more complex. The spices activate when they touch the warm liquid, releasing their essential oils. This is where the chili starts smelling like the real thing.
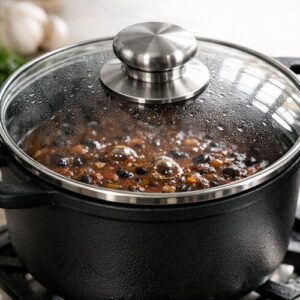
Step 6: Simmer for Flavor Development
- Place a lid on your pot and bring the mixture to a simmer. You're aiming for gentle bubbles breaking the surface—not a rolling, aggressive boil. Reduce heat to medium-low if needed. Let this simmer for approximately 15 minutes, stirring occasionally. What you're doing during this time is allowing the flavors to meld, the beans to soften further, and some of the liquid to reduce slightly, making the chili thicker and more concentrated.
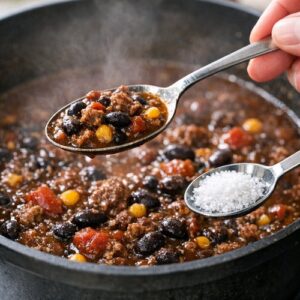
Step 7: Taste and Adjust
- After simmering, taste your chili. Add additional salt as needed—this depends entirely on how much sodium was in your canned goods. I usually add about ¼ to ½ teaspoon more, but start small because you can always add more. If you like spice, this is when you'd add that optional cayenne pepper. Stir well and let it sit for a minute so the new seasoning distributes.
Notes
- Brown your beef in a separate skillet first if you have time - This develops a deeper, richer flavor. Cook the beef alone over medium-high heat until nicely browned (about 5 minutes), then add it to your pot with the softened onions and garlic. It's an extra step that takes five minutes and noticeably improves the final result.
- Drain and rinse your canned beans - This removes up to 40% of the sodium and eliminates the thick, starchy liquid that can make chili gummy. It matters more than you'd think.
- Use smoked paprika, not regular paprika - The smoke flavor is what makes this taste slow-cooked. Regular paprika is milder and won't give you that depth.
- Let it cool before storing - Chili releases steam that can condense inside your container. Let it cool on the counter for 20 minutes before refrigerating to prevent soggy chili.
- Taste as you add spices - Everyone's palate is different, and canned goods vary in sodium. You might want less salt than the recipe calls for, or you might crave more heat. This is your chili—make it yours.