Ingredients
Method
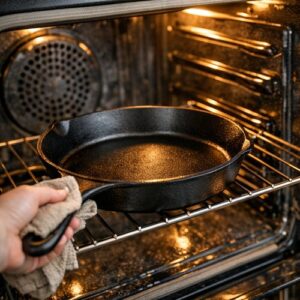
Step 1: Get Your Oven and Skillet Ready
- Turn your oven on and set it to 425°F. Here's the important part: place your cast iron skillet (or oven-safe baking dish if you don't have cast iron) directly on the center oven rack right now, while the oven preheats. You want that skillet to get very hot—this takes about 10-12 minutes. The hot skillet is what creates those beautiful golden, crispy edges. While the oven preheats, gather all your ingredients and set them near your mixing station. There's something wonderfully grounding about having everything ready before you begin mixing.
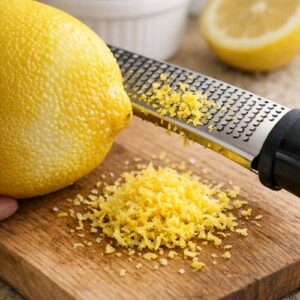
Step 2: Prepare Your Lemon
- Take your fresh lemon and use a microplane or fine zester to remove the bright yellow zest. You're looking for about 1 teaspoon of zest—just the colored part, not the white pith underneath, which can taste bitter. Once you've zested it, cut the lemon in half and squeeze out the juice. You'll need about 1 tablespoon of juice. This small amount of lemon juice is crucial—it brightens all the other flavors and works with the milk to create a subtle tang. Set both the zest and juice aside in small separate bowls. I find this prevents any mix-ups when I'm combining ingredients.
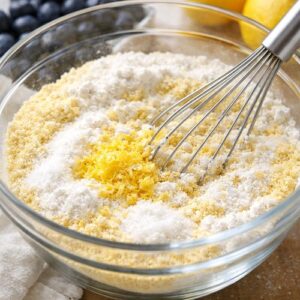
Step 3: Mix Your Dry Ingredients
- In a large mixing bowl, combine the cornmeal, flour, sugar, baking powder, salt, and all of that lemon zest. Use a whisk to blend everything together evenly. Now here's a technique I learned from my grandmother: use your fingers to gently massage the lemon zest into the dry mixture for about 15-20 seconds. This helps release the essential oils from the zest, distributing bright lemon flavor throughout every bite instead of having it clumped in one spot. The mixture should be light and even, with no visible lumps of baking powder. Set this bowl aside.
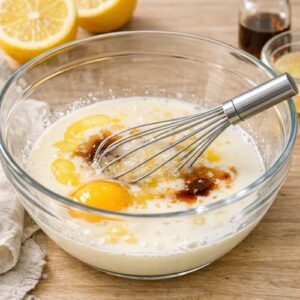
Step 4: Combine Your Wet Ingredients
- In a separate medium bowl, whisk together the milk, cooking oil, egg, the tablespoon of lemon juice you squeezed earlier, and the vanilla extract if using. Whisk these together until well combined—about 30-45 seconds of stirring. The mixture should look homogeneous and slightly foamy on top. Don't skip the whisking step. This incorporates a little air into the batter, which helps create a lighter, more tender crumb.
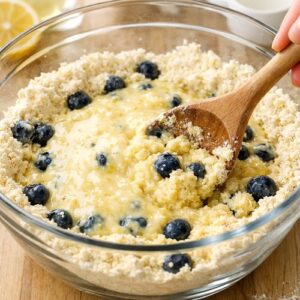
Step 5: Combine Wet and Dry
- Pour the wet ingredient mixture into your bowl of dry ingredients. Using a wooden spoon or spatula, gently fold and stir until the dry ingredients are just barely moistened. This should take only about 20-30 seconds of gentle stirring. A few small lumps remaining in the batter are completely fine—even desirable. Overmixing creates a tough, dense cornbread, and we want ours to be tender and crumbly. The batter will be thicker than cake batter but looser than cookie dough. It should pour easily from a spoon.
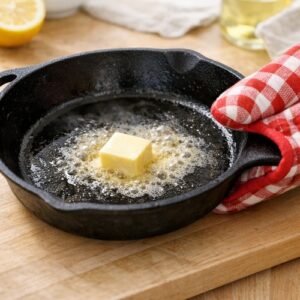
Step 6: Prepare Your Skillet
- Using an oven mitt (the skillet is extremely hot!), carefully remove your preheated cast iron from the oven. Immediately add 1 tablespoon of butter to the center. Using a pastry brush or folded paper towel, quickly spread that melting butter up the sides and across the bottom of the skillet. You want a light, even coating everywhere the batter will touch. This is what creates those crispy, golden edges. Work quickly but safely—you don't want the butter to brown or smoke.
Step 7: Pour and Top with Berries
- Carefully (remember, that skillet is still very hot!) pour your cornbread batter into the prepared skillet. Smooth the top gently with your spatula, but don't press down or compress it. Now, sprinkle your frozen blueberries evenly over the top of the batter. There's no need to thaw them—frozen berries are sturdier and won't sink to the bottom as easily. Using your fingers, gently press each berry slightly into the batter so they're partially submerged. This keeps them distributed throughout the bread rather than all floating to the top.

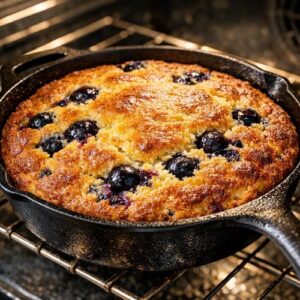
Step 8: Bake Until Golden
- Return the skillet to the 425°F oven and bake for 20-25 minutes. You'll know it's done when the top and sides are a deep golden brown color and a toothpick inserted into the thickest part of the cornbread comes out clean or with just a few moist crumbs clinging to it. The edges should look slightly caramelized. At 20 minutes, take a quick look. If the top is still pale, give it another 2-3 minutes. Oven temperatures vary, so trust your eyes more than the timer.
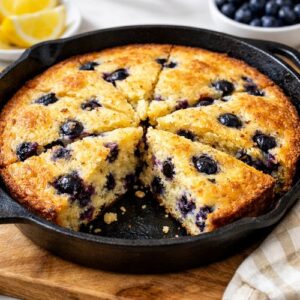
Step 9: Cool and Slice
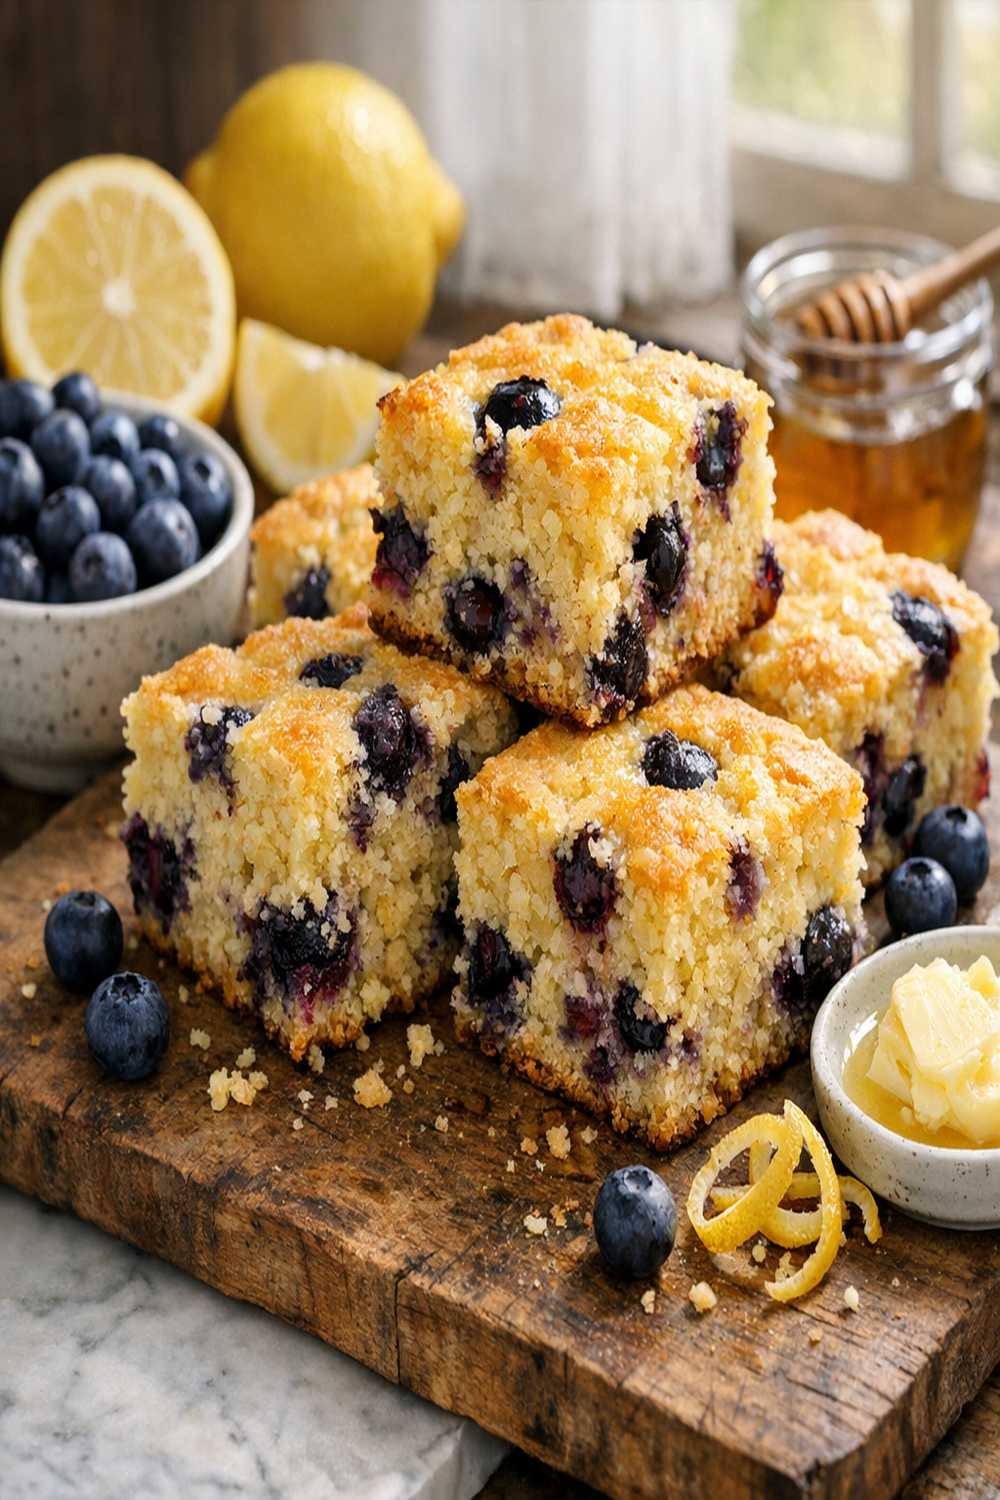
- Remove the cornbread from the oven and let it cool in the skillet for about 5-10 minutes. This allows the structure to set slightly, making it less likely to fall apart when you slice it. After cooling, run a thin knife around the edges to loosen it, then slice directly in the skillet into 8 wedges (like you're cutting a pizza), or use a spatula to lift wedges out gently. The cornbread is wonderful served warm, but it's also delicious at room temperature. The flavor actually deepens as it sits, which is why it's perfect for make-ahead planning.
Notes
- Cast Iron Skillet Matters More Than You Think - If you don't own cast iron, an oven-safe 8 or 9-inch baking dish works fine. However, cast iron distributes heat more evenly and creates superior browning. If cast iron seems intimidating, now's a great time to invest. A basic skillet costs $15-25 and lasts decades.
- Preheat That Skillet Properly - This is non-negotiable. A hot skillet is what creates those golden, slightly crispy edges while keeping the interior tender. Don't skip this step even if you're in a hurry.
- Don't Overmix the Batter - This is where many home bakers go wrong. The moment the dry ingredients are moistened, stop. Overmixing develops gluten, which makes cornbread tough and dense. A few small lumps are your friends.
- Frozen Blueberries Are Your Secret Weapon - They're cheaper than fresh, available year-round, and they don't sink because they hold their shape better. Plus, they burst beautifully during baking, creating flavor pockets throughout.
- Use Room Temperature Eggs - Cold eggs don't incorporate as smoothly into the batter. Pull your egg out of the fridge 15 minutes before baking, or place it in warm water for 5 minutes.
- Zest Your Lemon Before Juicing - Once you cut into a lemon, the zest becomes harder to remove. Always zest first, then juice.