Ingredients
Method
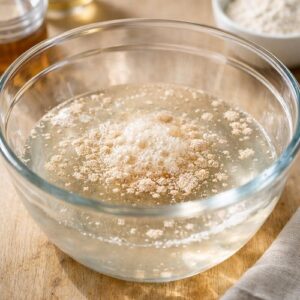
Step 1: Activate Your Yeast
- Pour your warm water into a large mixing bowl—it should feel slightly warmer than body temperature, around 110-115°F. Add the active dry yeast and let it sit undisturbed for 1-2 minutes. Then sprinkle the sugar over top and gently stir with a wooden spoon until combined. Wait 5-7 minutes and you should see the mixture begin to foam slightly on the surface. This foam is your proof that the yeast is alive and ready to work. If nothing happens, your yeast may be expired or your water was the wrong temperature—start over with fresh yeast and properly heated water. This step is your insurance policy against disappointment.
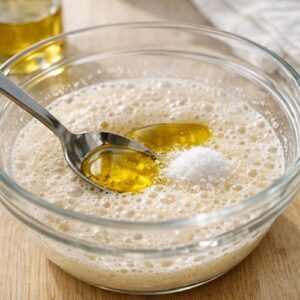
Step 2: Build Your Dough Base
- Add the salt and 2 tablespoons of sunflower oil to your yeast mixture, stirring gently to combine. The oil will float on top initially—that's fine. Now add both the all-purpose flour and wholemeal spelt flour at the same time, stirring with a wooden spoon until everything comes together into a shaggy, sticky mass. At this point, your dough will look rough and unpromising. This is completely normal. Don't panic or add extra flour. You're about to transform this into something beautiful through the magic of kneading. The mixture should be soft and slightly sticky—you want to feel some resistance but not have it stick to your fingers excessively.
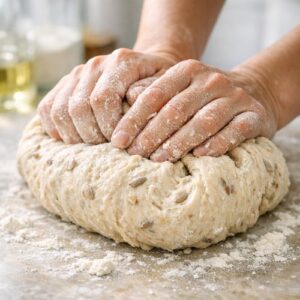
Step 3: Knead Until Smooth and Elastic
- Turn your shaggy dough out onto a lightly floured surface—use just enough flour to prevent sticking, as over-flouring creates a dense loaf. Begin kneading by pushing the dough away from you with the heel of your hand, folding it back over itself, turning it a quarter turn, and repeating. Dust with additional flour as needed—and I mean as needed, not preemptively. Your dough should remain slightly tacky but manageable. Continue kneading for the full 10 minutes. I know this feels long, but those 10 minutes are developing gluten strands that create structure and lift. You'll feel the transformation happening: the dough becomes smoother, more elastic, and less sticky. By minute 8-10, you should be able to stretch a small piece and see light through it without tearing—this is the "windowpane test" that indicates proper gluten development. The dough should feel soft, smooth, and slightly resilient.
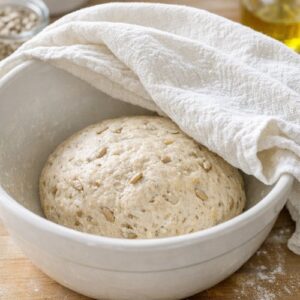
Step 4: First Rise
- Shape your kneaded dough into a loose ball and place it in a clean bowl (you can use the same one you mixed in). Cover the bowl with a damp kitchen towel or plastic wrap to prevent the surface from drying out. Place the bowl somewhere warm and undisturbed—an oven with the light on, a warm corner of your kitchen, or even a cooler filled with warm water works perfectly. Let the dough rise undisturbed for approximately 30 minutes, until it has roughly doubled in size. You can test this by gently poking the dough with a floured finger—if the indentation springs back slowly but doesn't completely disappear, it's ready. If it springs back immediately, give it more time.
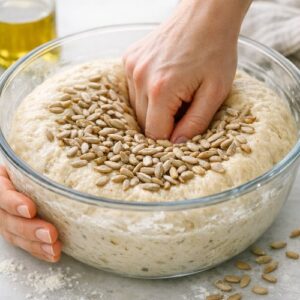
Step 5: Incorporate the Sunflower Seeds
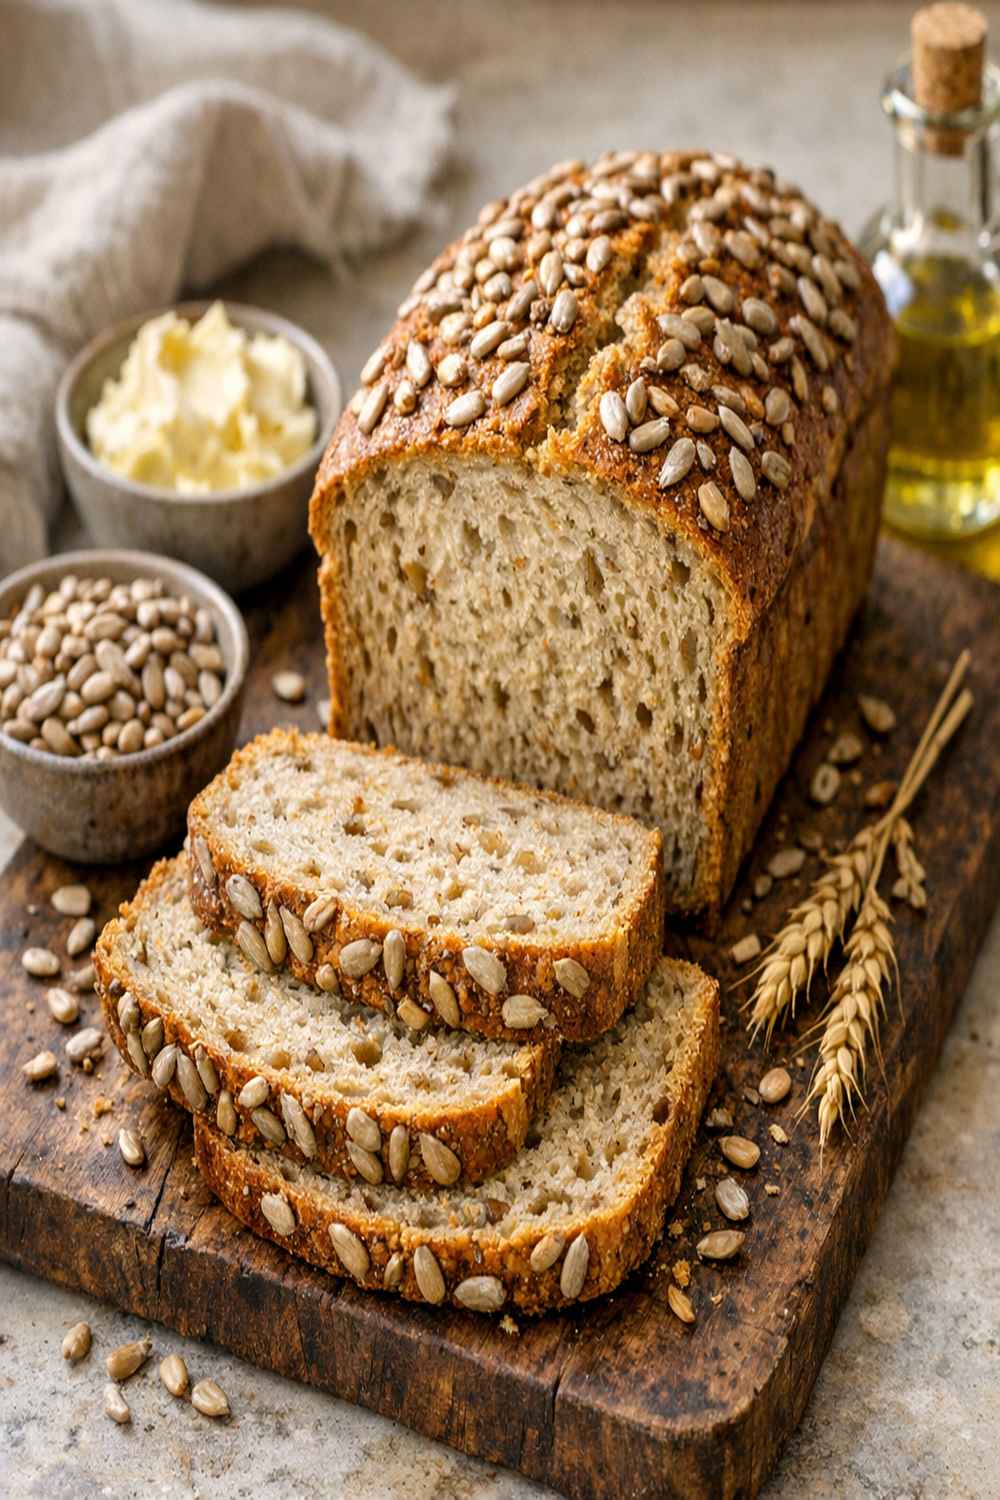
- Once your dough has doubled, gently punch it down to release excess gas—don't be aggressive, just a gentle deflation. Sprinkle all but 1 tablespoon of your sunflower seeds over the dough and knead them in by hand for about 2-3 minutes. This second kneading will temporarily make the dough feel slightly deflated, but the seeds distribute evenly throughout. The seeds should be distributed fairly evenly throughout the dough. You'll see little flecks of yellow and green throughout when you break open a finished slice. Reserve that 1 tablespoon of sunflower seeds for the top of your loaf.
Step 6: Shape and Second Rise
- Lightly oil a 5x9-inch loaf pan with a thin coating of sunflower oil (just a light wiping with a folded paper towel is sufficient). Transfer your seeded dough to the pan and press it firmly into the corners, pushing out any large air pockets but not deflating the entire loaf. The dough should fill about two-thirds of the pan. Cover the pan loosely with a damp towel or plastic wrap and let it rise again in a warm spot for approximately 30 minutes, until the dough rises above the rim of the pan and looks puffy and ready to bake. Meanwhile, preheat your oven to 375°F. Position your oven rack in the middle position so the bread bakes evenly.
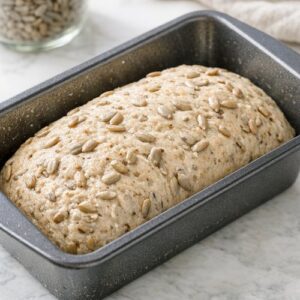
Step 7: Finish and Bake
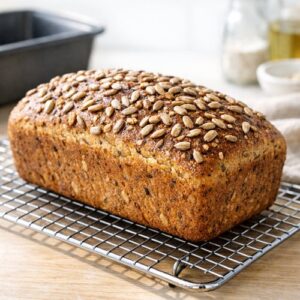
- Just before baking, drizzle the top of your risen dough with the remaining 1 tablespoon of sunflower oil, then sprinkle the reserved 1 tablespoon of sunflower seeds over top, pressing them down gently so they adhere. This creates a beautiful, nutty finish and adds visual appeal. Place the loaf pan in your preheated oven and bake for 60 minutes. Midway through baking (around minute 30), you might notice the top is browning too quickly. If so, loosely place a piece of aluminum foil over the top without pressing it down. This prevents the crust from burning while the interior continues cooking. The loaf is finished when it's well-risen and deep golden brown on top, and sounds hollow when you tap the bottom (carefully remove it from the pan to test). The internal temperature should reach 205-210°F if you have an instant-read thermometer.

Step 8: Cool Before Slicing
- Remove the baked loaf from the pan and place it on a wire cooling rack. This is crucial—leaving the bread in the hot pan continues cooking the bottom and sides, potentially creating a dense, tough crust. Let it cool at room temperature for at least 30-45 minutes before slicing. I know it's tempting to slice into warm bread, and I won't stop you, but the crumb structure continues setting as it cools. Slicing too early results in a gummy, compressed texture. If you can wait until completely cool, you'll have perfectly defined slices with an open crumb structure.
Notes
- Water temperature is everything - Too hot and you'll kill your yeast; too cold and nothing happens. Invest in a cheap instant-read thermometer (around $6) and use it every time until you develop an intuition for proper warmth.
- Embrace a slightly wet dough - Bread dough should feel slightly sticky to touch, not dry and stiff. More hydration creates a more open crumb structure and a lighter loaf. Resist the urge to add flour unless absolutely necessary.
- Let the dough tell you when it's ready - Rising times vary based on room temperature, humidity, and yeast activity. Rather than following time strictly, look for visual cues: the dough should roughly double in size and feel puffy and alive.
- Create a warm rising environment affordably - Fill a cooler or large plastic bin with warm (not hot) water, place your covered bowl inside, and close the lid. This maintains warmth for hours at zero cost and works better than an oven in many homes.
- Score the top before baking for rustic appeal - Optional: use a sharp knife to make a shallow slash across the top of your dough before baking. This is purely aesthetic but creates a professional-looking result and allows controlled expansion during baking.
- Use a Dutch oven for even better crust - If you own a Dutch oven, place it in the oven while preheating, carefully transfer your loaf pan into it (or transfer dough to the hot Dutch oven), and bake covered for the first 20 minutes, then uncovered for the remaining 40. This traps steam and creates an incredibly crispy, bakery-style crust. This step is entirely optional.