Ingredients
Method
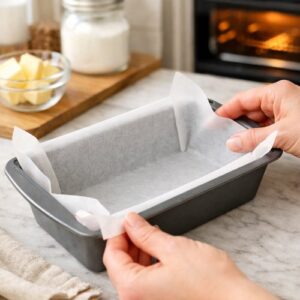
Step 1: Prepare Your Pan and Oven
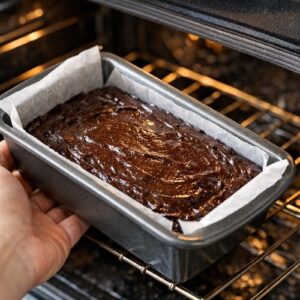
- Start by preheating your oven to 325 degrees. While it's heating, line a 9 by 5-inch loaf pan with parchment paper. I recommend running the parchment in one direction lengthwise so you have handles on both ends to pull the brownies out cleanly. Don't skip the parchment—it's the difference between tearing your brownies and lifting them out intact. A 325-degree oven (not 350 like most recipes call for) is crucial here. Standard brownie recipes use hotter temperatures because they're designed for larger batches. For a small loaf pan, 325 degrees prevents the edges from baking too quickly before the center sets. Trust this temperature.
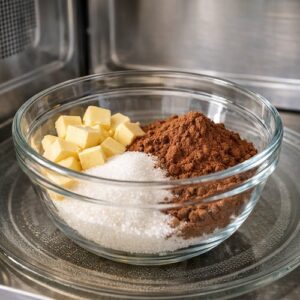
Step 2: Combine Butter, Sugar, and Cocoa in the Microwave
- In a microwave-safe bowl, combine your diced butter, sugar, and cocoa powder. Microwave on high power for 30 seconds. Don't walk away—stay right there because you're about to do something that matters. After those 30 seconds, remove the bowl (careful, it's hot) and stir the mixture thoroughly. You'll notice the butter isn't fully melted yet. This is exactly what you want. Microwave for another 30 seconds on high. This two-stage microwaving approach prevents the cocoa from scorching and ensures the butter melts evenly. If you tried to do 60 seconds in one go, the cocoa particles closest to the heat would burn, creating a slightly bitter taste.
Step 3: Cool and Add Flavor
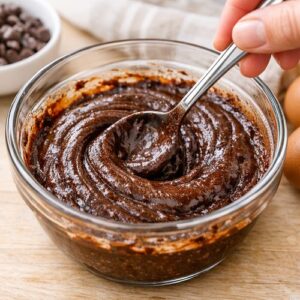
- Now stir the mixture very well—I mean really stir it for a full minute. This accomplishes two things: it completely incorporates all the cocoa powder (preventing those little dry specks), and it begins cooling the mixture down slightly. You want the bowl warm enough to stay liquid, but cool enough that the egg won't scramble when you add it next. Once you've stirred for that full minute, add your salt and vanilla extract. Stir again until fully combined. The salt is not optional—in small-batch baking, salt plays a huge role in flavor perception. It makes the chocolate taste more chocolatey.
Step 4: Add the Egg
- This is the most critical step, and I see home bakers rush through it. Add your room-temperature egg directly into the chocolate mixture. Now stir continuously until the egg is completely incorporated—you shouldn't see any streaks of yellow or white. This takes about 30-45 seconds of actual stirring. Why room temperature matters: A cold egg can cause the chocolate mixture to seize up slightly, creating a grainy texture. Room temperature means it blends smoothly. If you forgot to take your egg out earlier, run it under warm water for 30 seconds before cracking it. At this point, your mixture should look glossy, dark, and slightly thick—almost like a mousse consistency. If it looks too thin or separated, your bowl was too hot and you've slightly scrambled the egg. Don't panic—the brownies will still be fine, just slightly denser.

Step 5: Add Flour and Finalize the Batter
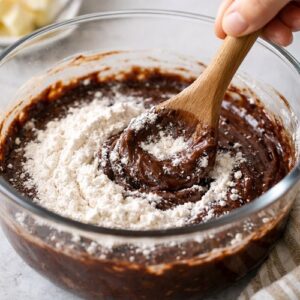
- Add your flour directly to the mixture. This is where I want you to stir slowly and deliberately—not fast. Stir for 50 full strokes. Count them out if you need to. This isn't about developing gluten (you don't want tough brownies), it's about evenly distributing the flour without overworking the batter. Stop at 50 strokes. The batter should be smooth, with no visible flour streaks, but still slightly thick. Overmixing at this stage is your enemy—it can make brownies cakey instead of fudgy.
Step 6: Bake Until Perfectly Fudgy
- Pour the batter into your prepared loaf pan and spread it evenly to the corners. Place it in your preheated 325-degree oven and set a timer for 23 minutes. Do not open the oven door before 20 minutes. Do not check on it. Do not rotate the pan. At 23 minutes, insert a toothpick into the center of the brownies. You want fudge crumbs clinging to the toothpick—not a clean toothpick (which means overbaked) and not raw batter (which means underbaked). The surface should look shiny and be just starting to crack slightly at the edges. If your toothpick comes out clean, you've baked it about 2 minutes too long. If it's still wet with raw batter, give it another 2 minutes. Most ovens will hit that perfect spot right at 23 minutes though.
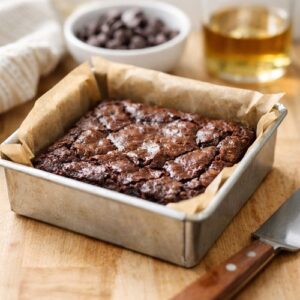
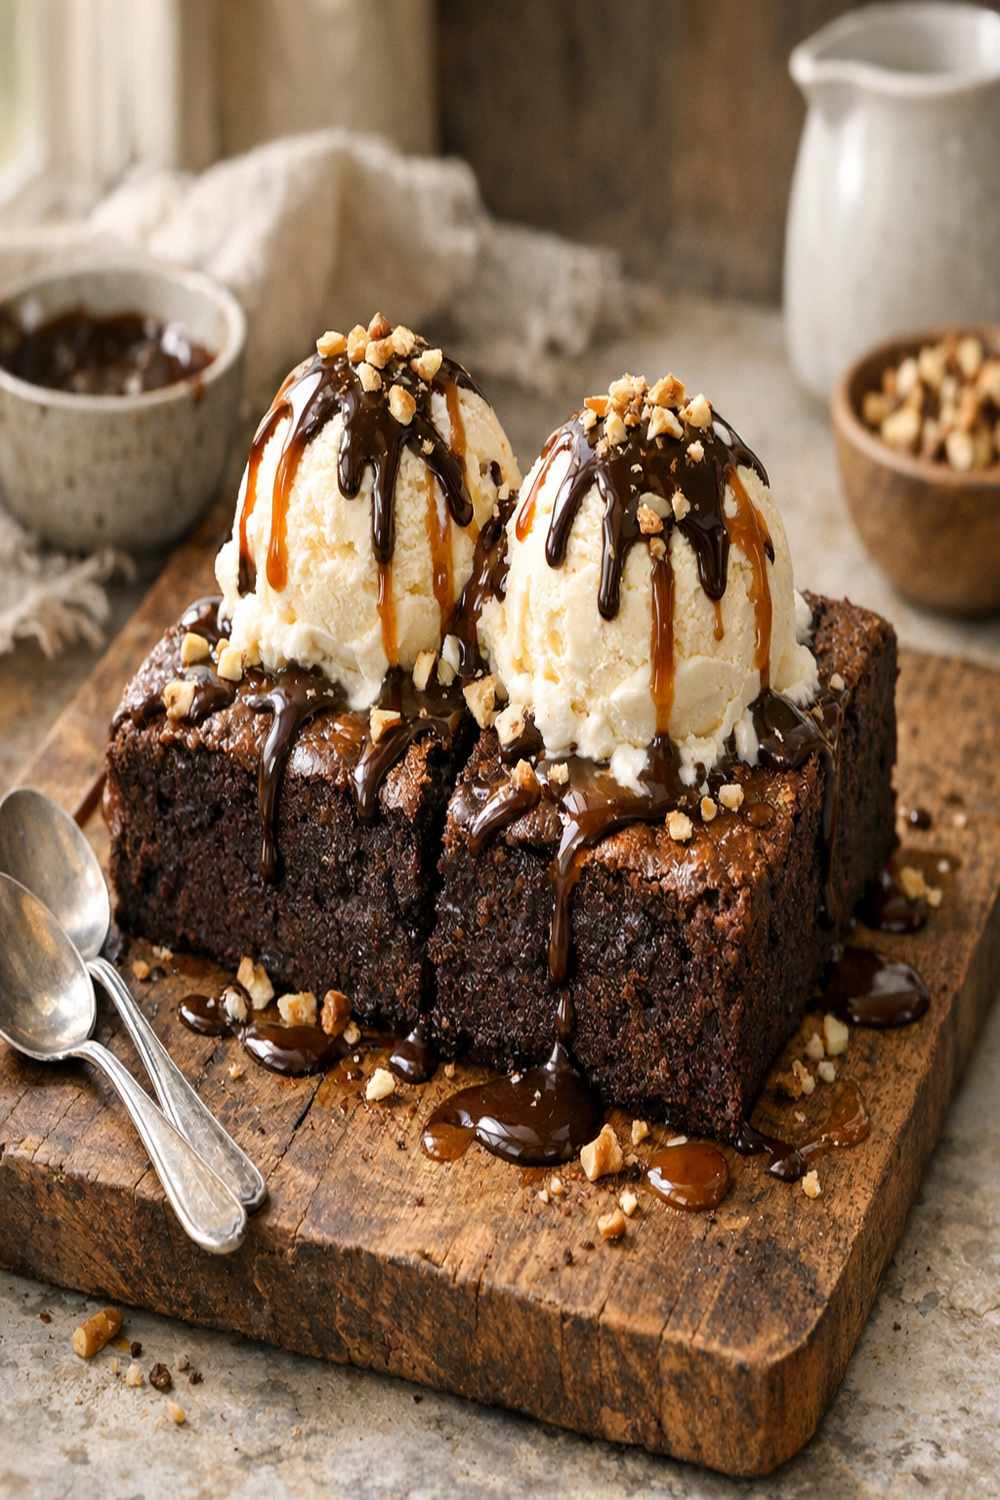
Step 7: Cool and Serve
- Remove the pan from the oven and let it cool completely on the counter. This step is non-negotiable. The brownies continue cooking slightly from residual heat, and the interior continues setting. If you try to cut them warm, they'll fall apart. I know it's hard to wait, but trust me. Once completely cooled (about 45 minutes), use the parchment paper to lift the brownies out of the pan. Cut the loaf in half widthwise, and you have two beautiful brownie portions. Each one is roughly 3 inches long by 2.5 inches wide. If you want smaller brownies, cut the loaf into 4 pieces instead. Store any leftovers covered at room temperature.