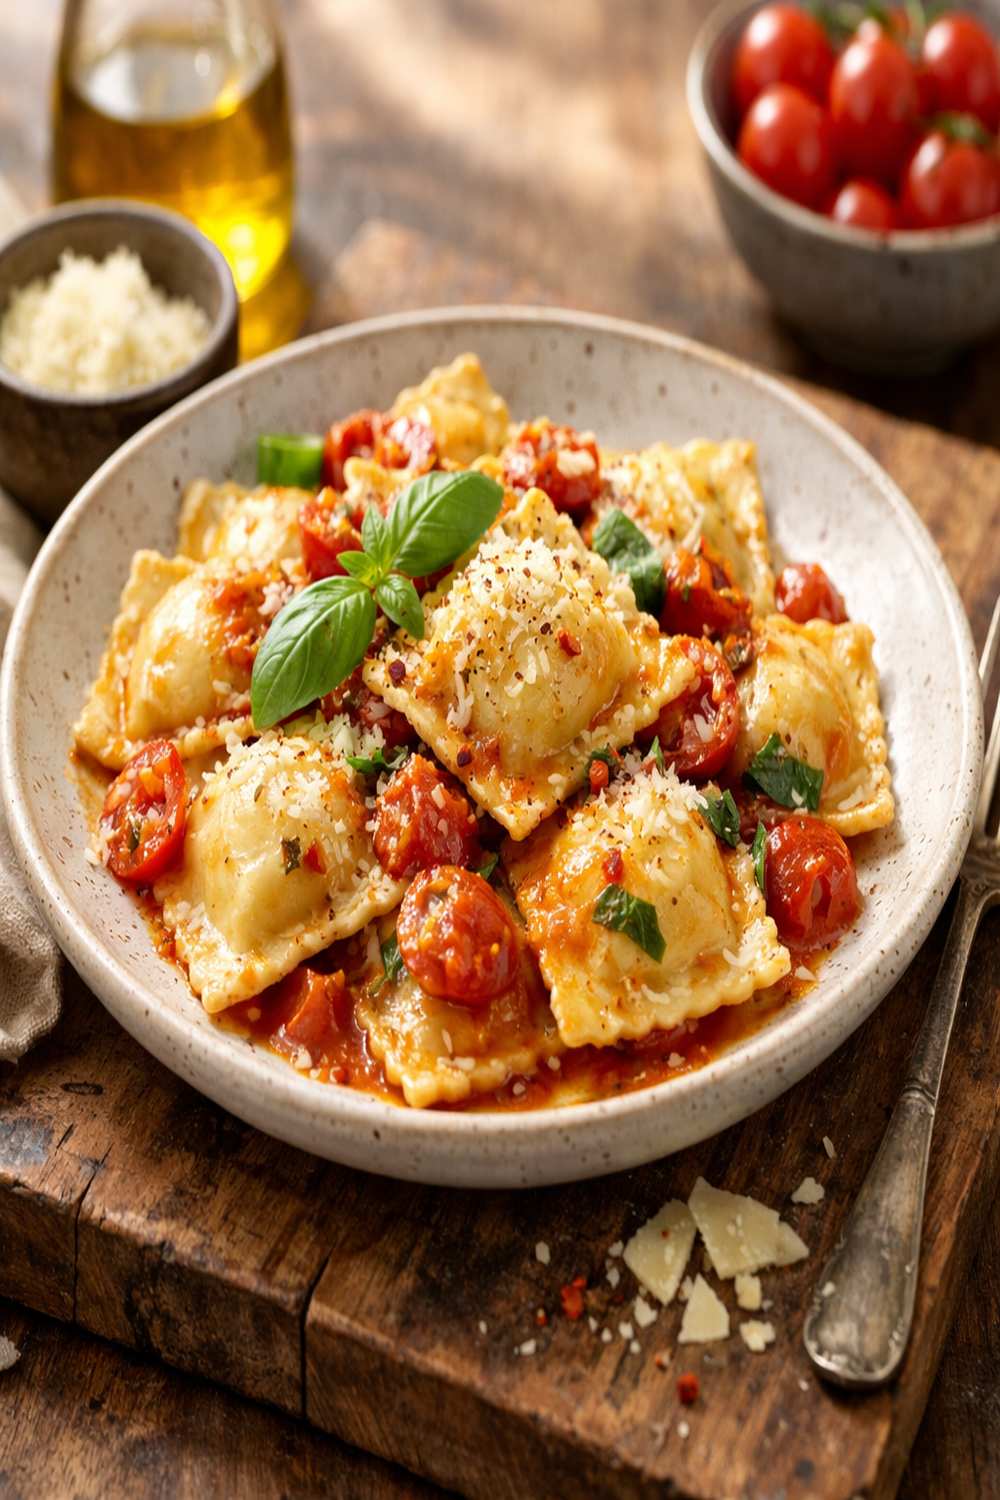

Ingredients
Method
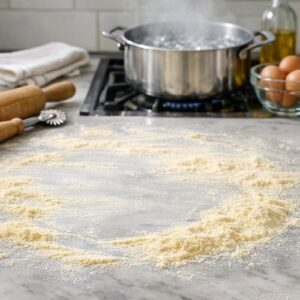
Step 1: Prepare Your Workspace and Begin Boiling Water
- Before you touch any dough, set up your entire workspace. Dust a clean countertop generously with semolina flour—this is your canvas. Don't skip this step thinking you'll dust later; wet dough sticks permanently to bare counters. Prep a baking sheet by covering it with semolina as well. This step seems humble, but it's the difference between ravioli that looks pristine and ravioli that's torn and damaged before it even cooks. Place a large pot of salted water on the stove and bring it to a rolling boil. I start this while I'm forming ravioli because you want the water ready exactly when your first batch is formed. The salt isn't optional—it seasons the pasta from the inside out and prevents sticking.
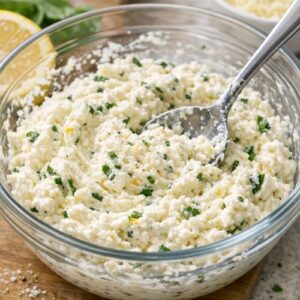
Step 2: Mix the Filling and Taste It
- In a medium bowl, combine your ricotta, freshly shredded parmesan, lemon zest, basil, nutmeg, salt, and pepper. Stir until completely combined and uniform in color. This is where most home cooks skip a crucial step: taste it. Seriously. Dip a small spoon into the mixture and eat it. The filling should taste bright, slightly salty, and complex. If it tastes flat, add another pinch of salt. If it needs brightness, add a tiny bit more lemon zest. This step matters because underseasons filling never recovers—you taste it raw, so you taste exactly what you'll taste in the finished pasta. If you're adding the filling to ravioli right away, great. If not, cover and refrigerate; cold filling actually helps when you're shaping because it doesn't leak out as easily.
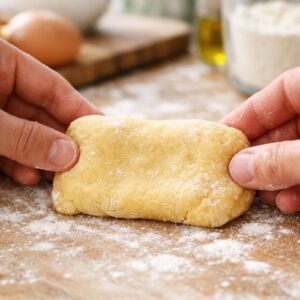
Step 3: Roll Out the Pasta Dough
- Here's where the visual magic begins. Cut your pasta dough into quarters. Take one quarter and, using your hands, shape it into a rough rectangle—this helps the pasta machine accept it smoothly. Feed it through your pasta machine on the widest setting, then fold it in half and run it through again. Repeat this process 2-3 times until the dough is silky and uniform. Now here's the professional tip: run the dough through each progressively thinner setting, one setting at a time. Your goal is a thin, translucent pasta sheet that's almost delicate. I typically go to the second-to-last setting on my machine—thin enough to be elegant but sturdy enough to handle filling and folding. Each time you roll, place the finished sheet on your semolina-dusted counter immediately. The semolina is your insurance policy against sticking.
Step 4: Fill and Fold with Precision
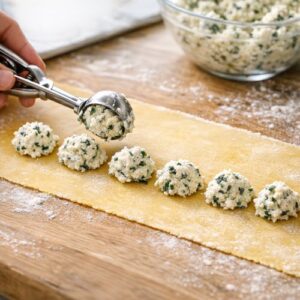
- Lay your rolled pasta sheet in front of you. Using a small cookie scoop, place approximately 1½ teaspoons of filling down one half of the sheet, spacing each dollop about 1½ inches apart. The spacing is critical to how your finished ravioli looks—too close together and they're crowded and cramped; too far apart and they look sparse. Before you fold, here's a professional move: dip your finger in water and lightly trace the edges of the pasta sheet. Slightly dampen pasta helps the two layers seal beautifully. Now fold the unfilled half over the filled half. Gently press around each mound of filling to create pockets, working deliberately so you don't trap air bubbles (they create weak spots that burst during cooking).
Step 5: Cut and Seal with Intention
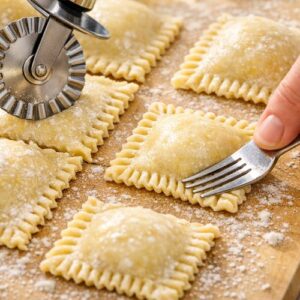
- Using a pizza wheel or pasta cutter, cut between each filled pocket. Press the edges firmly with the tines of a fork to create a decorative seal and ensure they're completely closed. This fork pattern isn't just pretty—it's functional. You're creating a secondary seal that prevents the pasta from opening during cooking. Any ravioli that looks even slightly open, re-seal it immediately. As you finish each ravioli, transfer it to your prepared baking sheet. Space them so they're not touching. If you're making a large batch, you can refrigerate them for up to 2 hours before cooking, which actually firms them up and makes them less likely to break during boiling.
Step 6: Cook and Transfer with Care
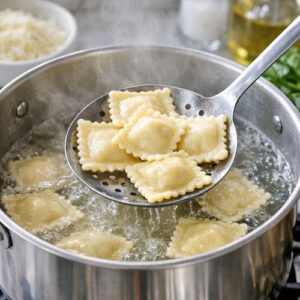
- Once your water is at a rolling boil, add ravioli in batches—this is crucial. Overcrowding the pot causes them to stick together and breaks the pasta. Add about 6-8 ravioli at a time, depending on your pot size. They'll immediately sink. Within 2-3 minutes, they'll float to the surface, and that's your signal they're done. Let them float for about 30 seconds more, then carefully remove them with a slotted spoon. Here's the professional move that preserves their appearance: transfer the cooked ravioli directly into your warm sauce rather than setting them aside. The sauce clings to the pasta beautifully and creates that glossy, appetizing look. Never rinse them with water afterward—that strips the starch that helps sauce adhere.
Notes
- Shoot from a 45-degree angle, not directly overhead—Ravioli's height and the dimension you've created is invisible from directly above. Angle your camera from the side at about 45 degrees to capture the pockets, the sauce, and the garnish simultaneously. This angle shows off everything you've worked for.
- Photograph immediately after plating while the sauce still glistens—Ravioli looks most appetizing in the first 2-3 minutes after plating. The sauce is glossy, the basil is bright green, and the whole dish has that "just made" luminosity. Delay photography and you lose that visual quality.