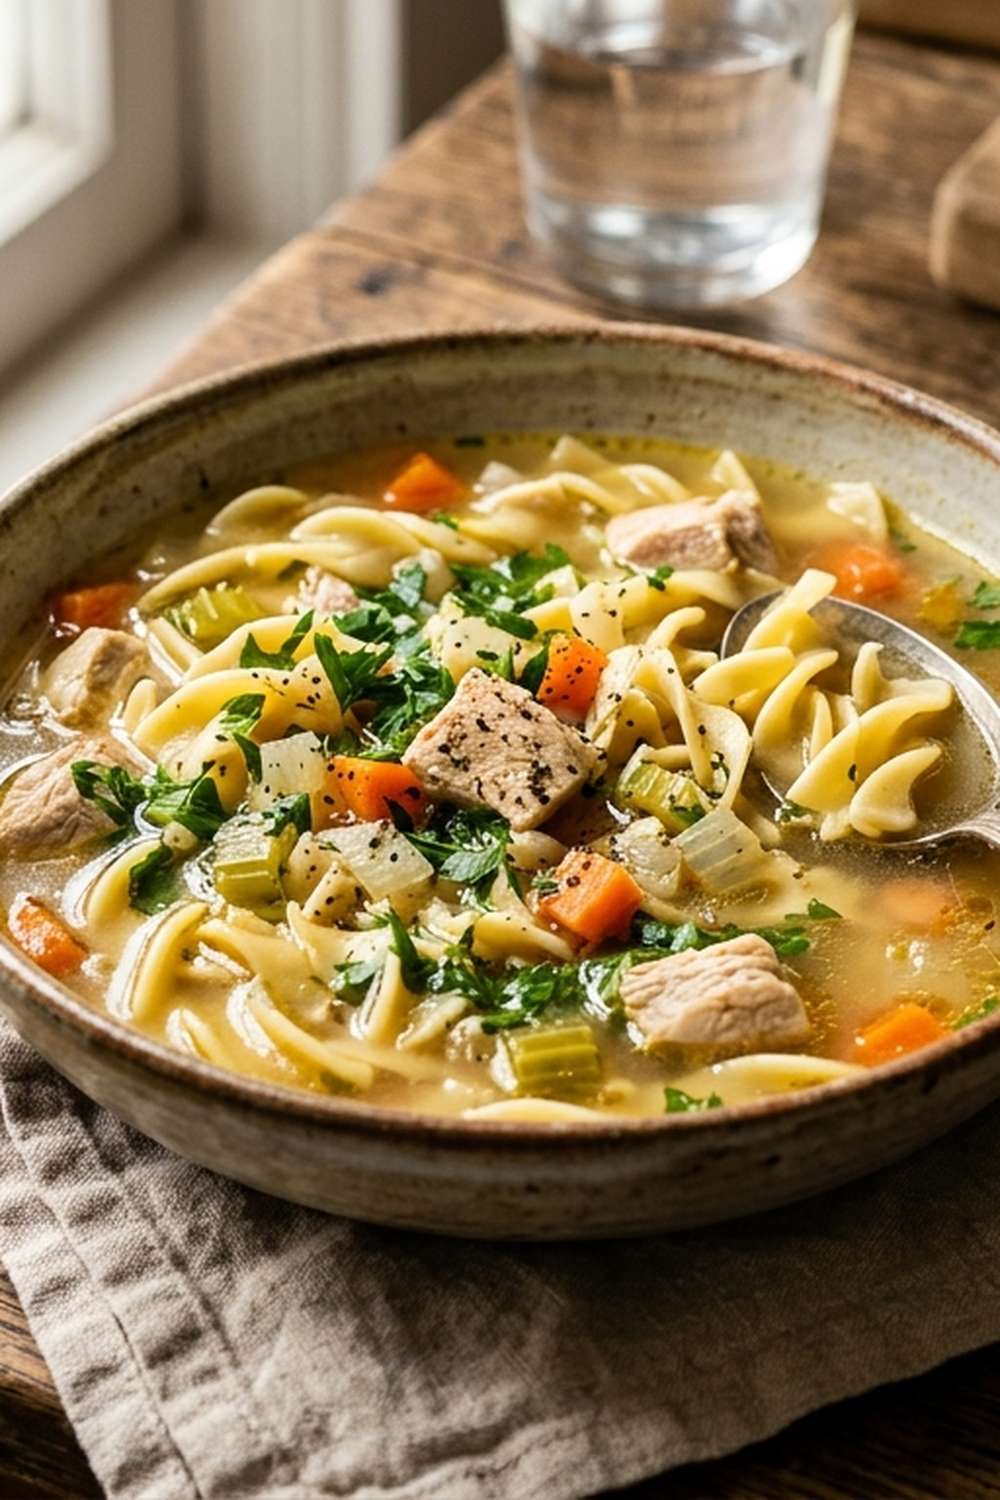

Ingredients
Method
Step 1: Set Up Your Workspace and Prepare Your Vegetables
- Before you turn on any heat, spend three minutes preparing everything. This is called mise en place, and it's how professional kitchens stay calm and consistent. Dice your celery and carrots into pieces roughly the same size—about ¼ inch. This matters because uniform pieces cook at the same rate, which means everything softens evenly and flavors develop uniformly. Mince your garlic finely. This is important: garlic has a lower burn temperature than celery and carrots, so it goes in later. If you added it now, it would brown and taste bitter instead of sweet and mellow. Have your broth measured and ready, your herbs accessible, and your salt and pepper nearby.

Step 2: Begin the Aromatic Base Over Medium-High Heat
- Add your butter to a large pot—yes, just ½ tablespoon. This teaches you something crucial that restaurant kitchens know: you don't need much fat to carry flavor. Let it melt completely over medium-high heat. This takes about 30 seconds. You're looking for the butter to be completely melted and slightly foamy, which signals that the water content has begun evaporating. Immediately add your diced celery and carrots. Here's where you listen: within about 5 seconds, you should hear a gentle, consistent sizzle. Not a loud pop or aggressive sound—that means the heat is too high and you'll end up with brown vegetables instead of sweet, soft ones. If the sizzle is too quiet, increase your heat slightly. You want that soft, steady whisper of sound.

Step 3: Saute the Vegetables Until Noticeably Soft (About 3 Minutes)
- This is the sweating phase, and it's non-negotiable. Stir occasionally—every 30 seconds or so. You're not trying to brown the vegetables; you're trying to soften them and release their juices into the butter. After about two minutes, the pot will smell distinctly sweet and vegetal. The vegetables themselves will look slightly translucent at the edges. After three minutes, the celery and carrots should be notably softer when you press one with the back of your spoon. This is the most important sensory checkpoint: pick up a piece of celery with your spoon and taste it. It should be quite soft, almost melting on your tongue, with a noticeably sweeter taste than raw celery. If it's still firm and tastes the same as it did raw, you need more time. If it's browning, your heat was too high.
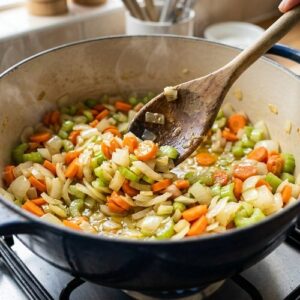
Step 4: Add Garlic and Cook 30 Seconds More
- Add your minced garlic to the soft vegetables and stir constantly for exactly 30 seconds. No more, no less. The garlic will become fragrant—you'll smell that distinctive garlicky aroma rise up from the pot. This is your cue that the garlic's flavor compounds have released into the fat. If you cook it longer than 30 seconds, it begins to brown and bitter compounds develop. This teaches you that timing within a technique matters as much as the technique itself.
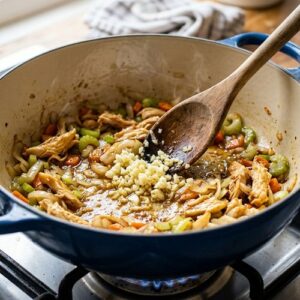
Step 5: Add Your Broth and Seasonings
- Pour in all 10 cups of broth. The heat will cause the broth temperature to drop slightly—this is normal and desired. Stir gently, making sure you scrape up any flavorful bits stuck to the bottom (though with butter, there won't be much). Add your rosemary, thyme, crushed red pepper flakes, and 1 teaspoon salt. Stir well. Now comes the first of many taste checks. Let the broth warm for 30 seconds (it doesn't need to boil first), then carefully taste a small spoonful. You're checking for seasoning balance: Is it salty enough? Does it taste one-dimensional or is there complexity? Do you sense the herbs? Is there a subtle warmth from the red pepper flakes that makes your taste buds perk up without any obvious heat? Here's what most home cooks skip: tasting as you go is how you learn to cook by feel instead of by rigid rules. If the broth tastes flat, add another ¼ teaspoon salt and taste again. If it needs more depth, add ½ teaspoon of your concentrated chicken flavor base, stir, and taste again. You're not guessing—you're learning your own palate.

Step 6: Bring to a Rolling Boil and Add Pasta
- Turn your heat up to high. The broth will begin to steam, and within 2-3 minutes, you'll see large rolling bubbles breaking the surface—that's your rolling boil. The moment you achieve a rolling boil, add your pasta. If you're using homemade egg noodles, they'll cook in 3-4 minutes. If you're using store-bought pasta, follow the package directions but subtract about 1 minute (since the pasta will continue cooking after you remove the pot from heat). Here's the professional secret: pasta in soup should be slightly underdone, not al dente like pasta in a colander. It will continue cooking from residual heat for another 1-2 minutes after you remove the pot from the stove. This prevents mushy, overcooked noodles that nobody actually enjoys.

Step 7: Test Pasta Doneness and Remove From Heat
- Start testing the pasta at the package's minimum time. Fish out one noodle with a fork and bite into it. You're looking for a tiny amount of firmness in the very center—that just-barely-tender stage. The moment you achieve that, remove the entire pot from heat. Don't wait another minute. Don't "just cook it a little longer." That residual heat will finish the job perfectly. This is where impatience ruins most home soups. Vegetables that were perfectly flavored become mushy, noodles transform from tender to mealy, and the whole dish suffers.

Step 8: Add Chicken and Final Taste Adjustment
- Stir in your shredded rotisserie chicken. If it's cold from the refrigerator, the residual heat will warm it gently. Stir to distribute it evenly throughout. Now taste one more time. This is your final opportunity to adjust seasoning. After adding the chicken, the flavor profile often feels slightly different—the protein adds richness. You might need a tiny amount more salt, or you might find the soup is already perfect. This is also when you'd add more concentrated chicken flavor base if the broth still tastes underseasoned. Remember: it's easier to add seasoning than to remove it. Add sparingly and taste before each addition.

Notes
- Starting with too high heat and creating brown aromatics instead of sweet ones - This creates bitter flavors that permeate the entire soup. Fix: Lower your heat to medium, listen for that soft sizzle, and accept that proper technique takes the full three minutes. There are no shortcuts without sacrificing flavor. If you've already made this mistake, add a teaspoon of sugar to balance the bitterness (you won't taste sweetness, just less bitterness).
- Adding all seasonings at once instead of tasting throughout - You end up with a soup that's either underseasoned or oversalted because you can't adjust once everything is combined. Fix: Taste after adding broth, taste again before adding pasta, and taste once more after adding chicken. Each addition changes the flavor balance slightly.
- Skipping the garlic timing and adding it during the initial sauté - Garlic burns easily and will taste acrid. Fix: Stir it in separately after the other vegetables are soft. If this happens, add a squeeze of lemon juice to mask the burned taste, but prevention is better.
- Overcooking the pasta by waiting until it's totally soft before removing from heat - By the time the pot cools, the pasta is mushy. Fix: Learn to taste test, and understand that "al dente" doesn't apply to soup noodles. Pull from heat earlier than feels comfortable.